


 I love a good throw pillow. And recently, I wanted to sew a couple more for my living room.
As a household that has two dogs (that we allow on our furniture), I’ve noticed the throw pillows that have a removable cover tend to last longer for us because I can either throw them in the washing machine as needed, or if the pillow has a delicate fabric, I can get them dry cleaned.
So, I knew I wanted to sew a zippered throw pillow so I could remove the cover as needed. And I thought I’d share the process, because I know adding a zipper to anything used to intimidate me, as I’d consider my sewing skills low to intermediate (leaning toward low … ha).
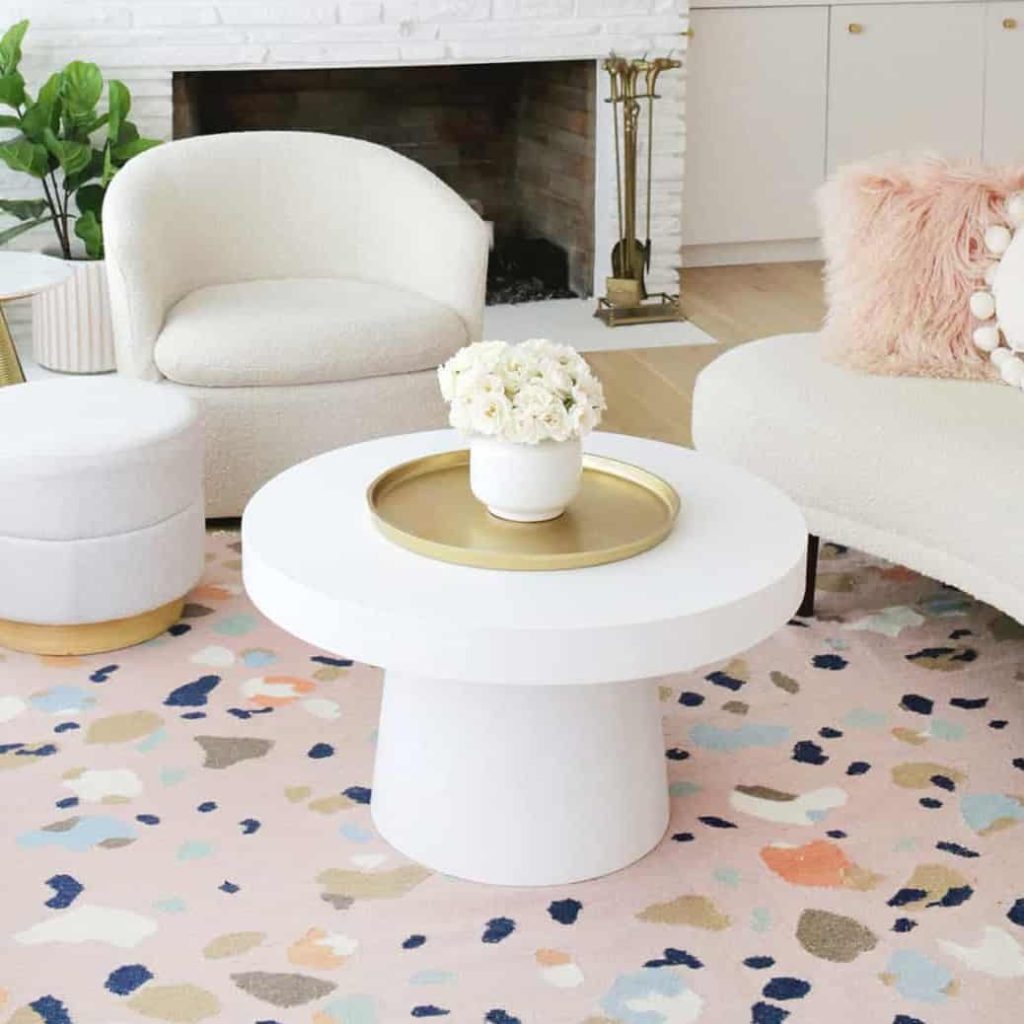
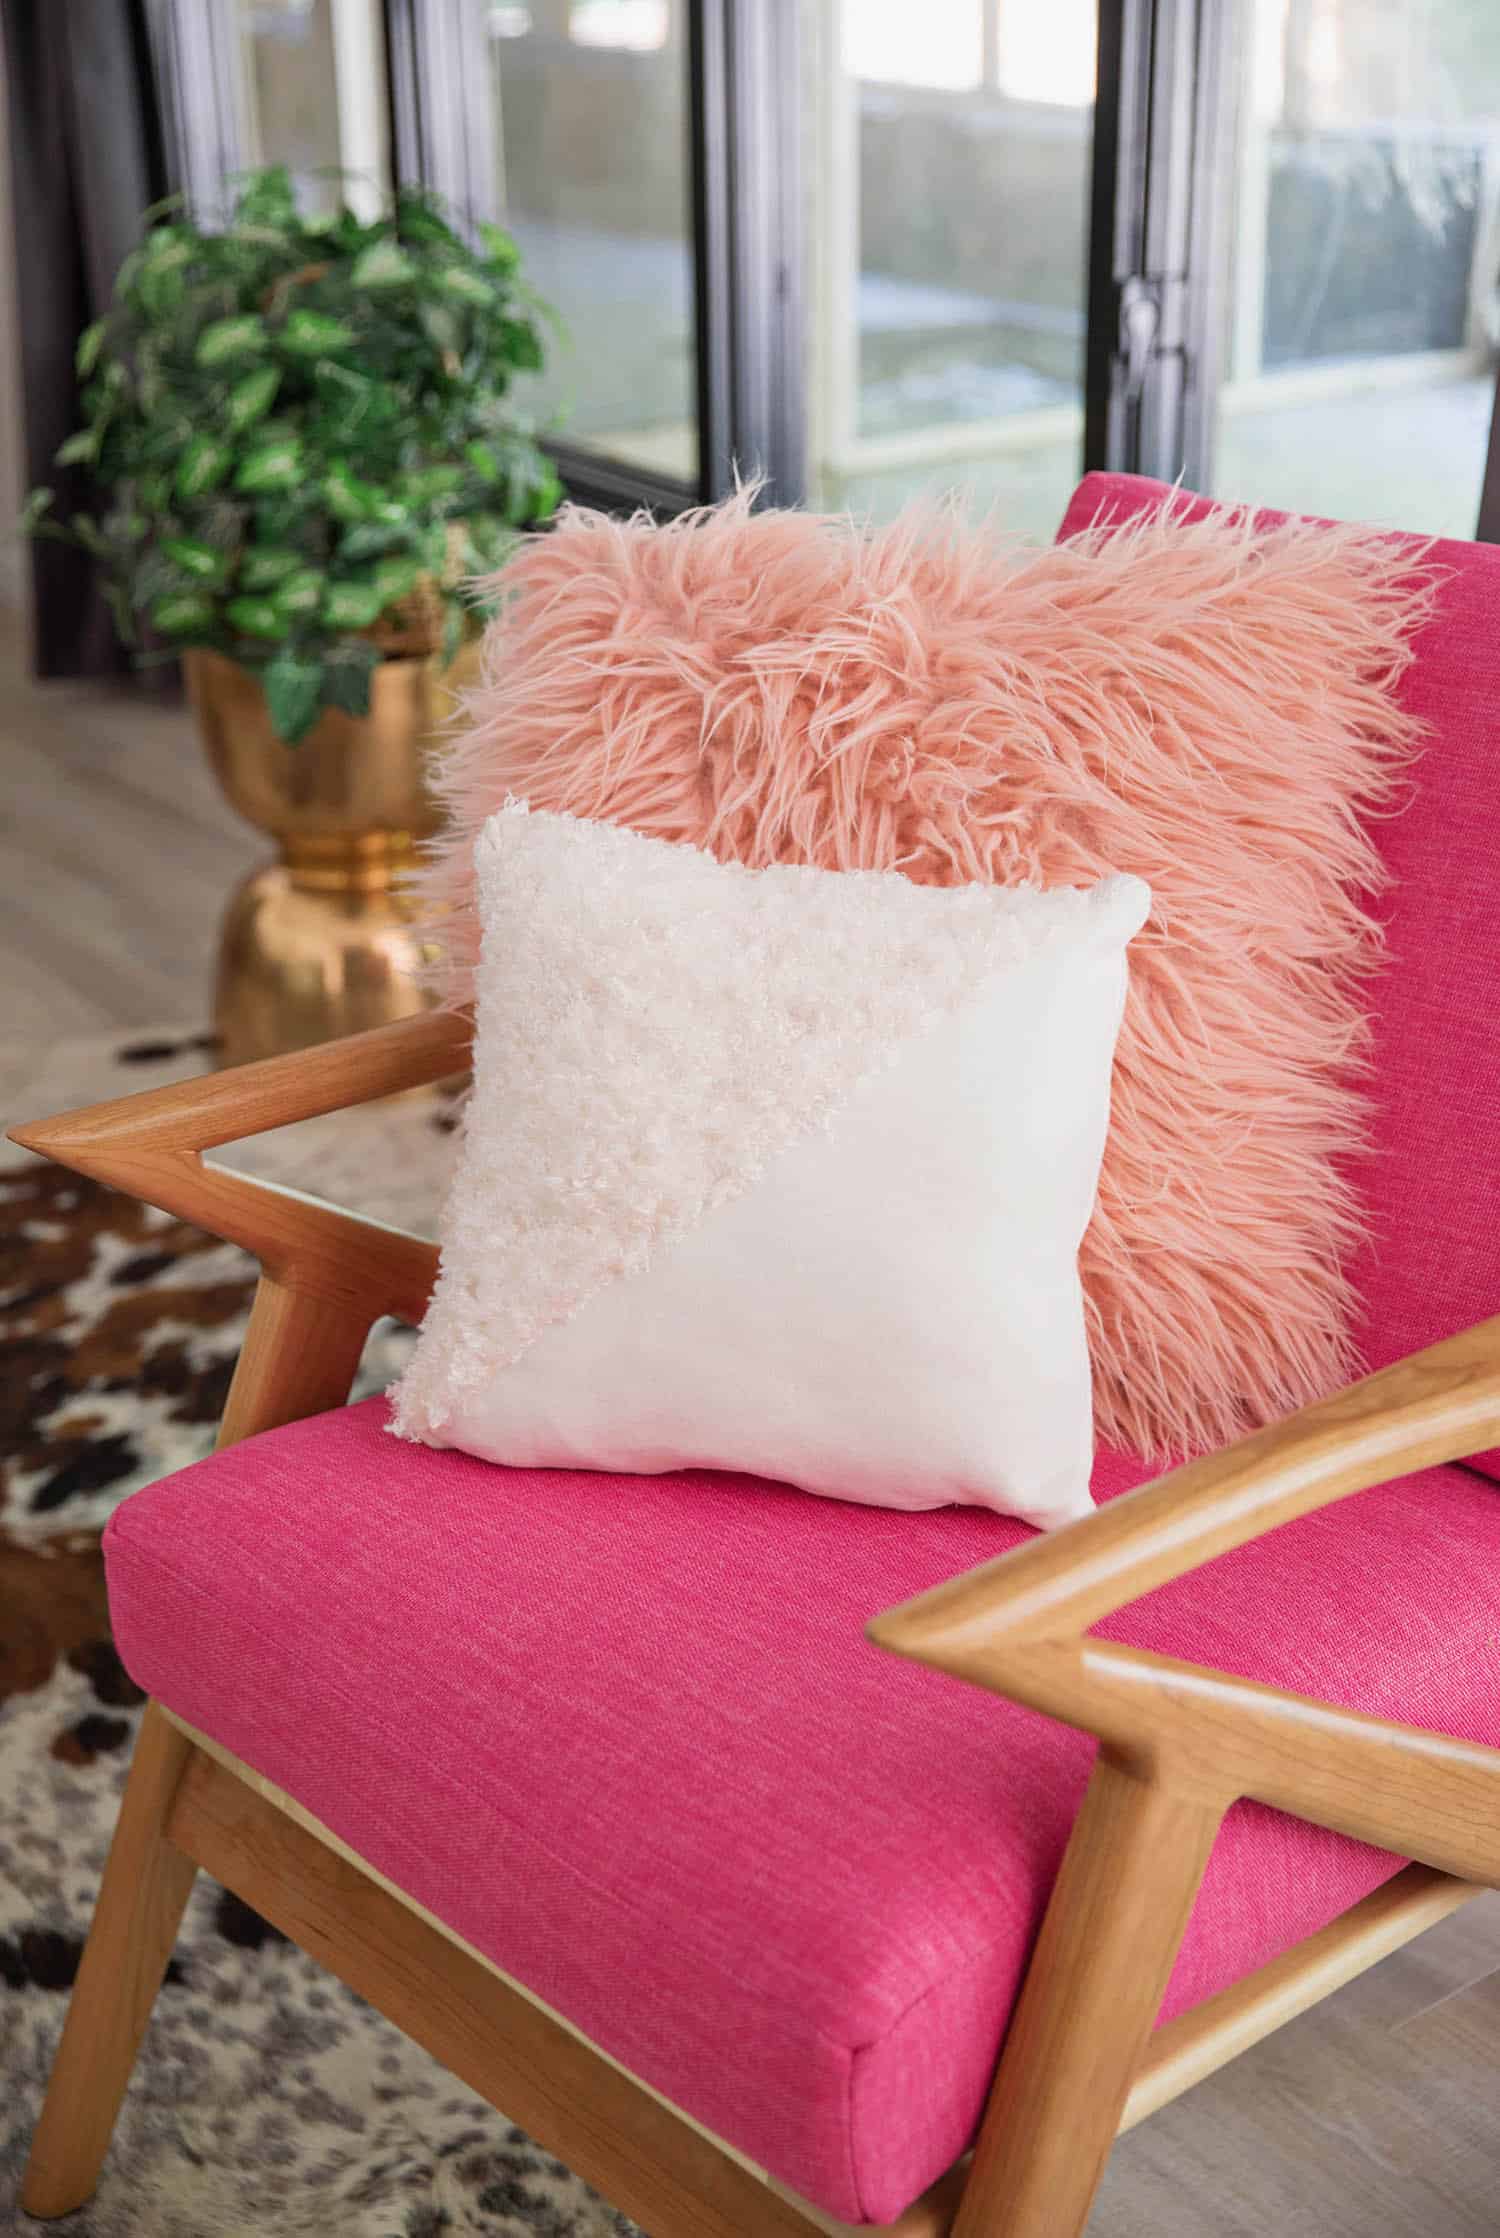
Also, because I know you might be curious, my pink armchair is from Joybird (as well as my sectional). You can see them more in my living room tour if you’re interested.
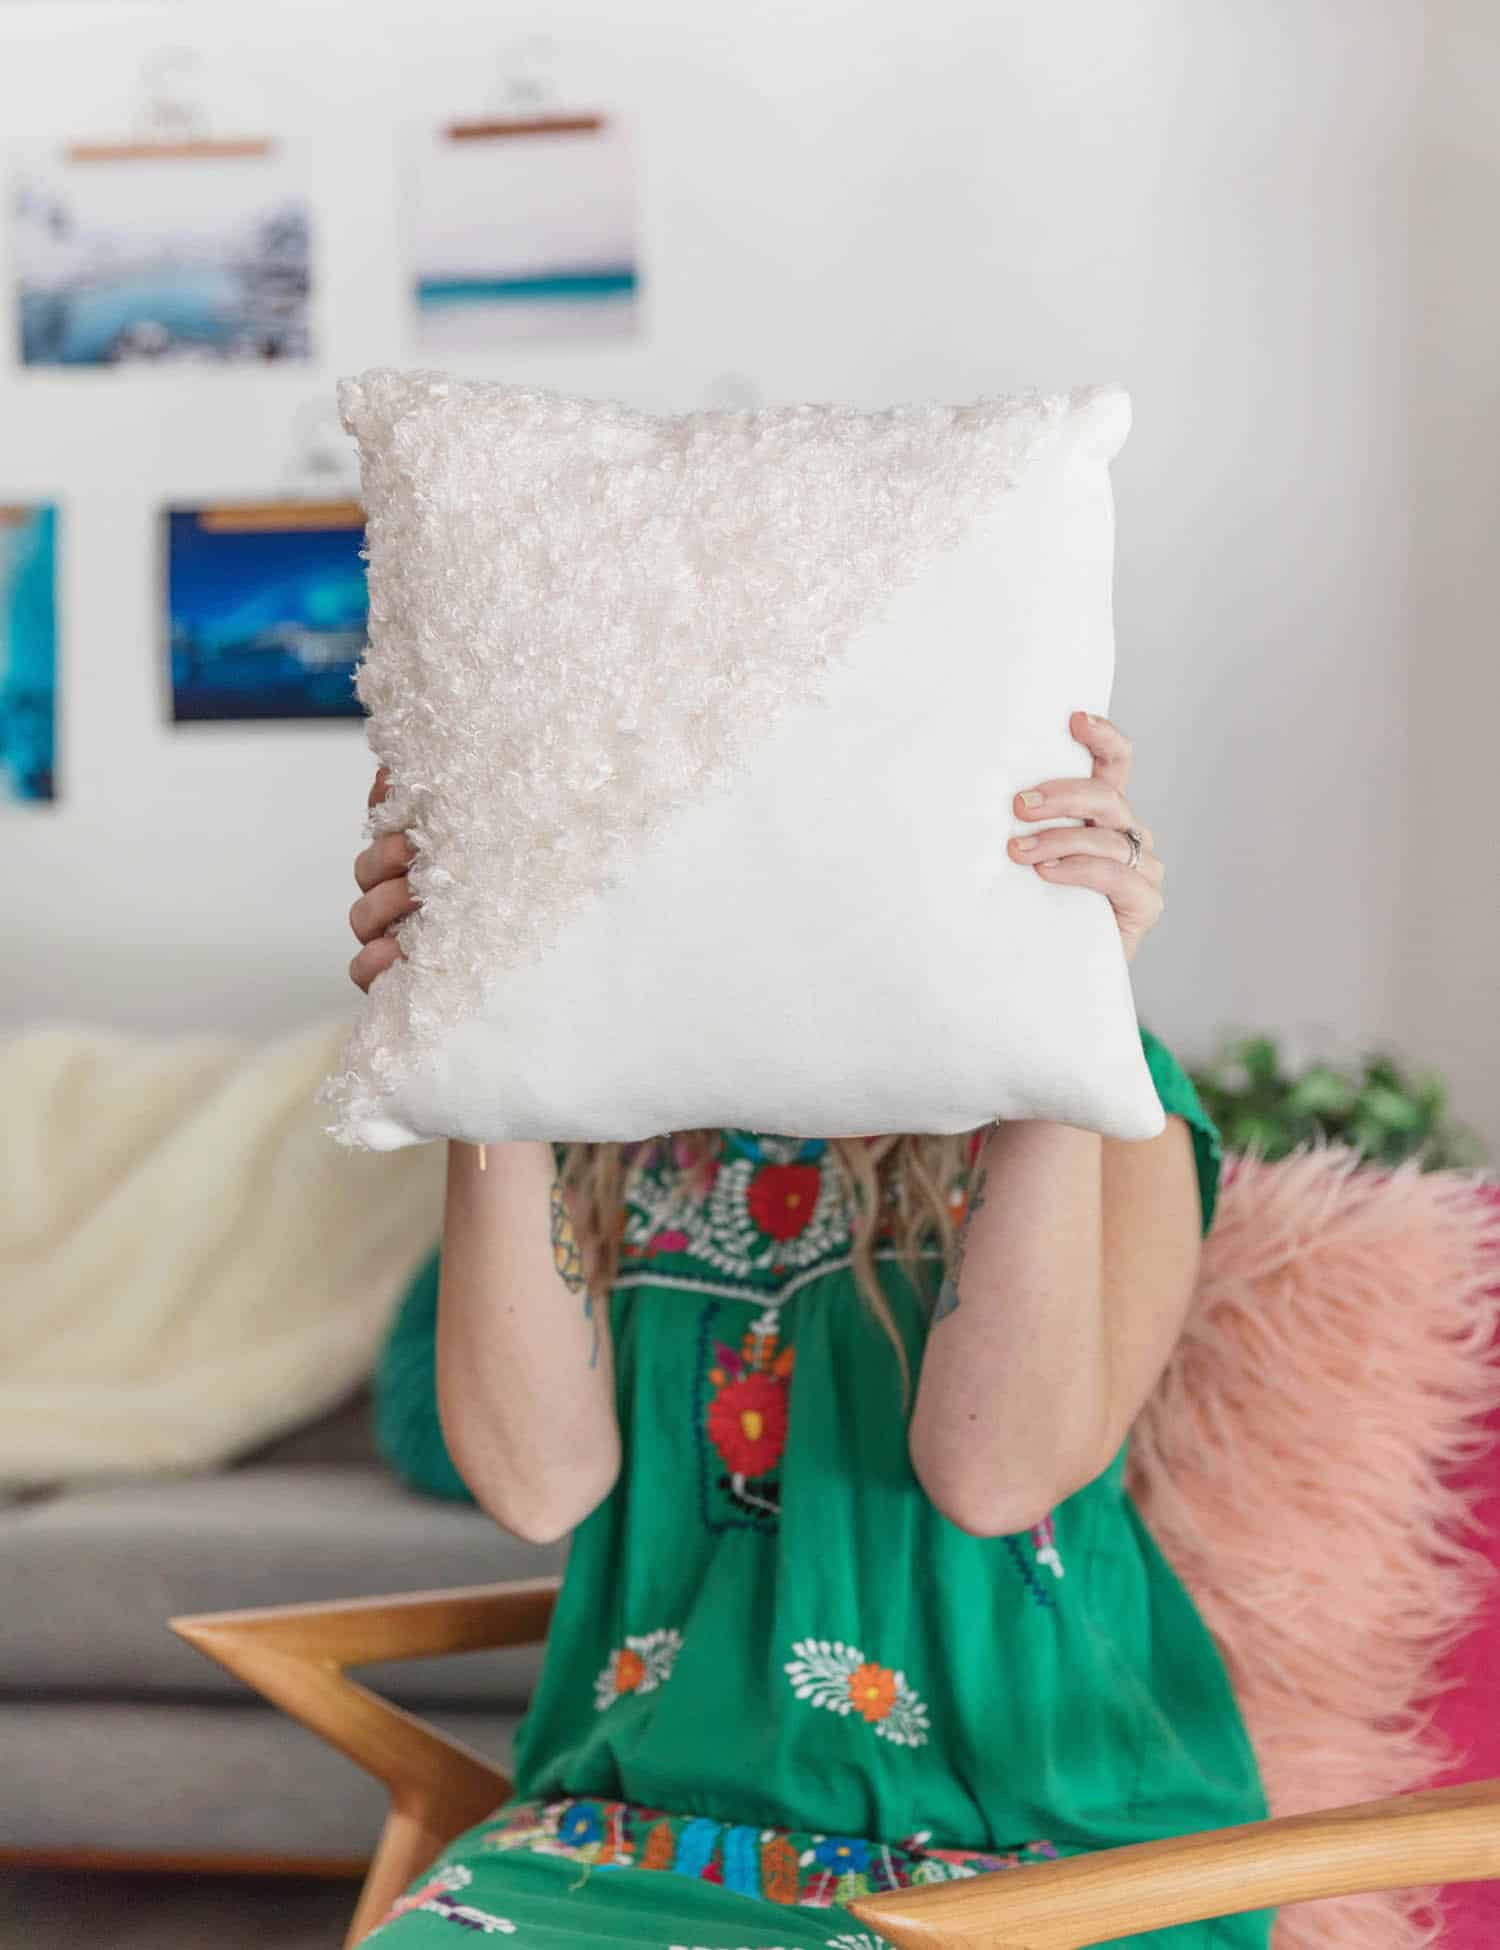 I’m going to share how I made this throw pillow. It has a fuzzy fabric paired with cream felt. The fuzzy fabric was a little tricky to work with (another challenge I gave myself) but I love how it turned out.
But the steps for adding a zipper could work on any throw pillow—it doesn’t have to have this specific design.
Watch the video below to learn how to install a zipper:
Also, if you’re thinking a zipper just isn’t the look you want, you could always make an envelope pillow instead.
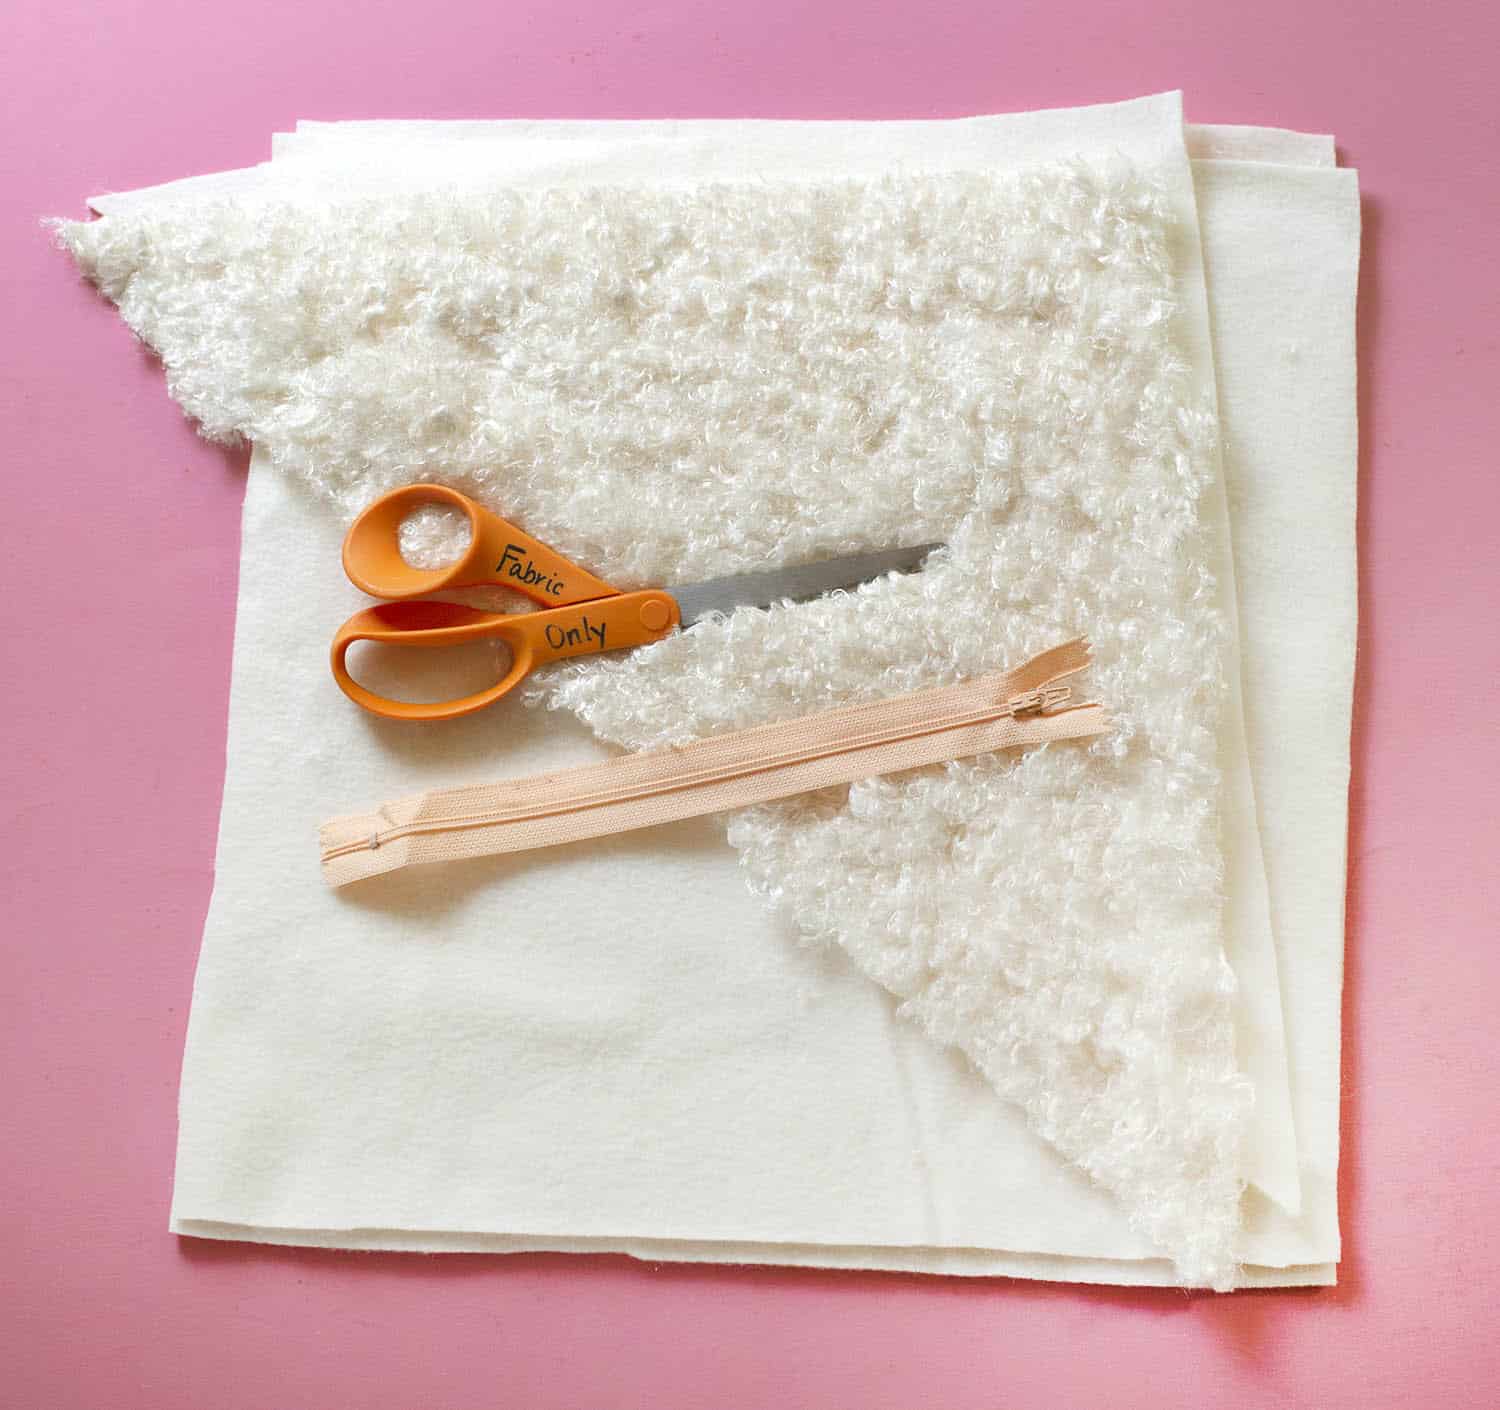 Supplies:
-fabric for the back and front of the pillow
-zipper that is smaller than one side of the pillow
-pillow insert or stuffing
-matching (or contrasting) colored thread
-scissors
-seam ripper
-sewing machine + zipper foot
-iron + ironing board
How much fabric you need will depend on the size of pillow you want to create. I love a mix of larger and smaller throw pillows. I usually pick out my pillow insert first and then base my pillow size on that.
You’ll want your fabric to be 1-2 inches bigger (depending on how much seam allowance you like to work with with) than the final size you plan to sew.
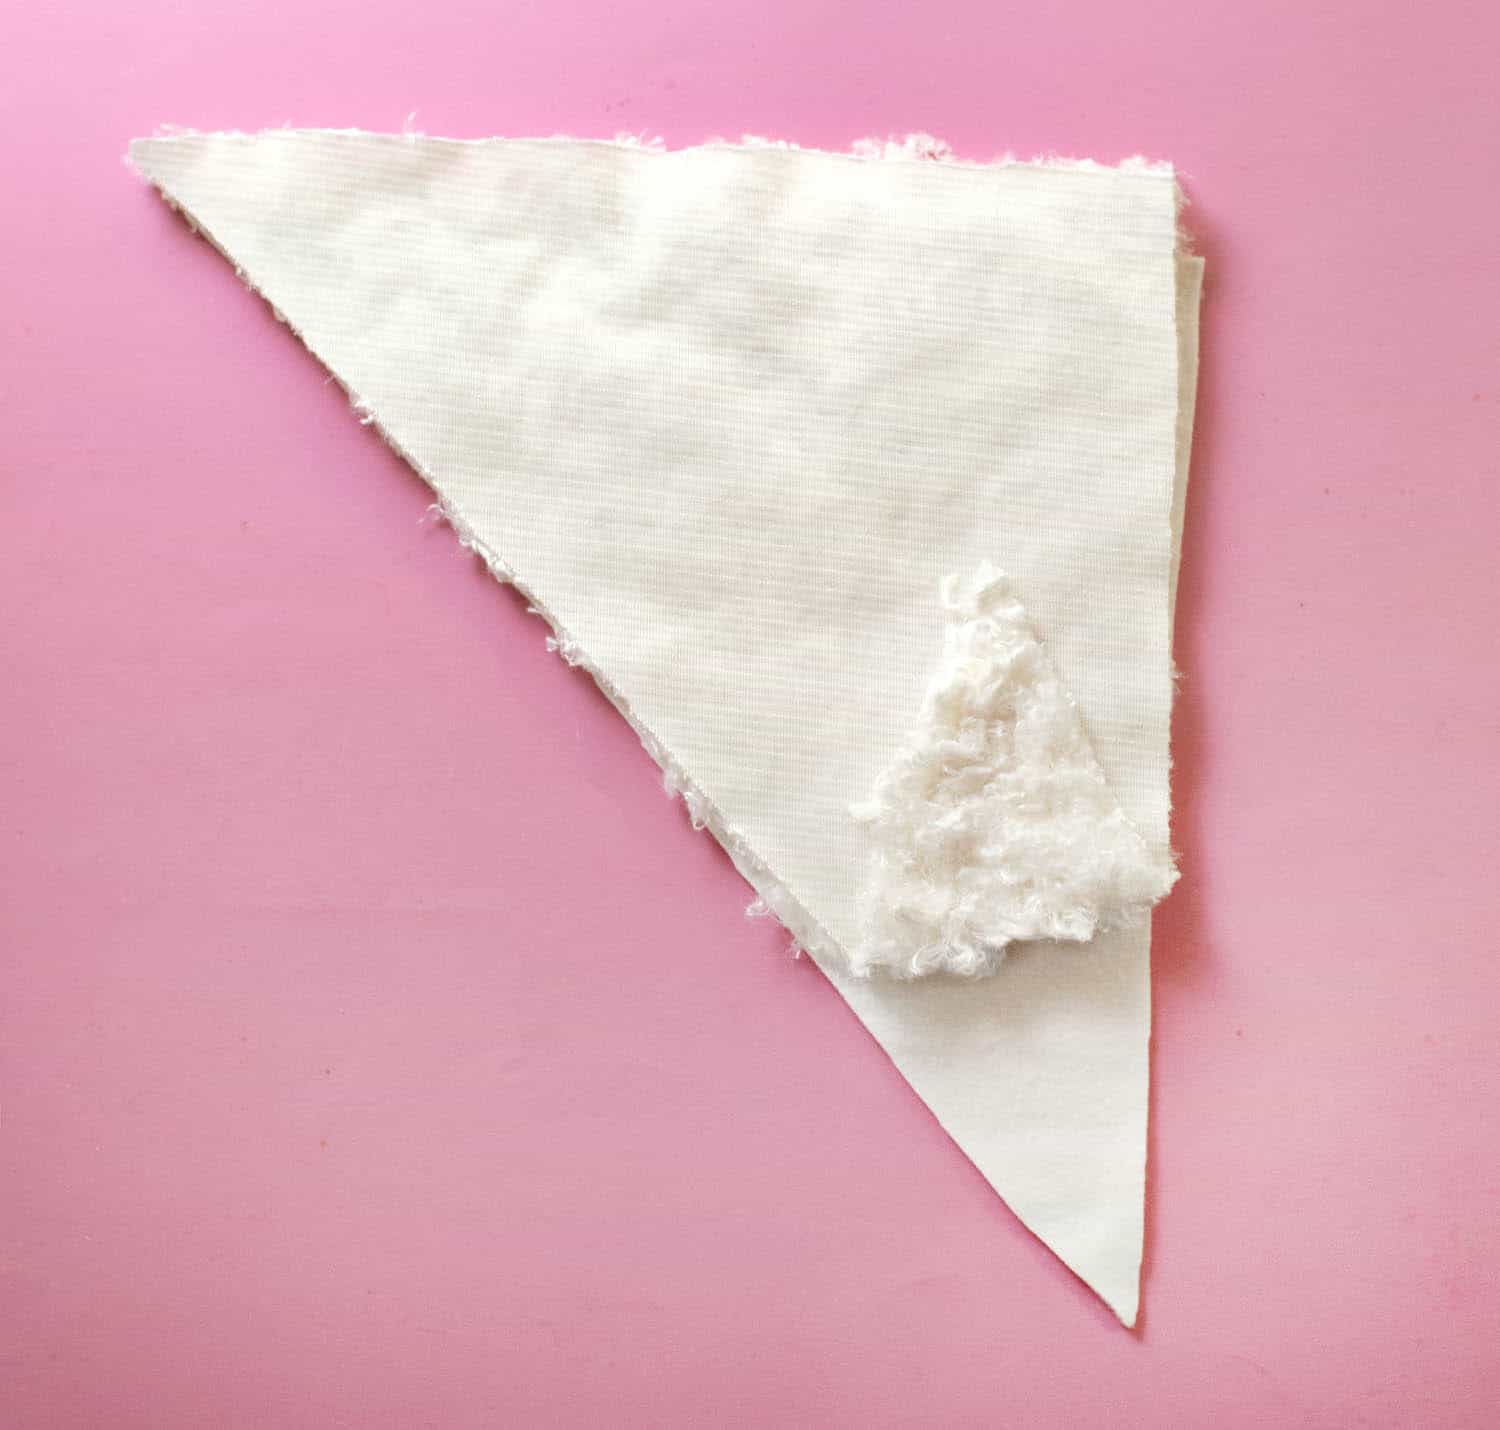 Step One: Cut out the front and back pieces of your pillow. If you plan to have a front piece with two different fabrics (like mine), then cut those, pin them together so the outsides are facing each other (see photo), and stitch together.
Depending on the type of fabric you are working with, you may want to go ahead and iron or press out your seams once you’ve stitched this.
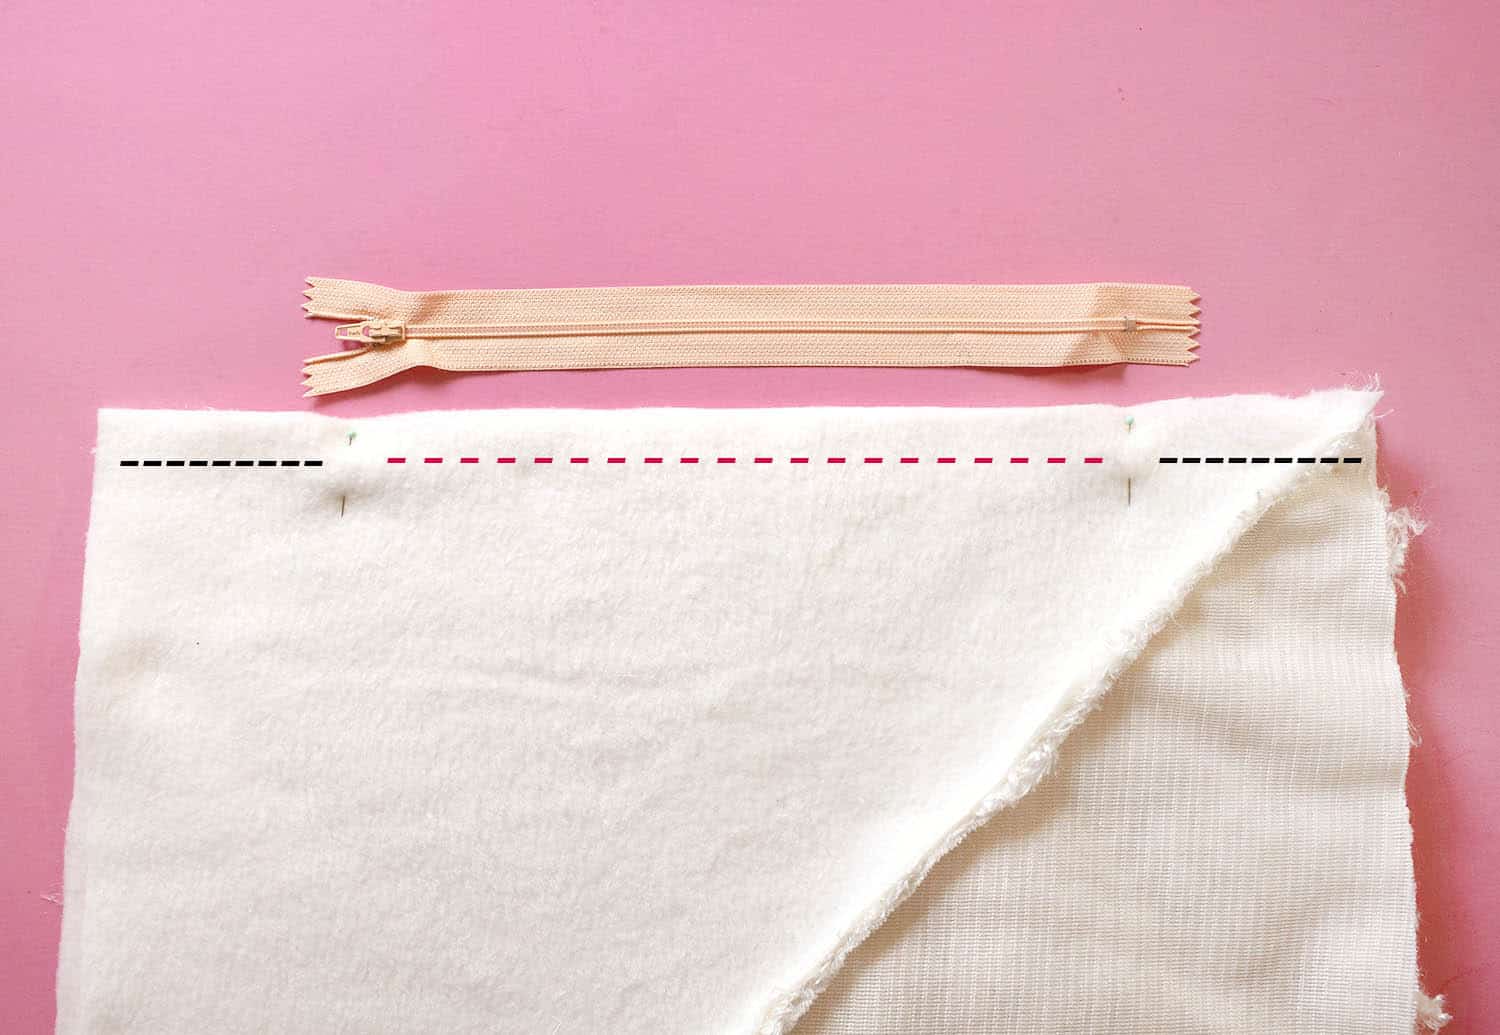 Step Two: Lay the two pieces of your pillow on top of each other, so the outsides of the pillow face each other (see how the fuzzy side of my fabric is facing in). Add two pins where the zipper will go and then loosely pin the sides together.
Stitch up the areas that will not contain the zipper normally (in black in the photo above). Then add a looser stitch (that will be easier to seam rip out later) to the zipper area.
Press open this seam using an iron if your fabric allows—otherwise just press it open as best you can.
 Step Three: Pin the zipper over the zipper area (sewn together with the loose stitch) being sure to pin the zipper in upside down (see photo). I also leave small holes between the two different stitches so I can see it better and know where to place my zipper.
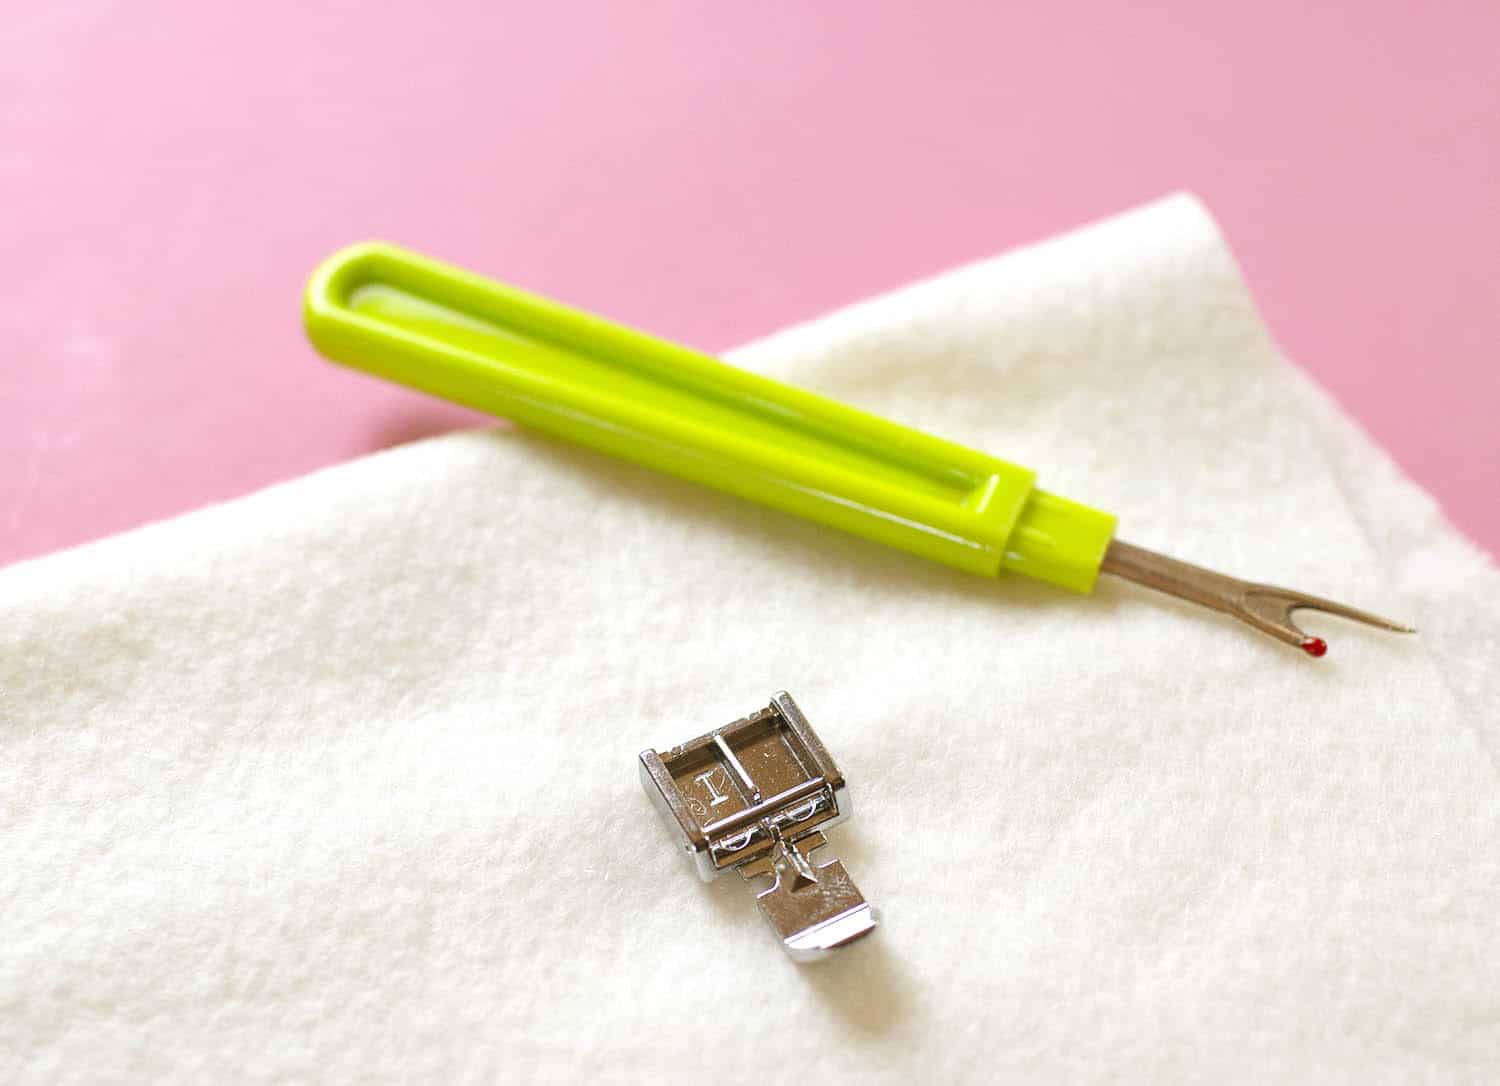 Step Four: Attach your zipper foot to your machine. Here’s what mine looks like, as I have an EverSewn Hero sewing machine. Then sew the zipper in place.
 Step Five: Seam zip the loose stitch, which will reveal your sewn in place zipper. Then add a few stitches (switching back to your regular sewing foot as we’re done with the zipper) to the top and bottom of the zipper (shown in black in the photo above).
 Step Six: Stitch up the remaining sides of the pillow. Cut off a small piece of each corner (this helps with the shape). Then flip the pillow inside out using the zipper opening. Add your pillow insert and you’re done!

 That wasn’t so hard, right? Zippers aren’t so bad after all. 🙂 Happy pillow making! And if you like sewing we have TONS of projects that range from super simple to more advanced—check here. xo. Emma