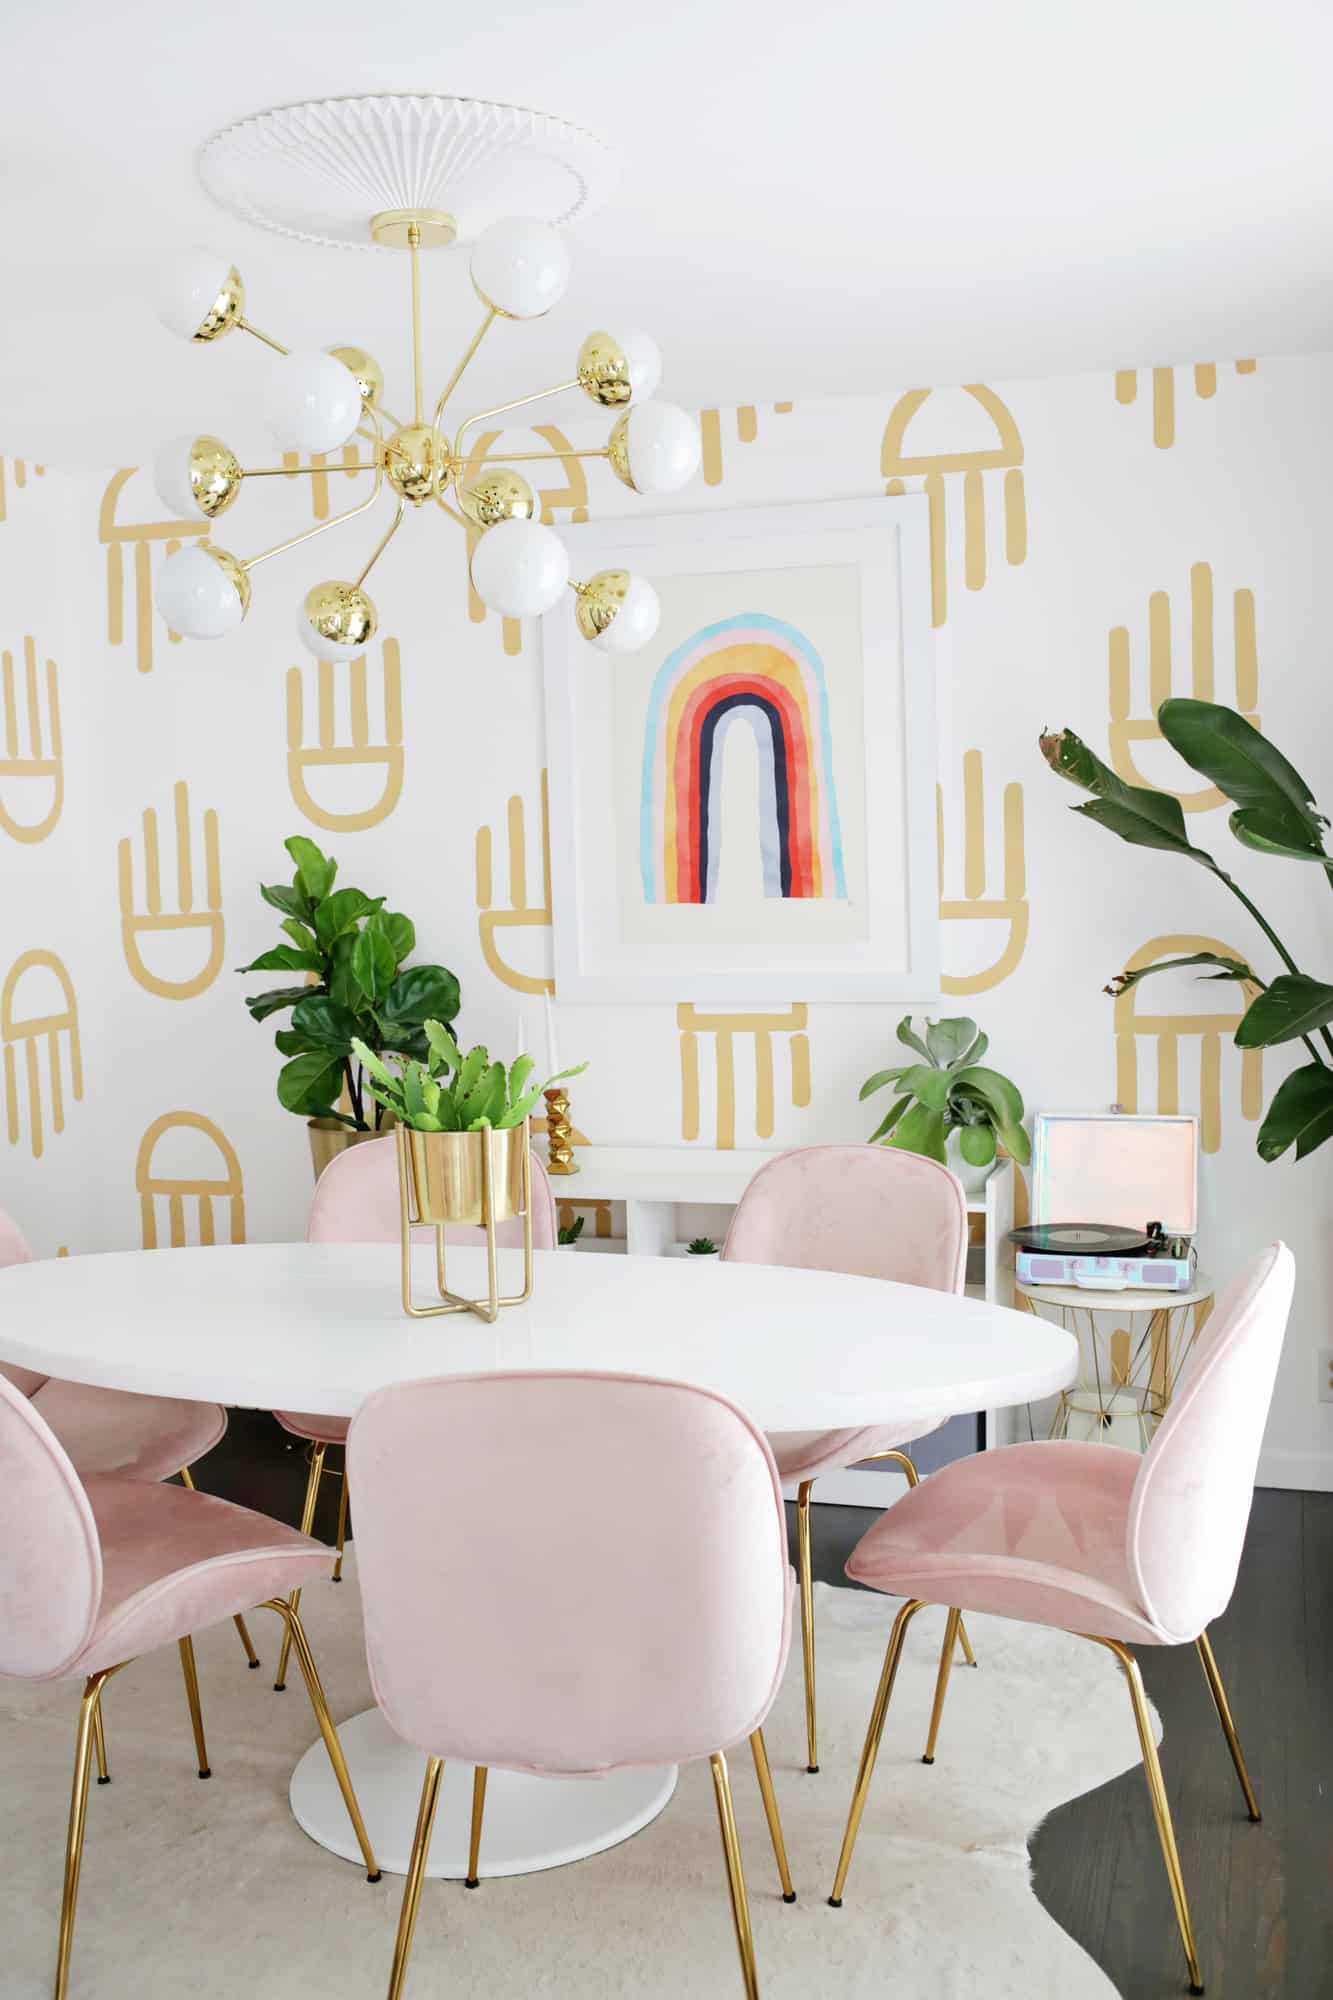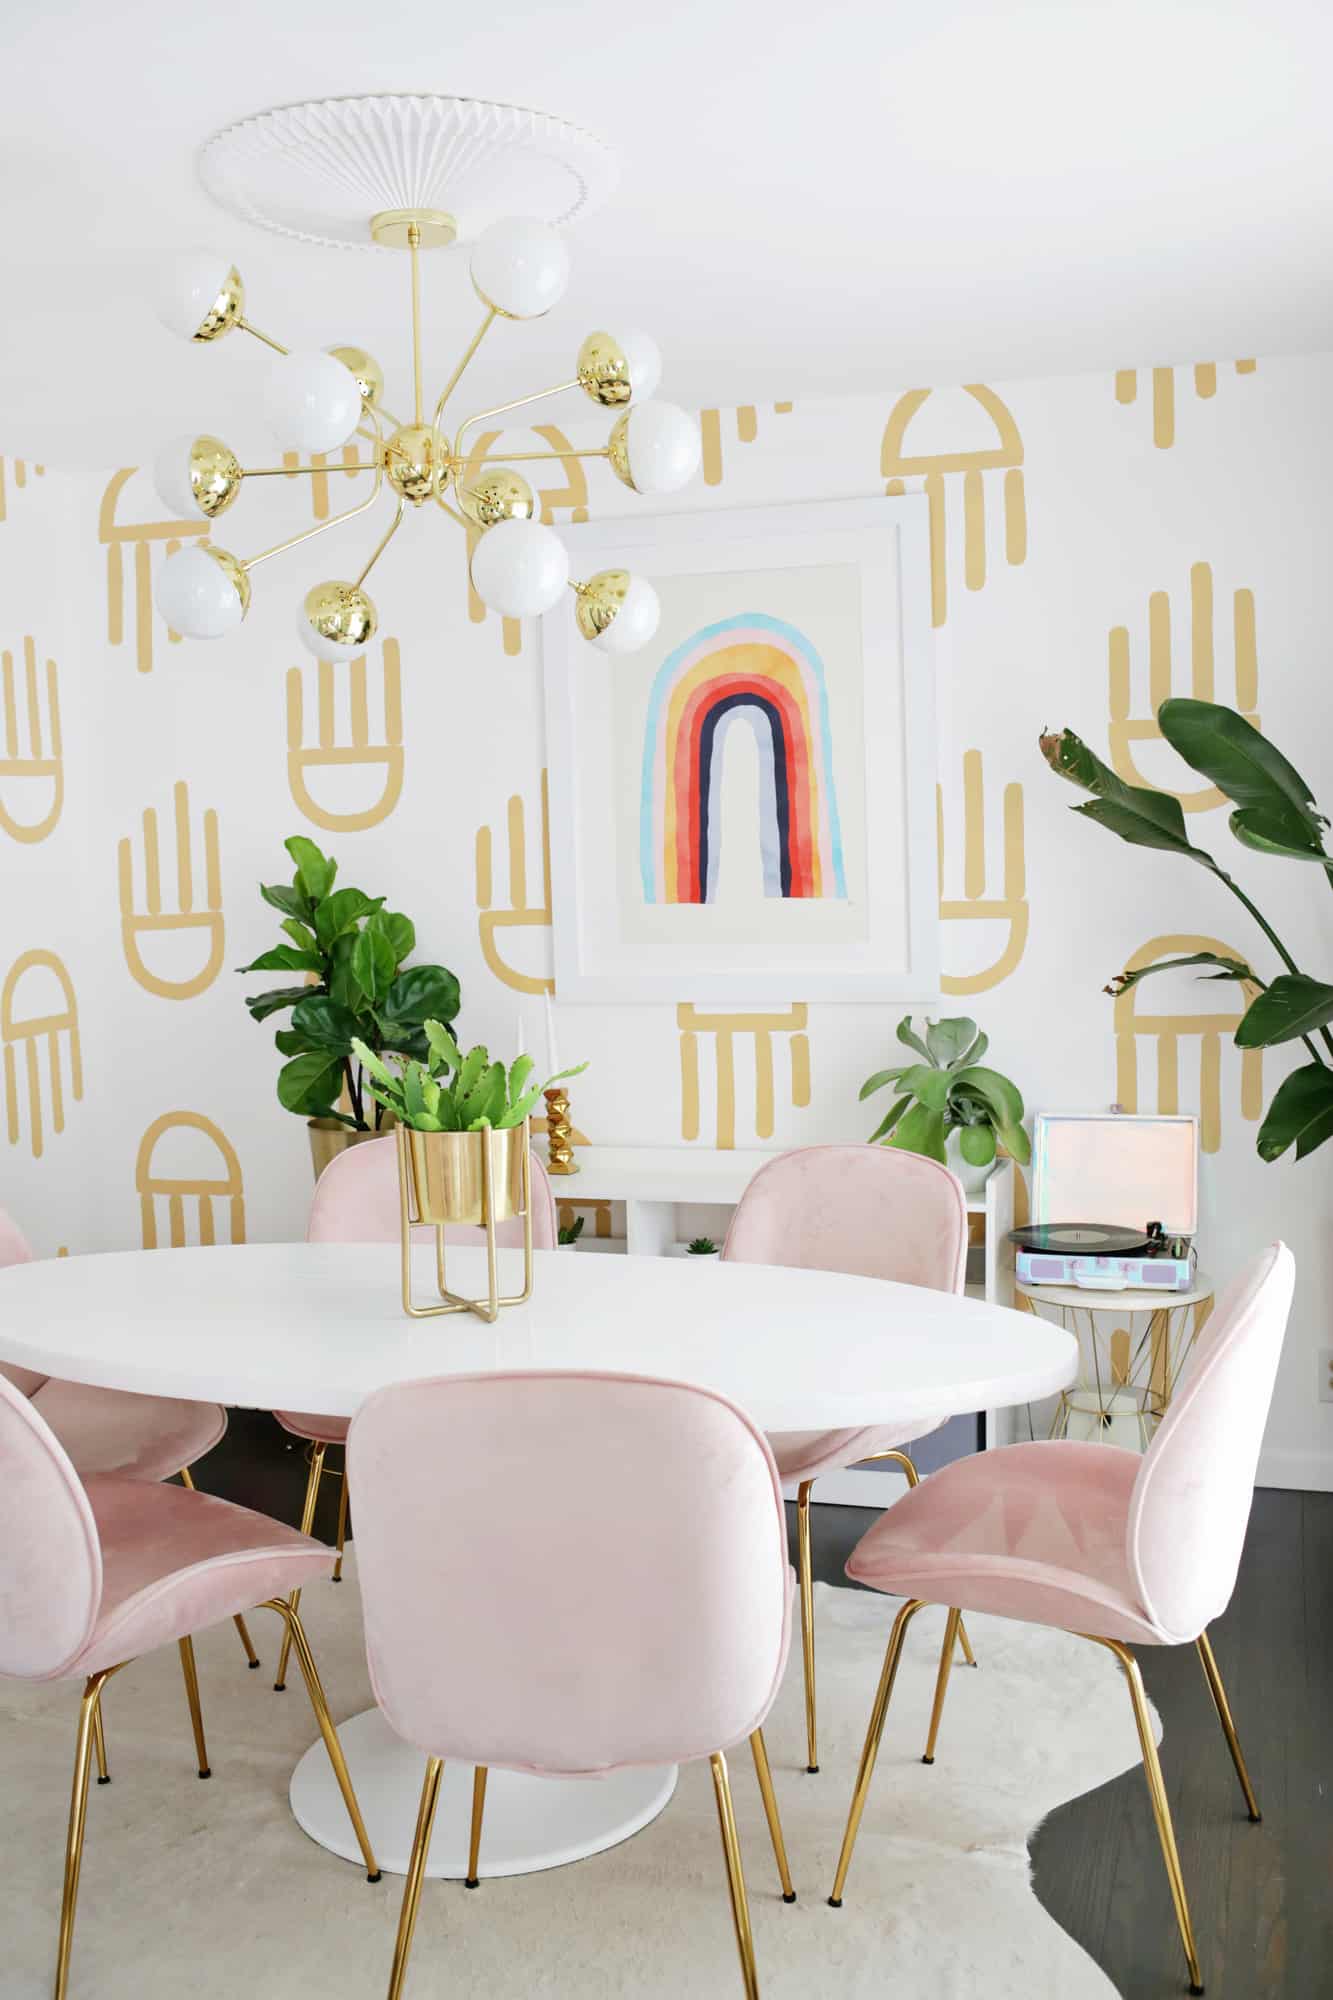
While I love the look of an amazing wallpaper in a space, I still always opt for a hand-painted wallpaper option so I can make it exactly how I want at a fraction of the price, and not have to deal with wallpaper removal once I’m ready for something new.
Here’s how I went about making a fun pattern for our painted dining room wallpaper!
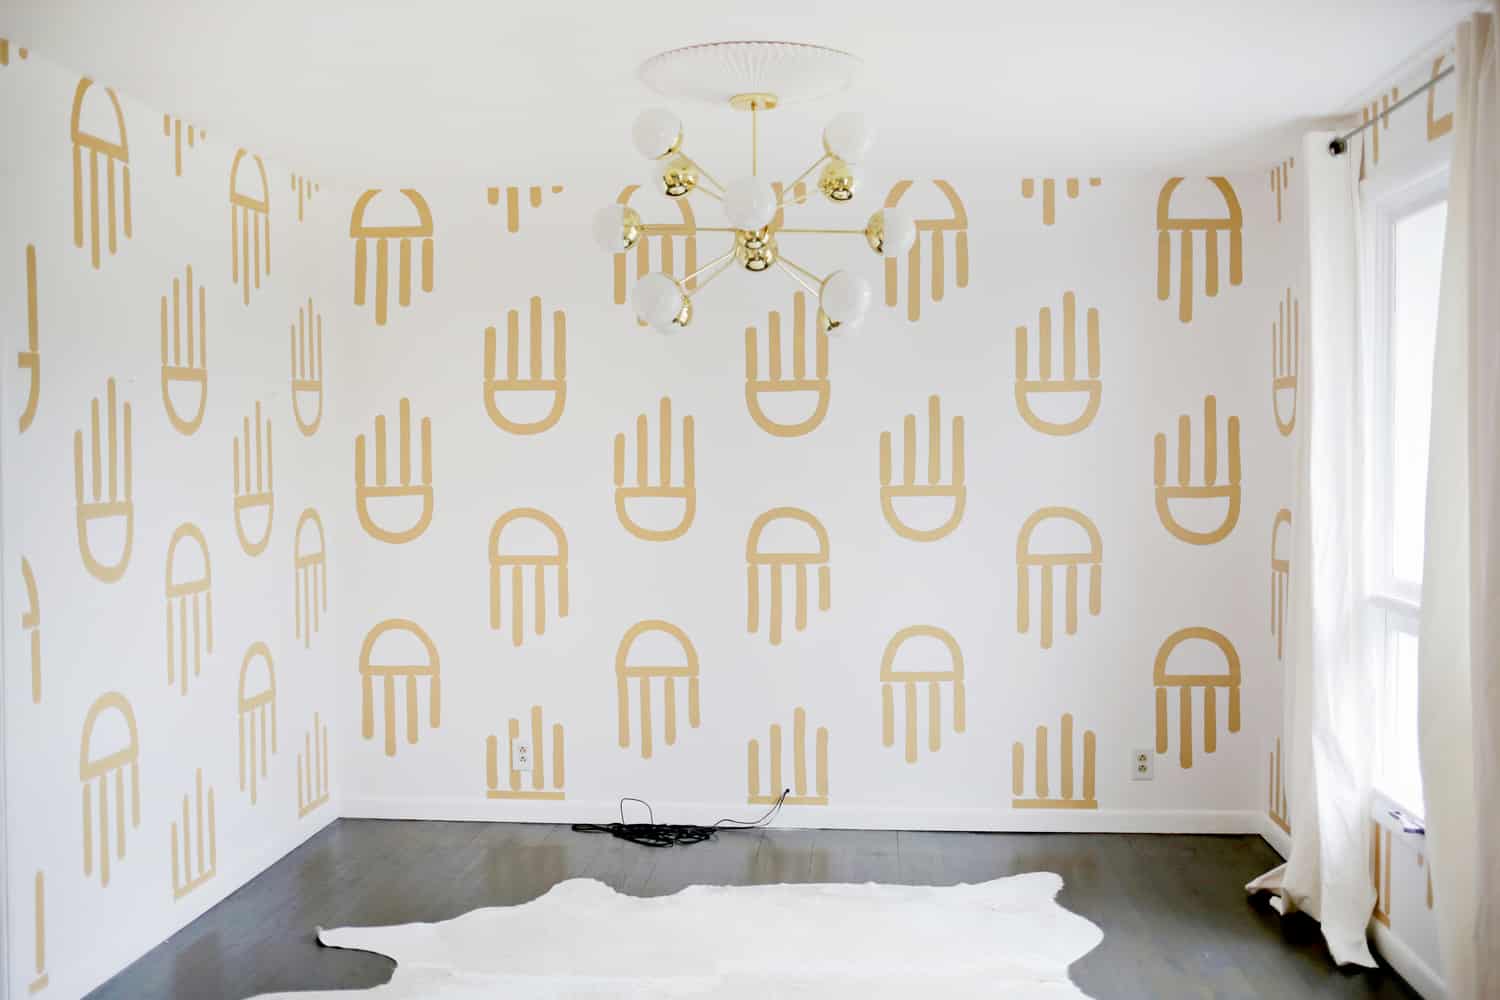
I spent what felt like forever sketching out some patterns and shape options to possibly use for the wallpaper … I really wanted to do a hand pattern of some sort but also liked the idea of a simple geometric shape, so I ended up combining the two to make a shape that looks like a simplified hand (without the thumb).
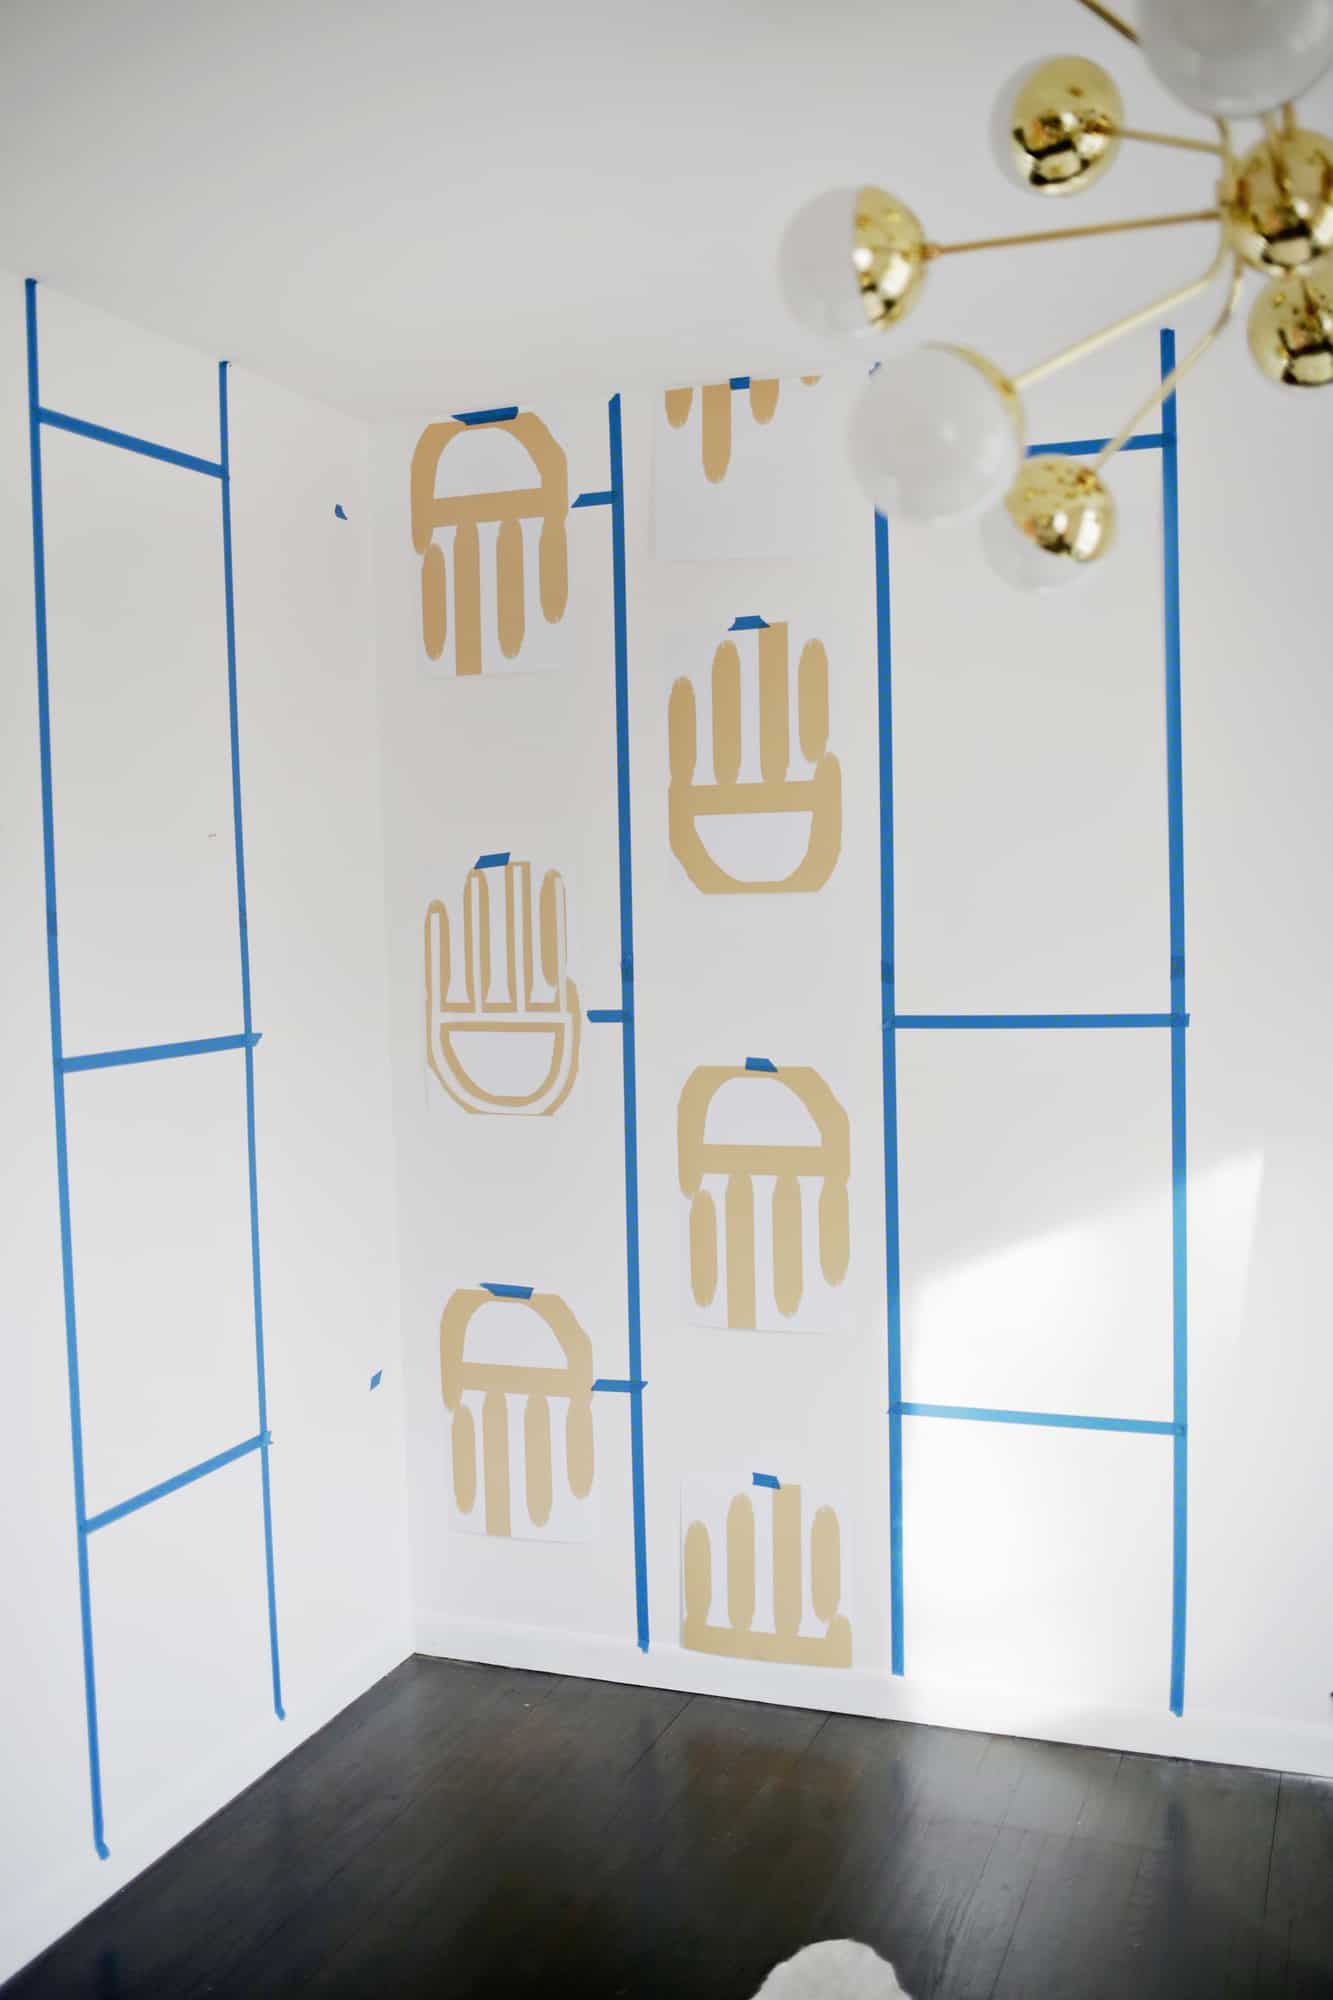
I then printed out my shapes at full size on a printer that does large documents so I could tape a few up on the wall and get the right placement for tracing.
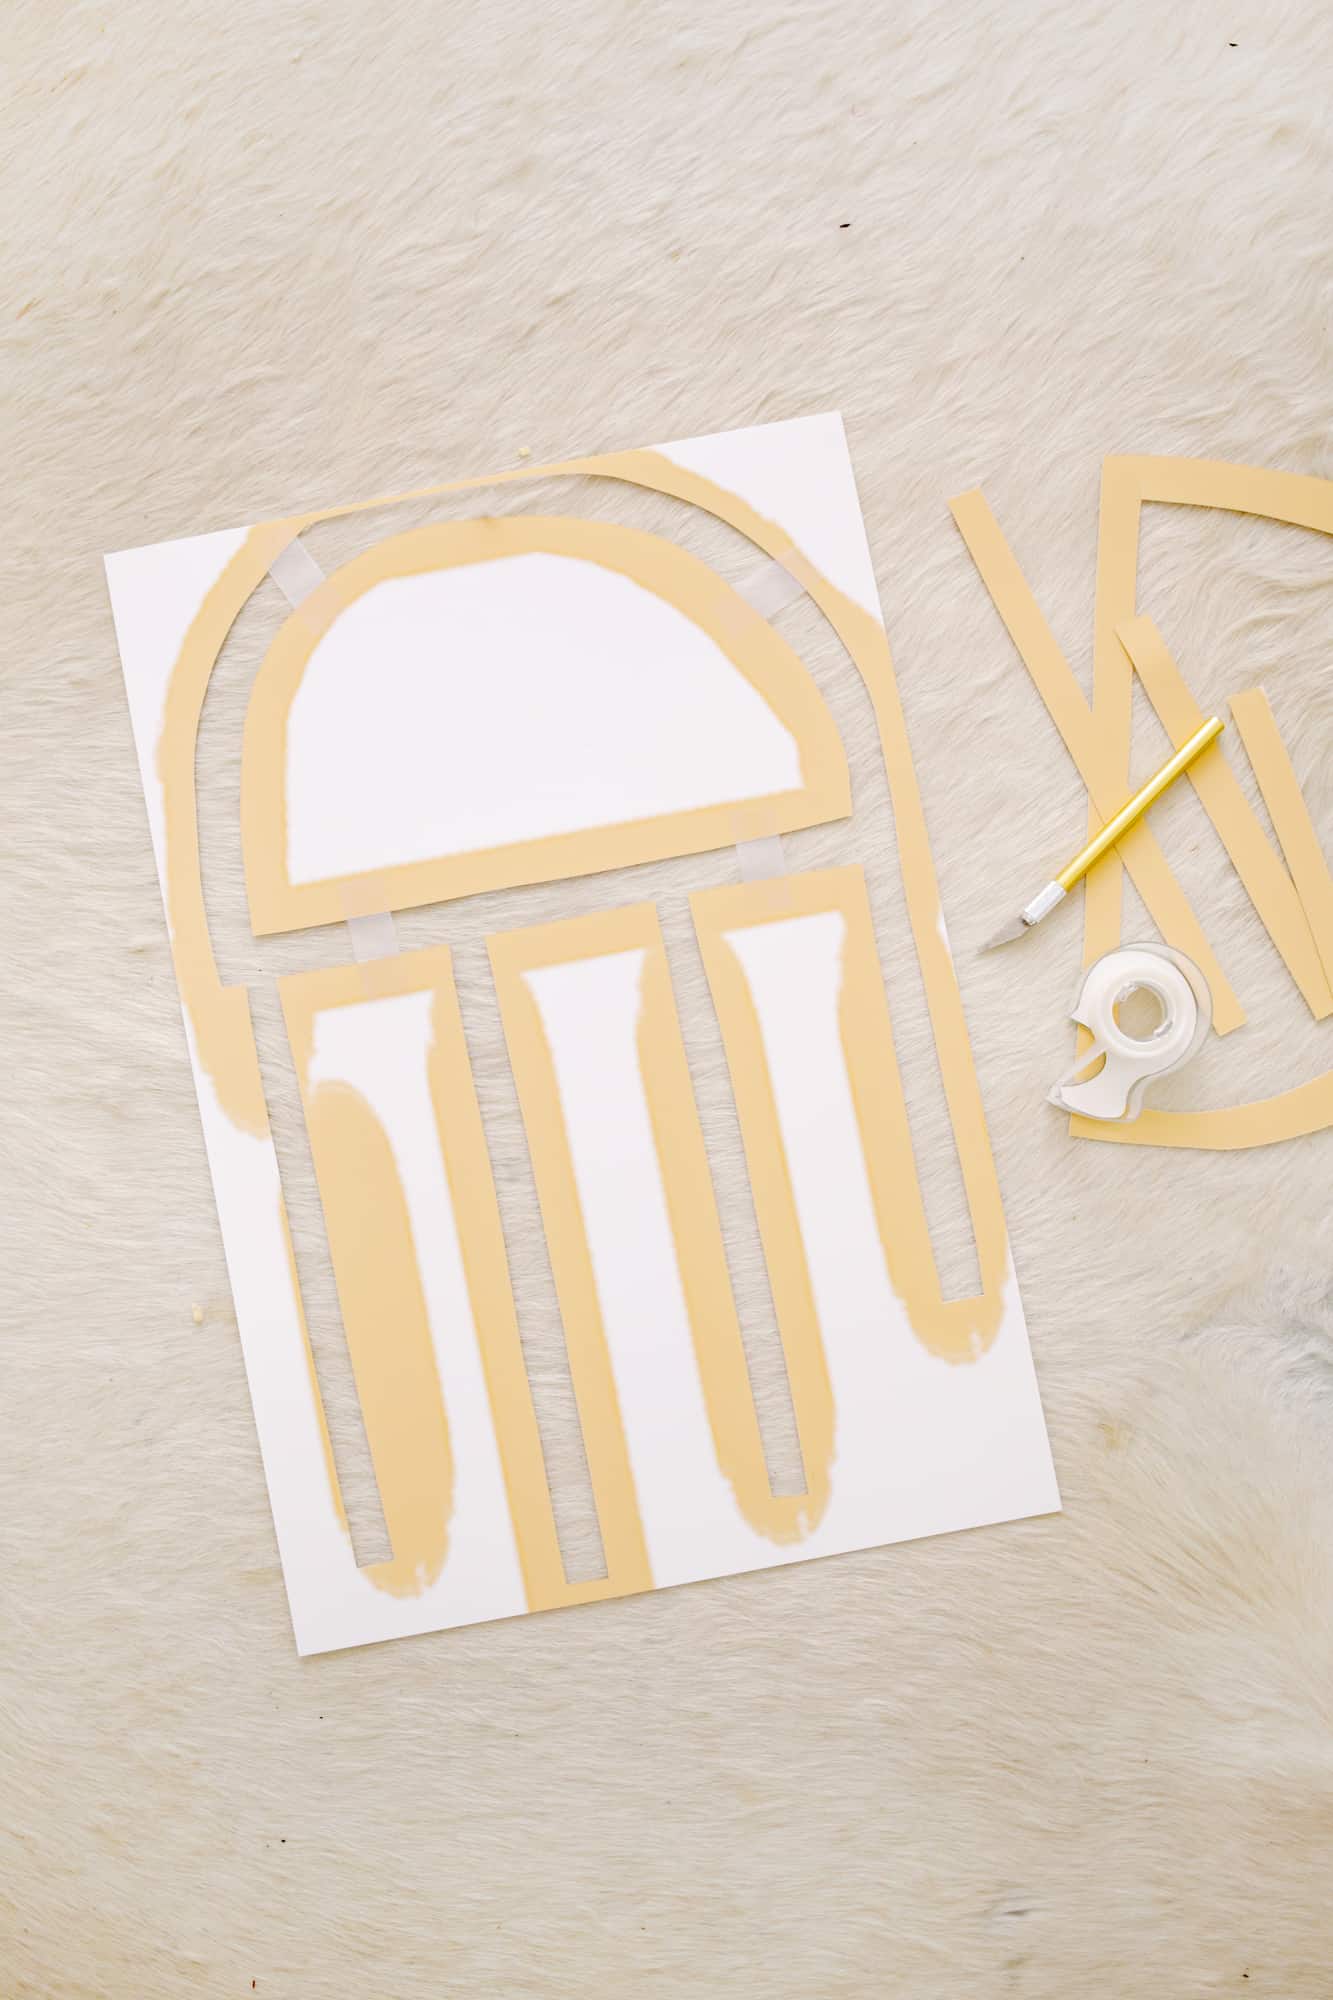
You can download the shape that I used for my template to create your own wall and you can resize it as needed for your space (you can print templates out bigger at a Kinko’s-type place if you don’t have a large printer at home).
I also used an X-Acto knife to cut out the middle sections of the shape so I could trace the shape directly onto the wall.
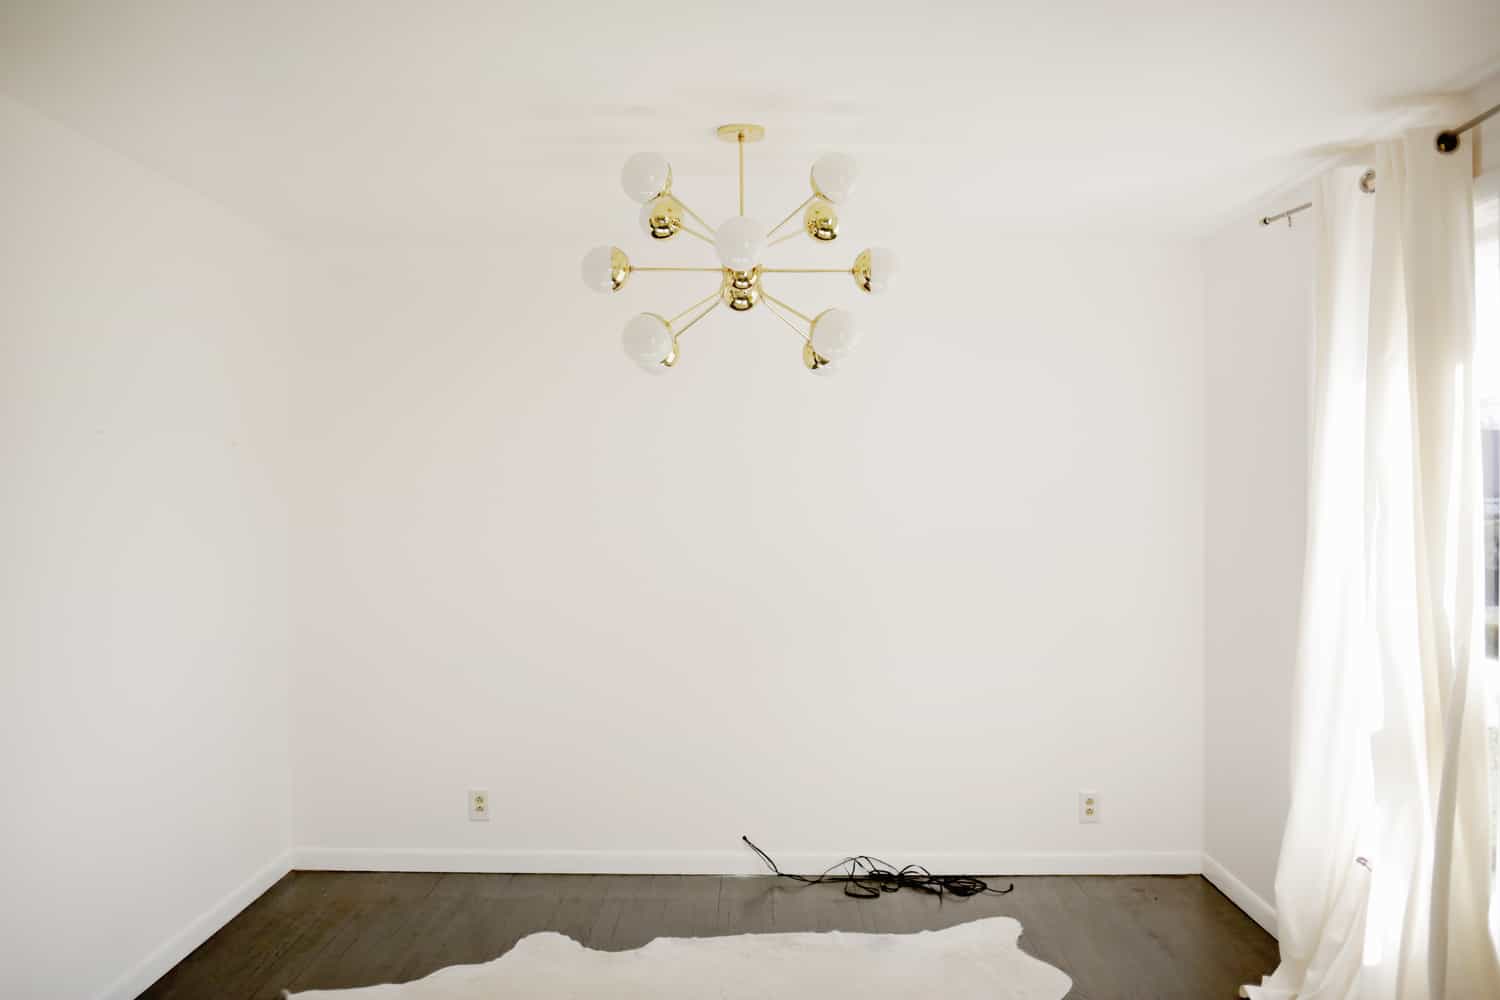
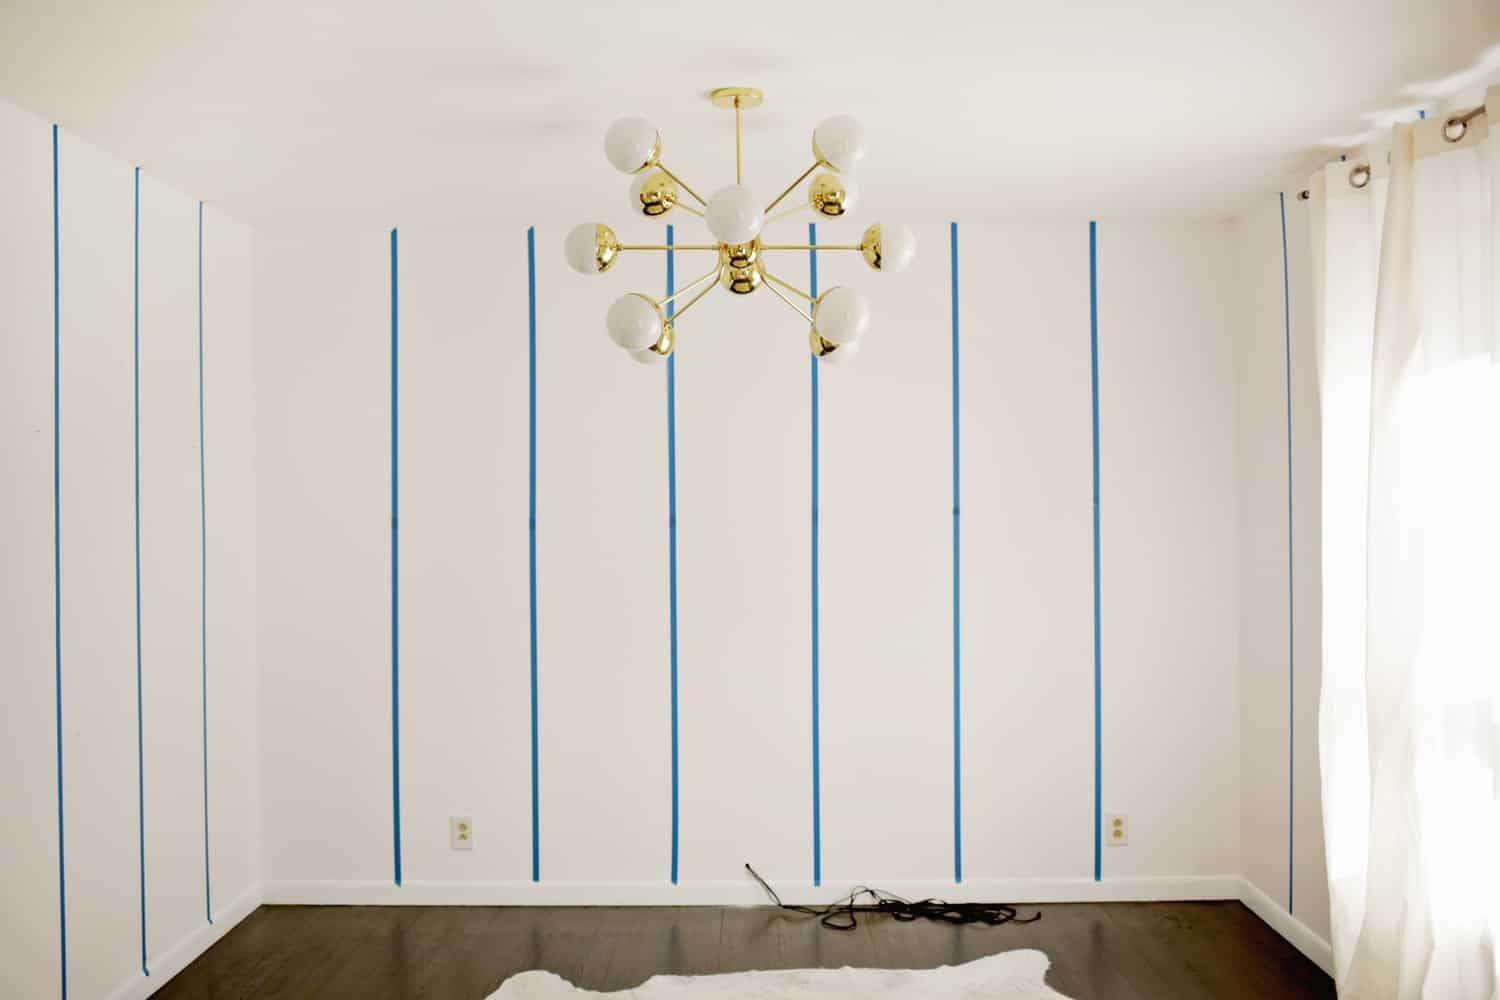
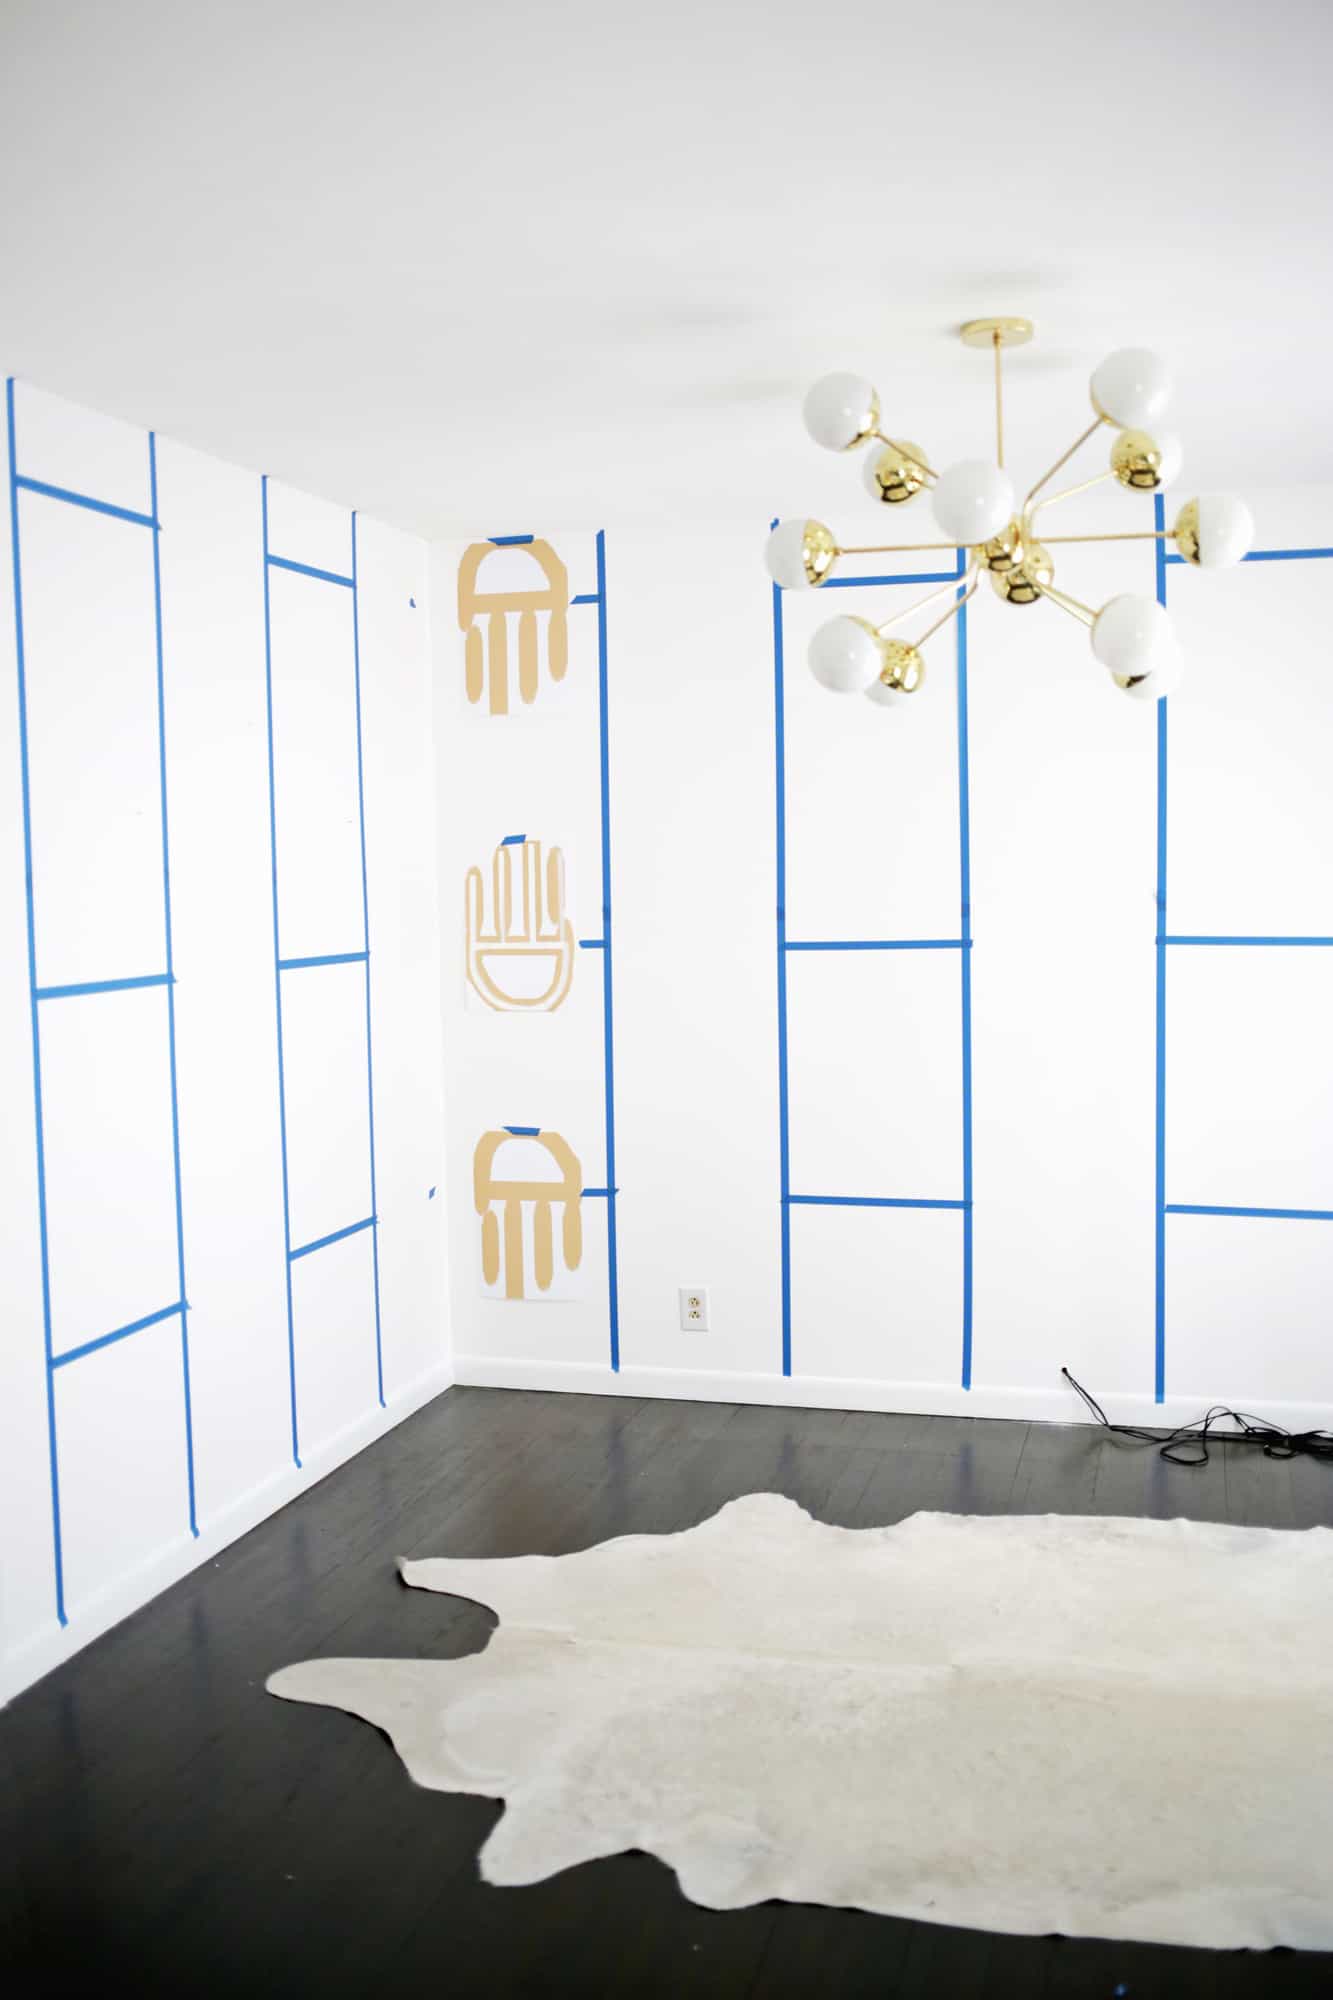
Once we moved everything out of the room, we used painters tape to divide the back wall into seven equal sections a little wider than my shape and then divided the side walls into sections at the same width.
I used three of my printed templates to decide exactly where I wanted the shapes to be traced (based on what looked good with my wall height) and which way I wanted them to face.
Then I used painters tape to mark a straight line where the palm should be located on every other column, so I would know where to place the template on those columns so they would all have the same pattern.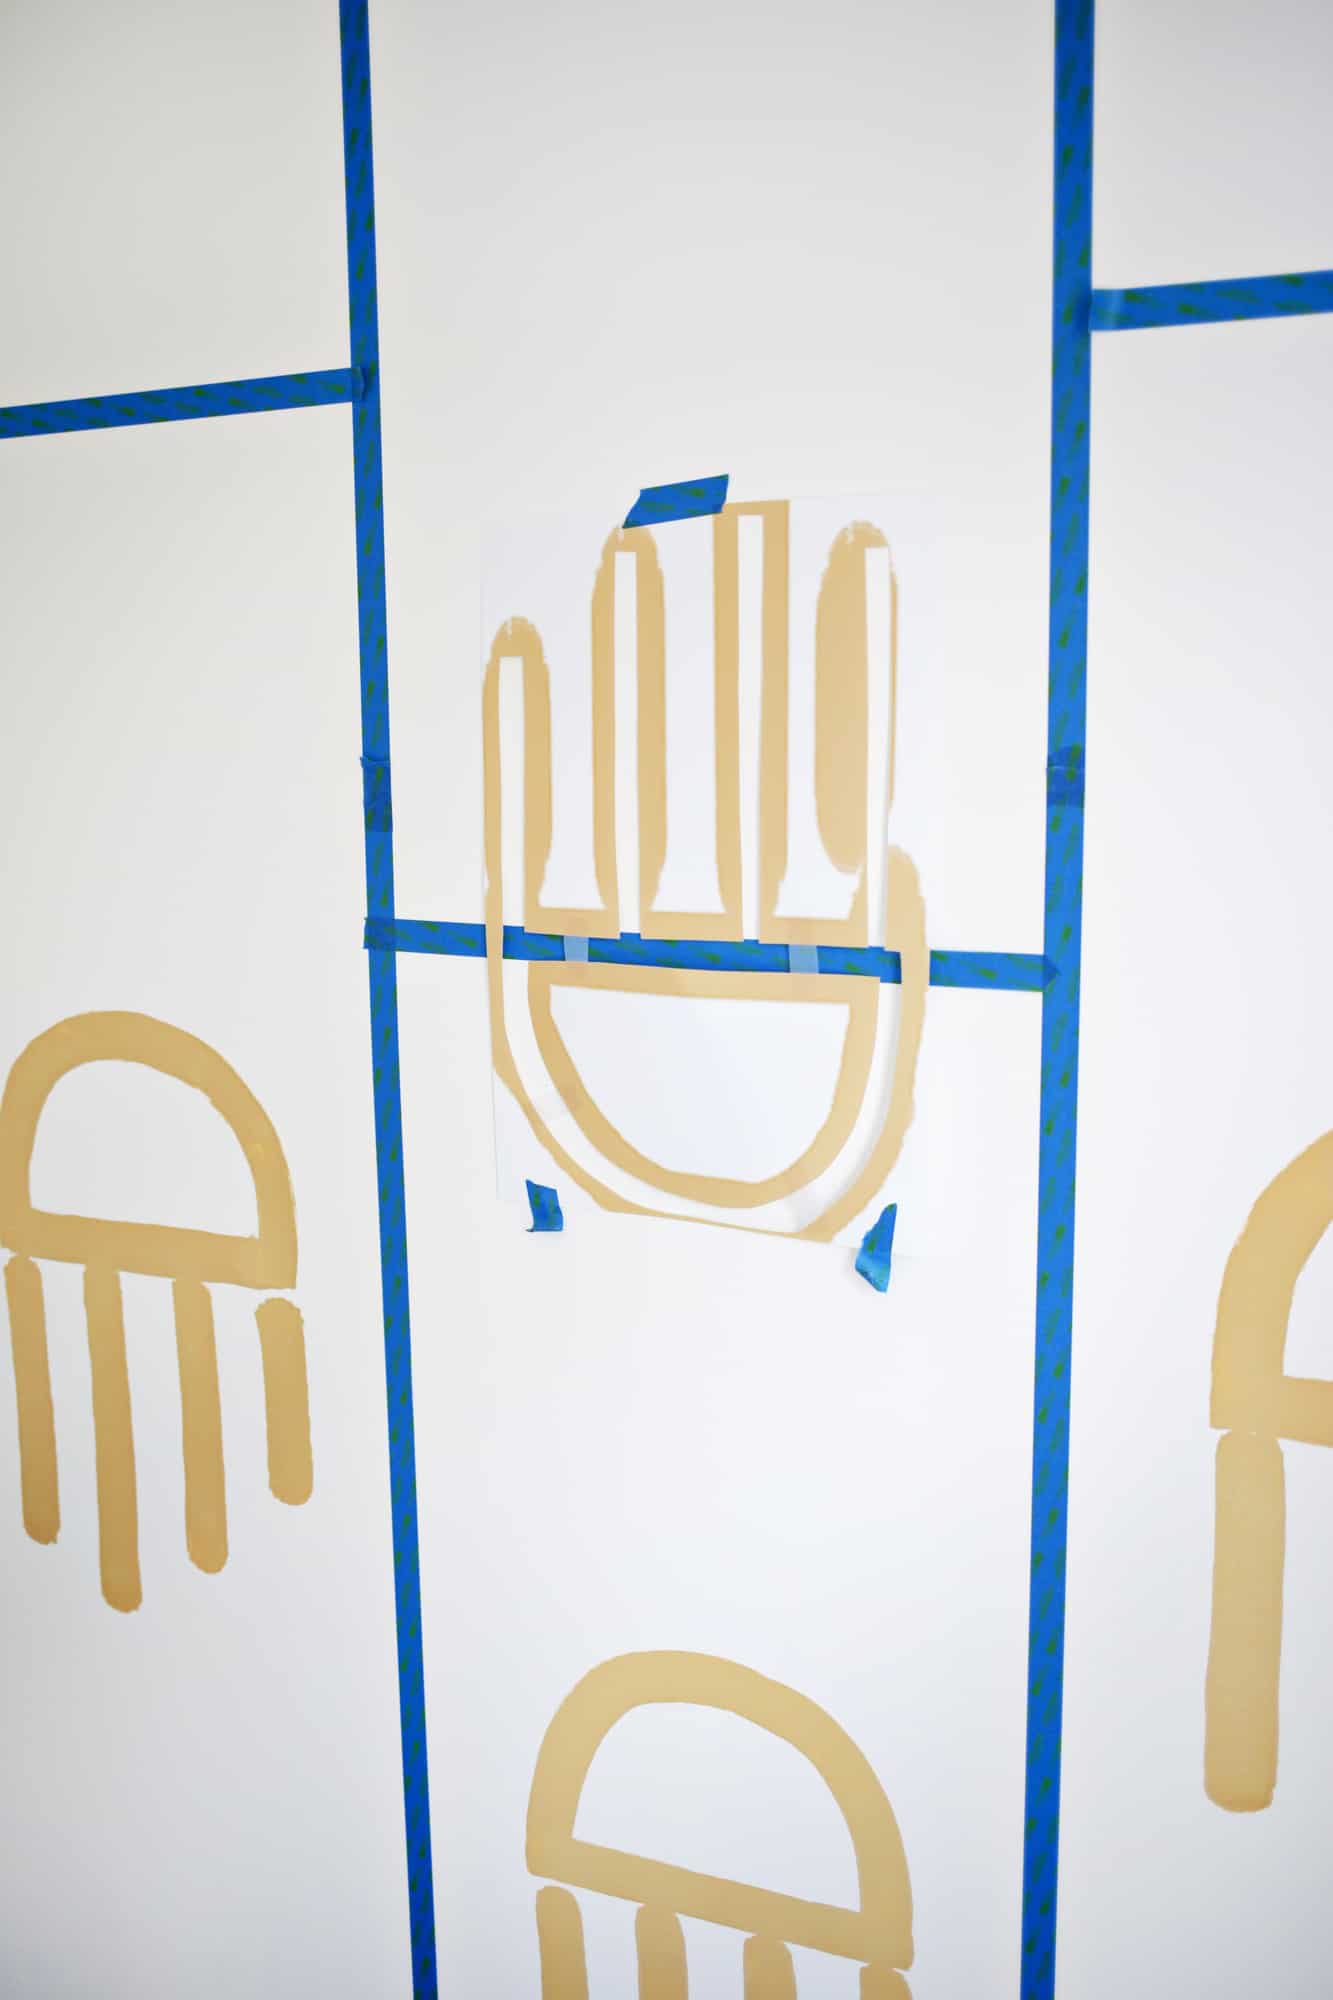
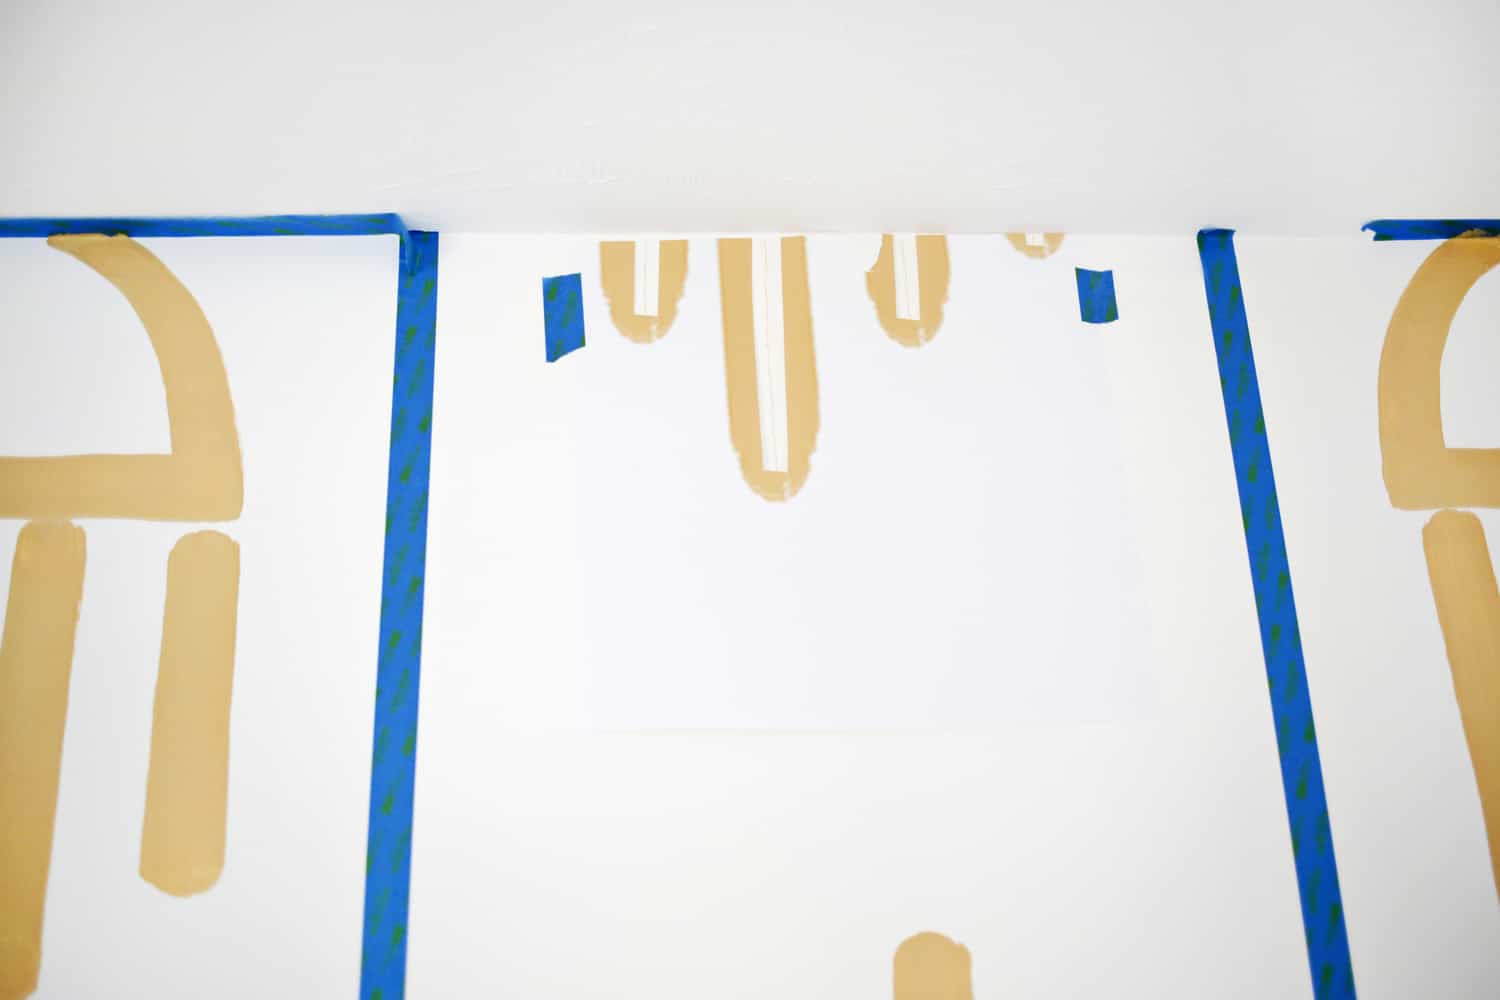
As you can see, I used a colored pencil that was a similar shade of the paint I was going to use so that there wouldn’t be any dark pencil lines showing through the paint.
Believe me, I learned my lesson on that doing my daughter’s nursery wallpaper when I had to do extra coats just to cover up the pencil line …
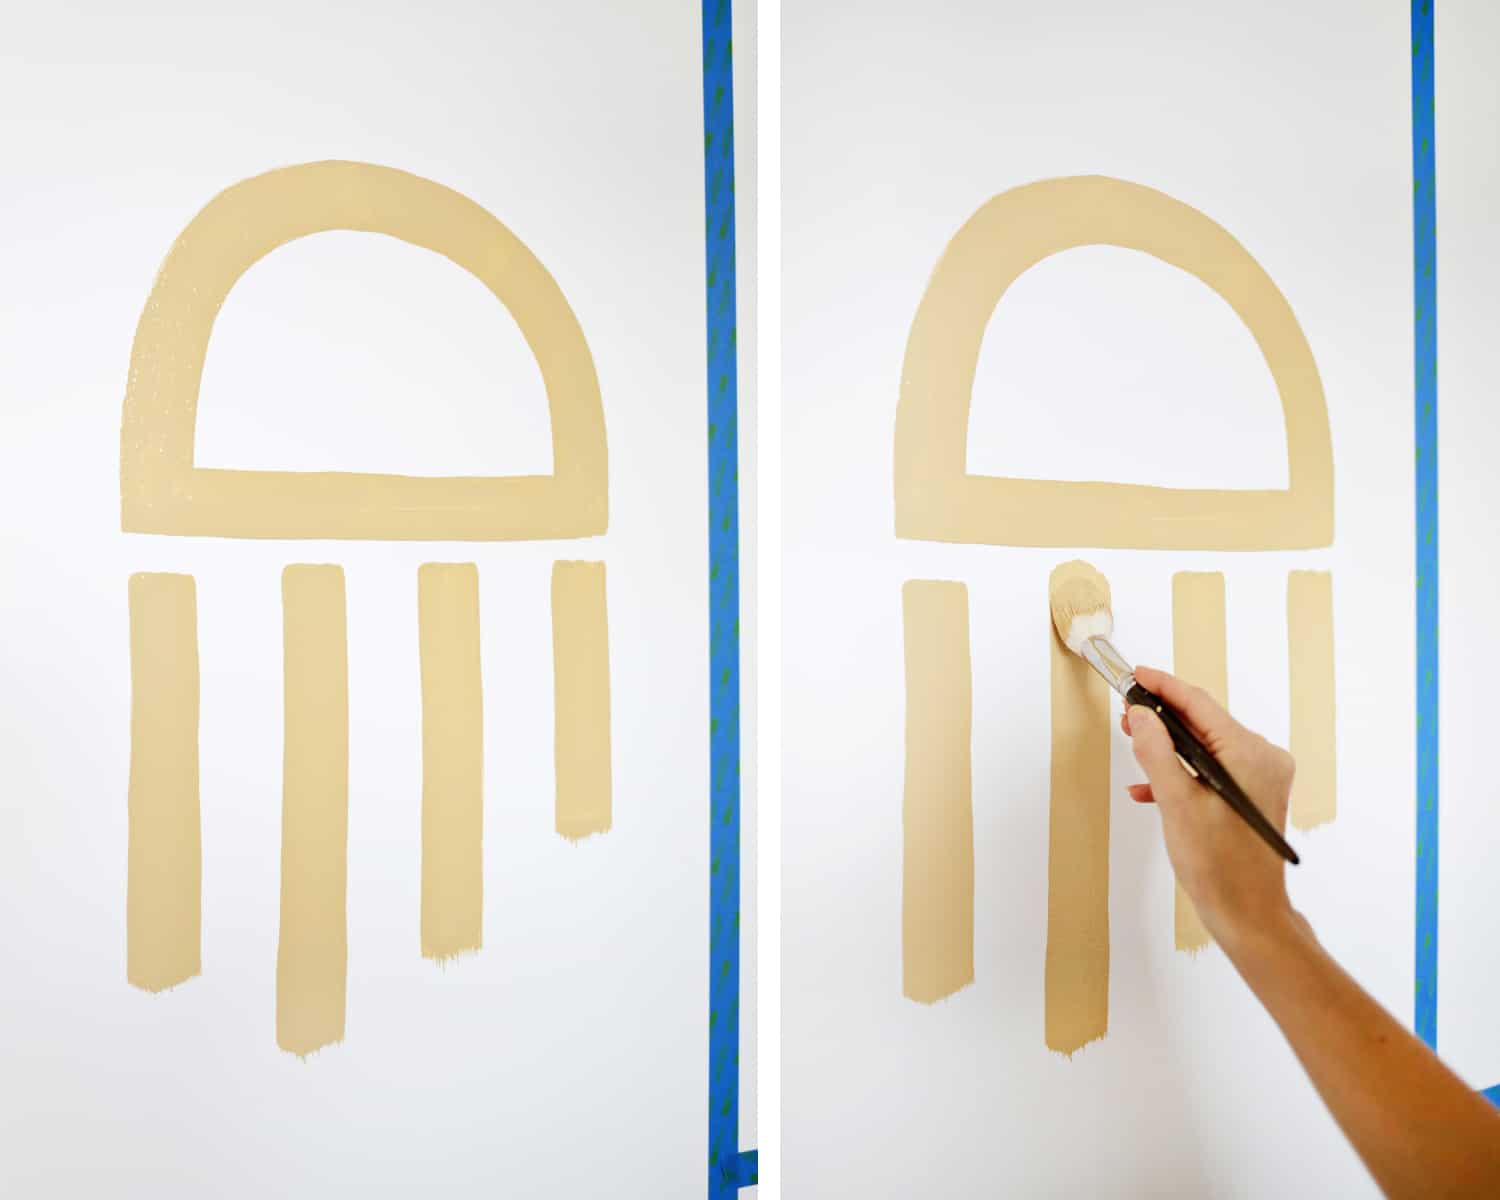
Once each template was moved into the right position and the shape was traced, I used a 1.5″ flat brush to go over each line to make the general shape and then I used a large round tipped brush to go over the start and end points of the straight lines to round out the tips. I used Valspar Young At Heart paint for the golden camel color and I thinned out my paint with a small amount of water to make it flow more easily. There are some parts on each shape that look a little streaky since I really only did one coat of the paint, but I ended up liking that since I thought it looked more like actual brush strokes that way (which they are!).
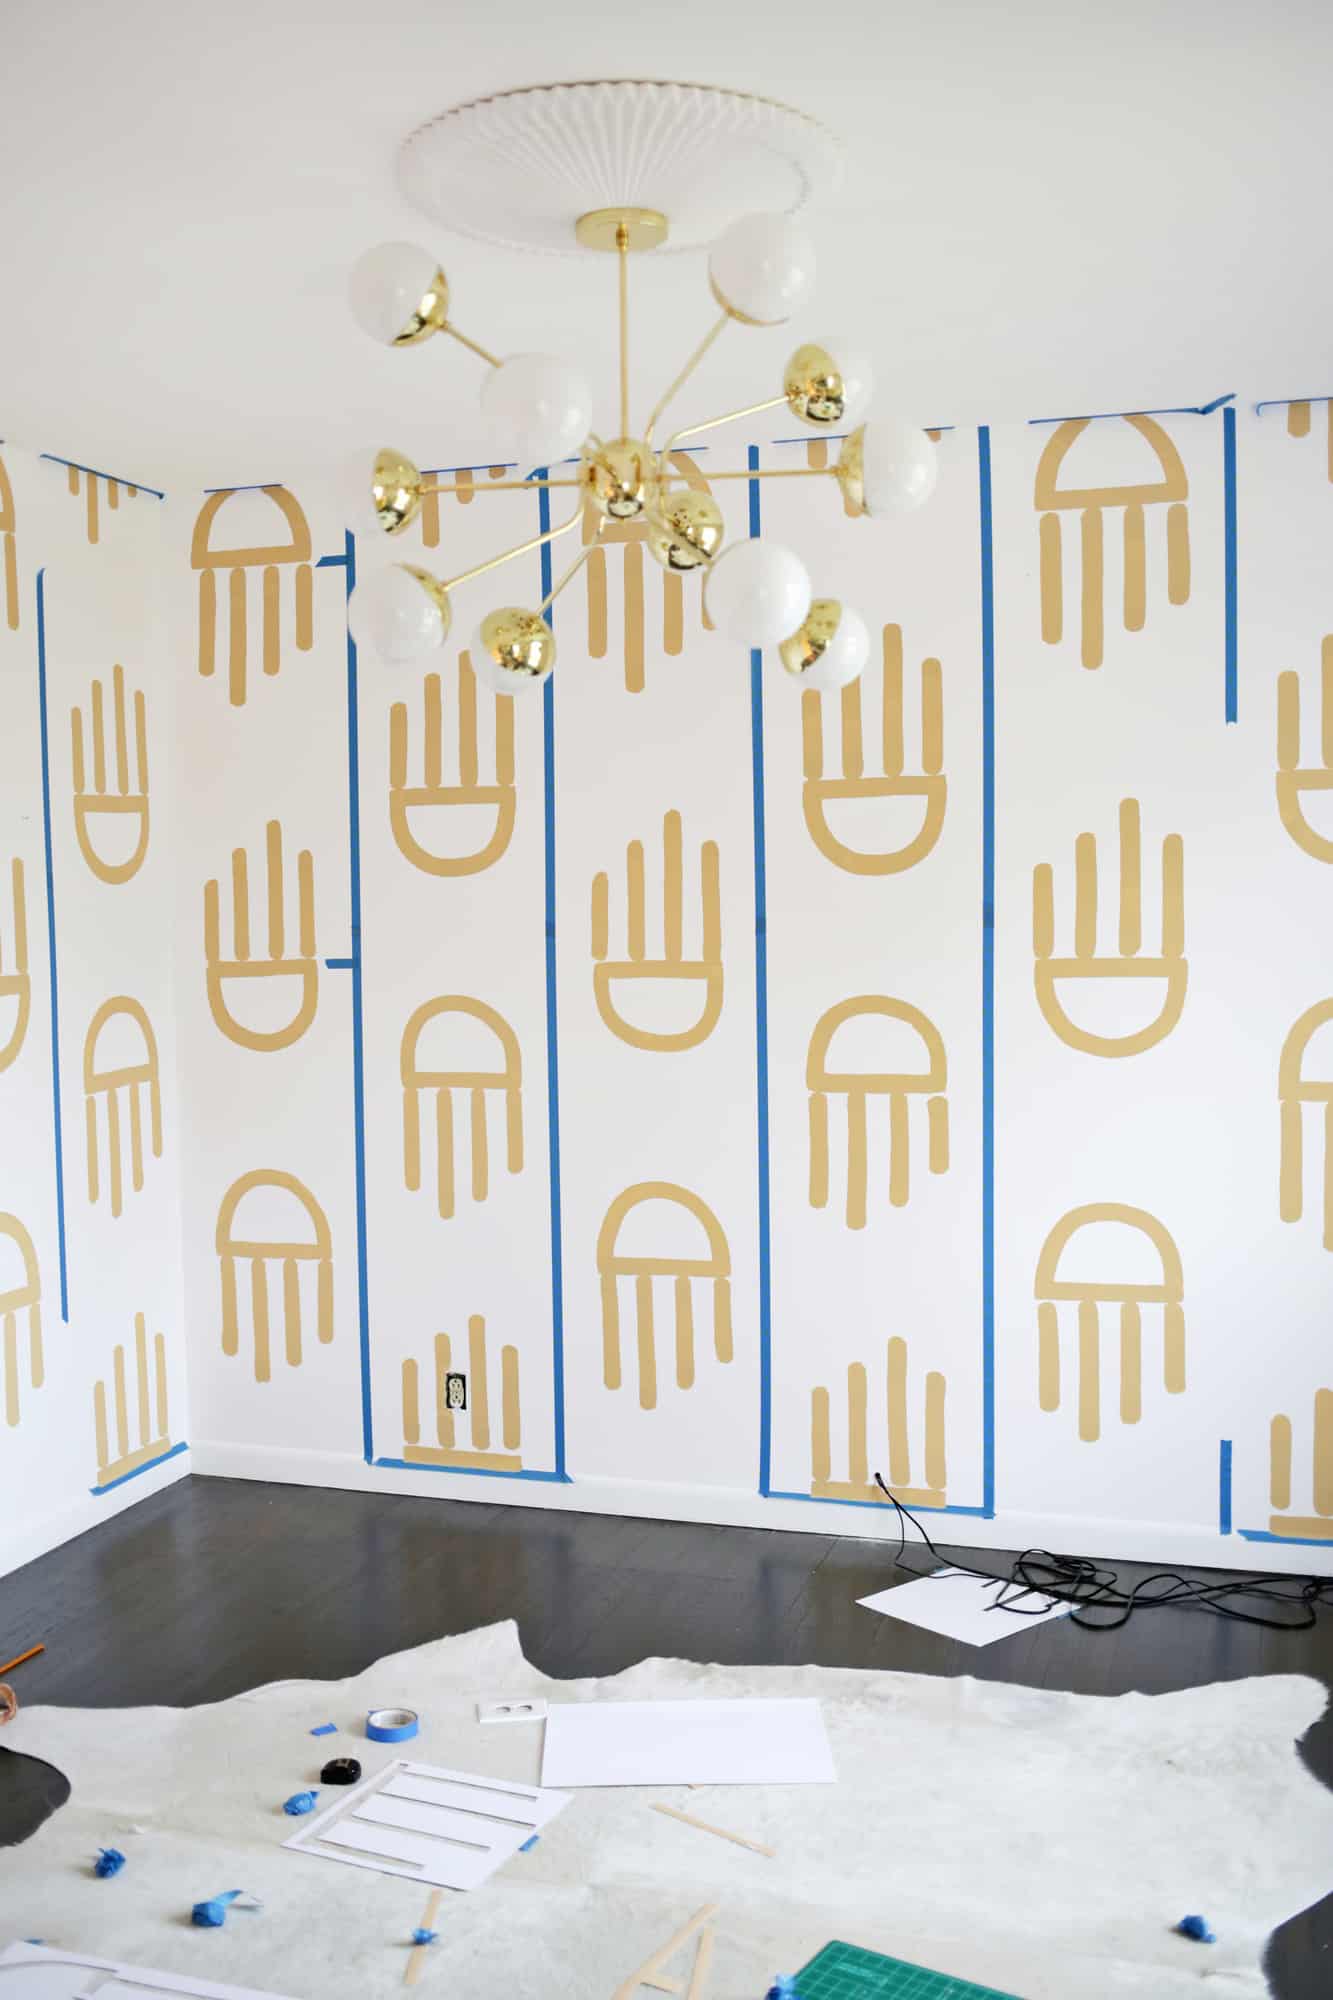
Basically, that’s pretty much the whole method! Making the tape grid, arranging the templates, tracing, and painting!
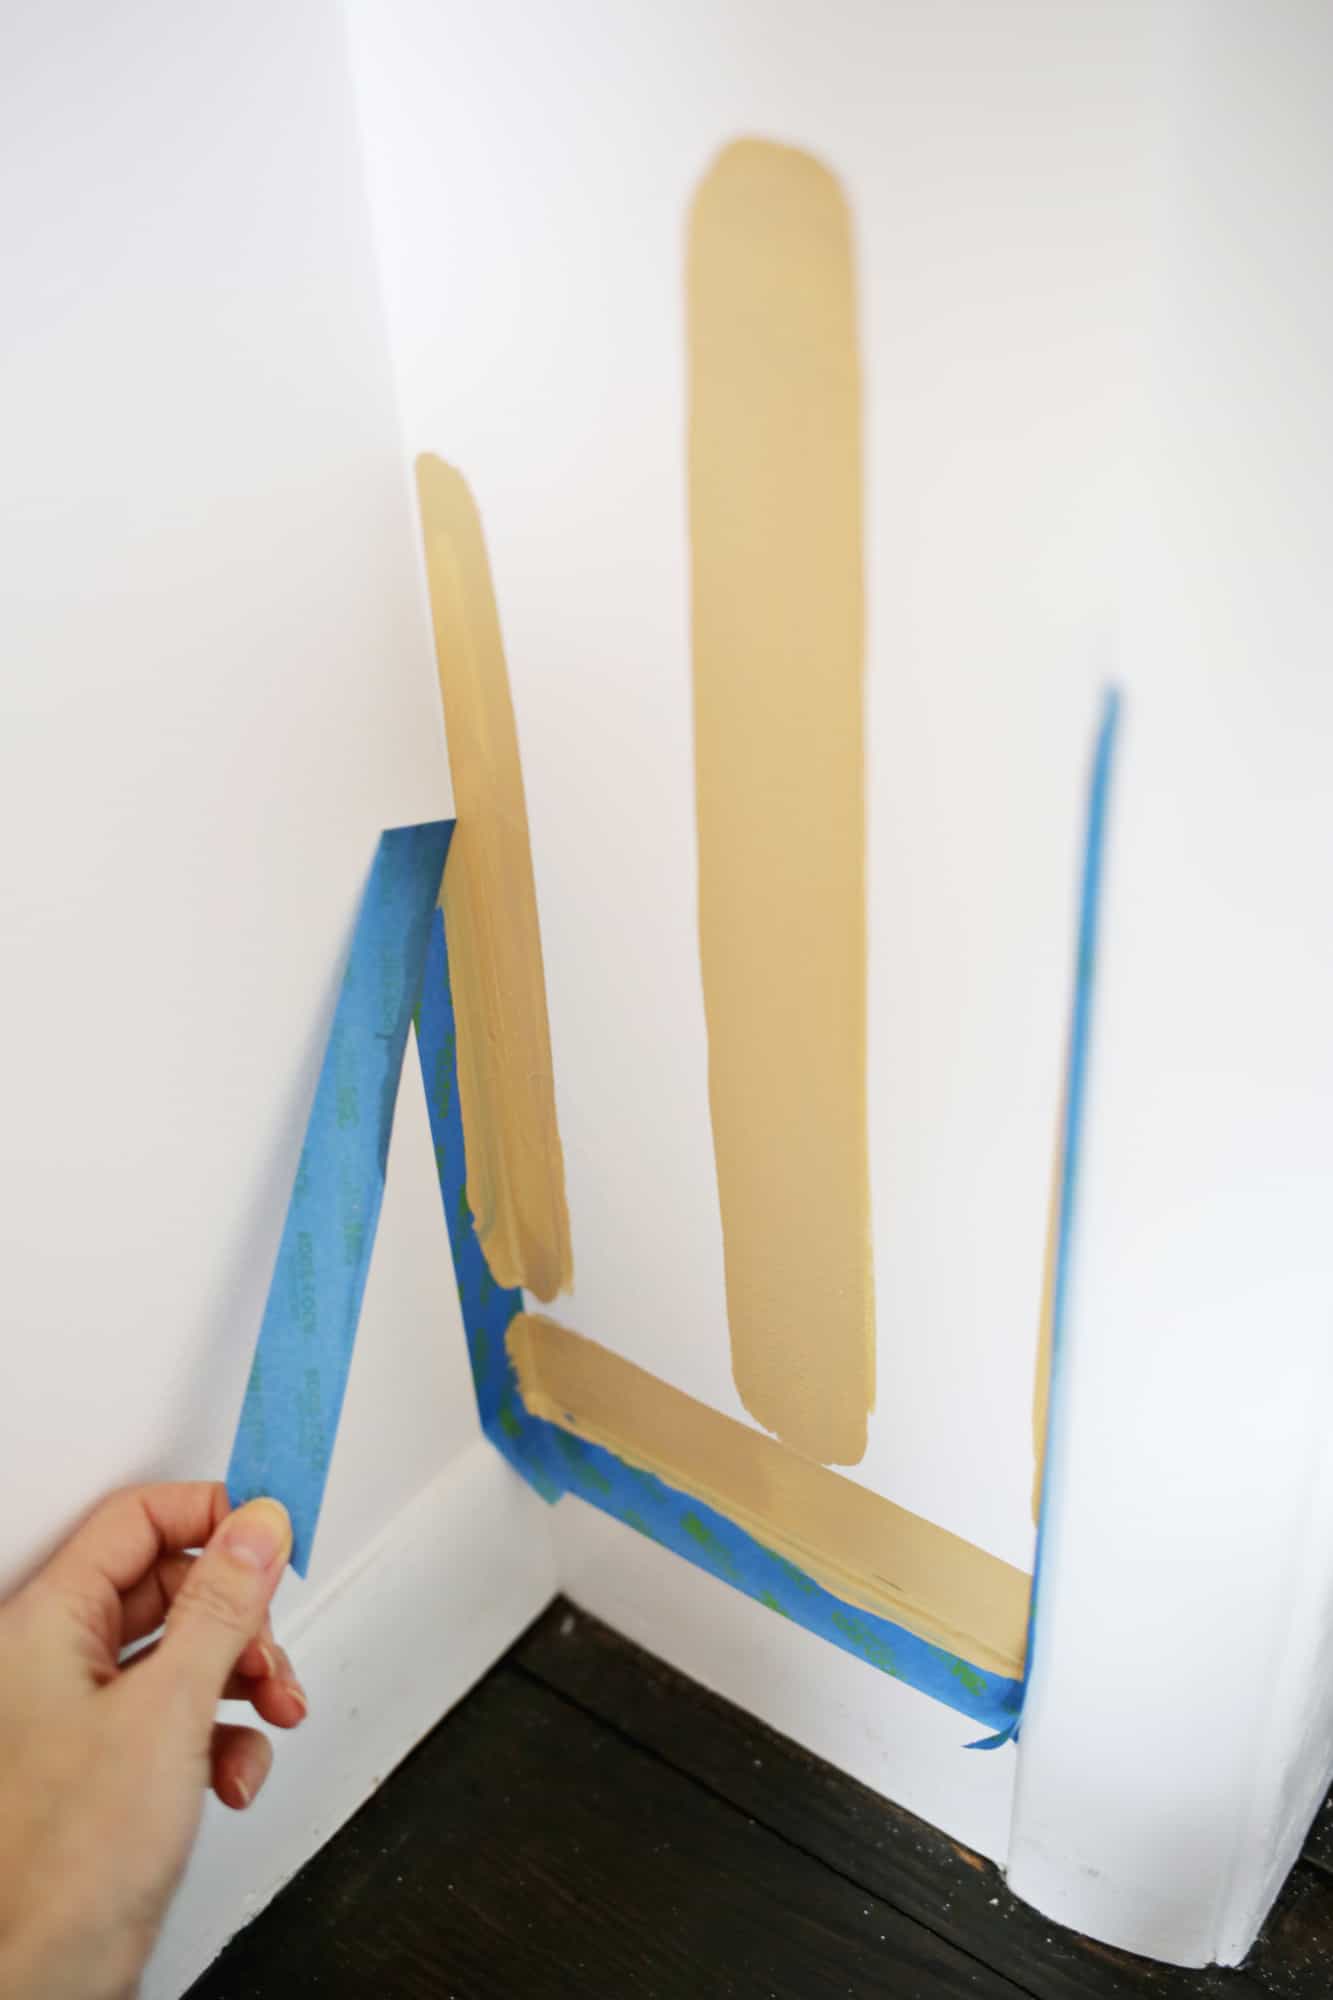
I wanted the pattern to go all the way to the edge, so on the top, bottom, and sides I applied painters tape to the wall so I would have a nice clean edge like wallpaper when I removed the tape.
Pretty fun if you ask me! Now it’s time to move everything back in!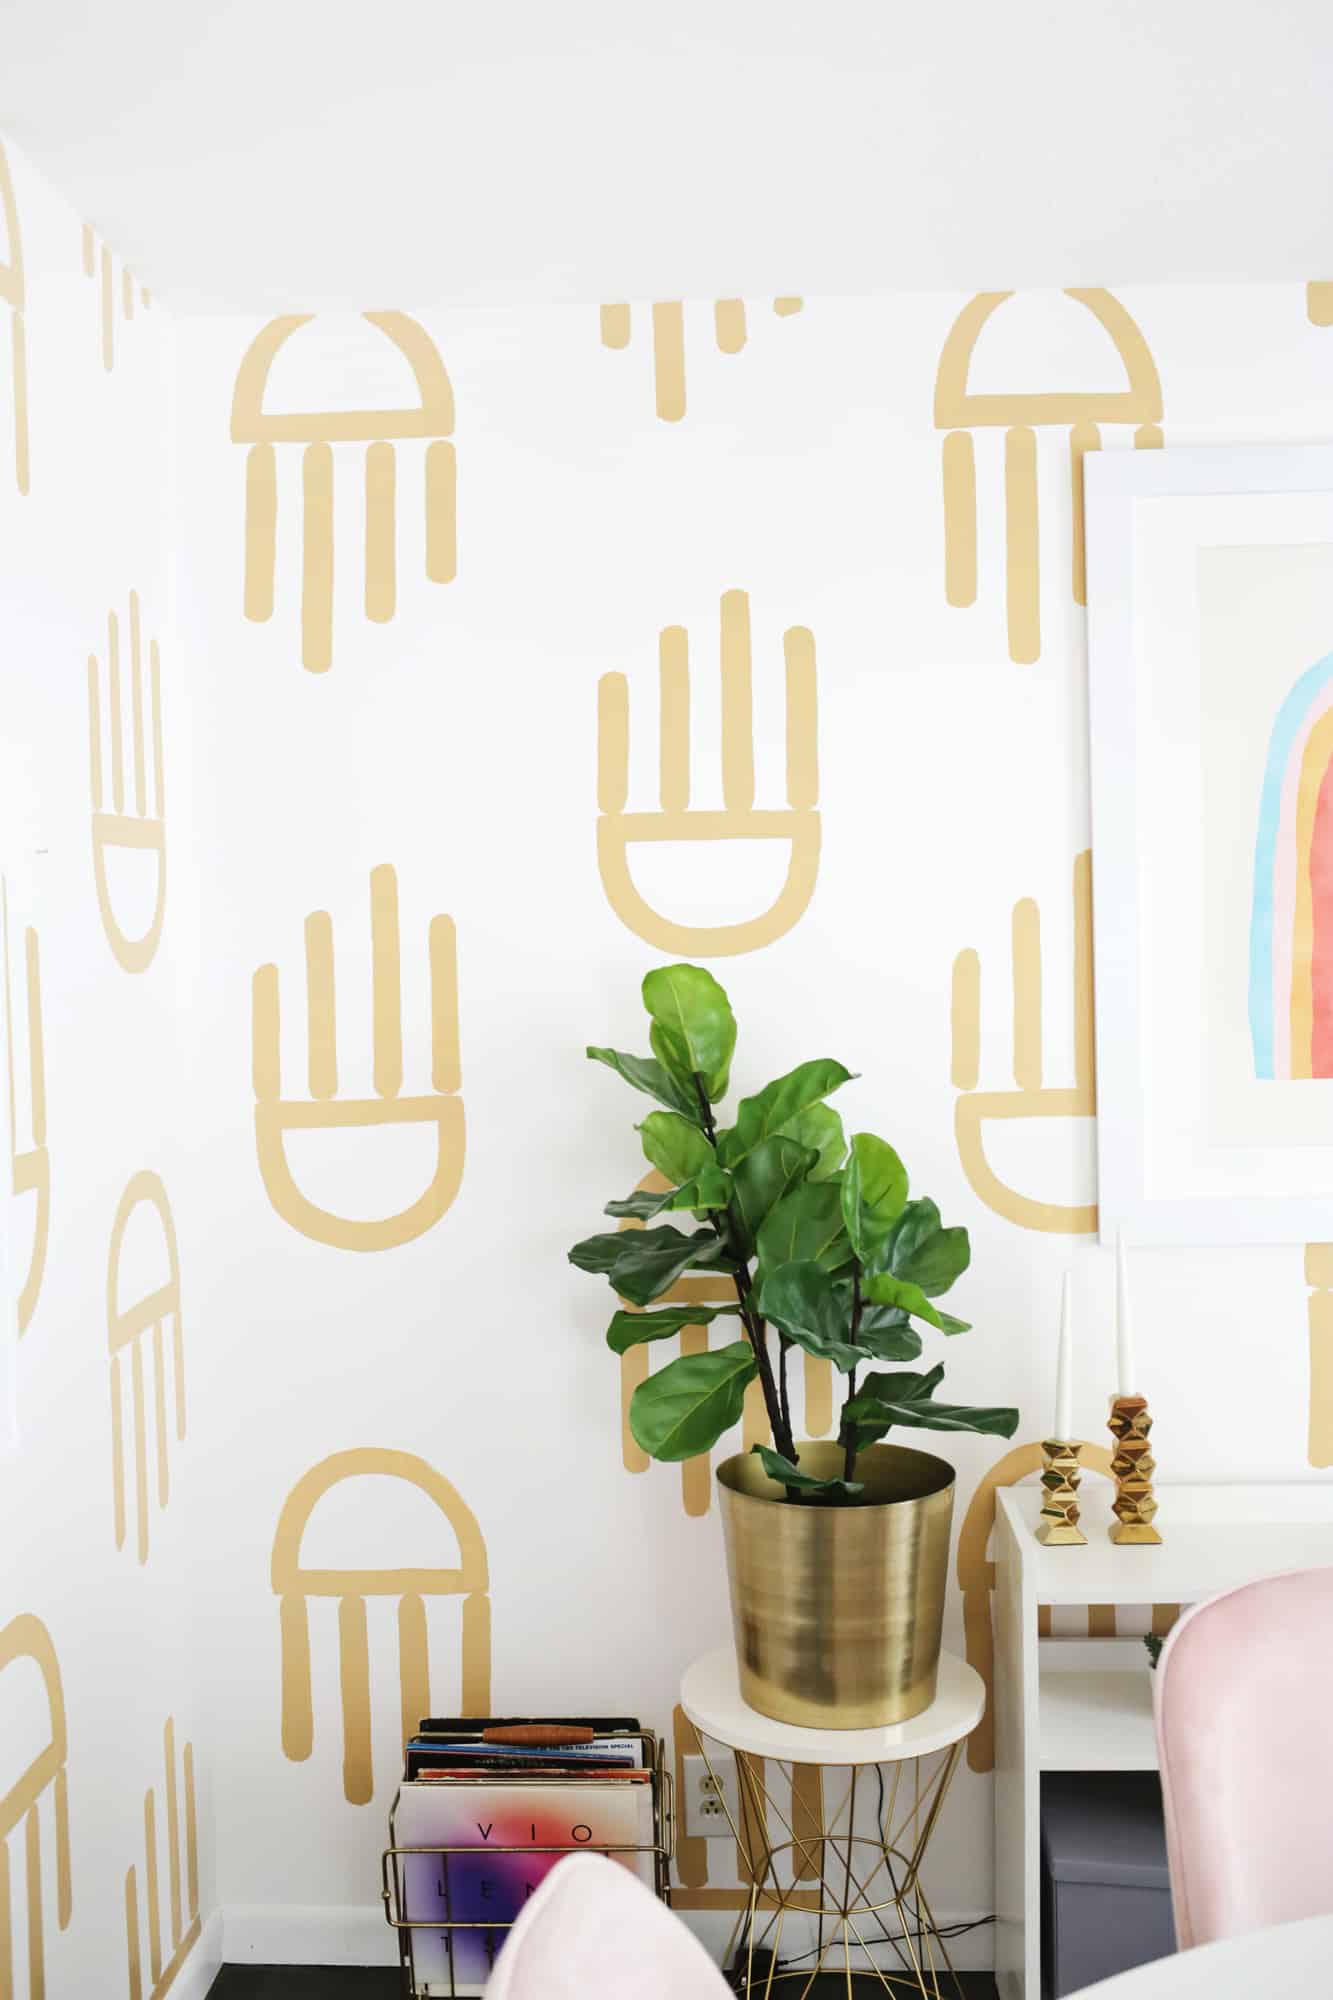
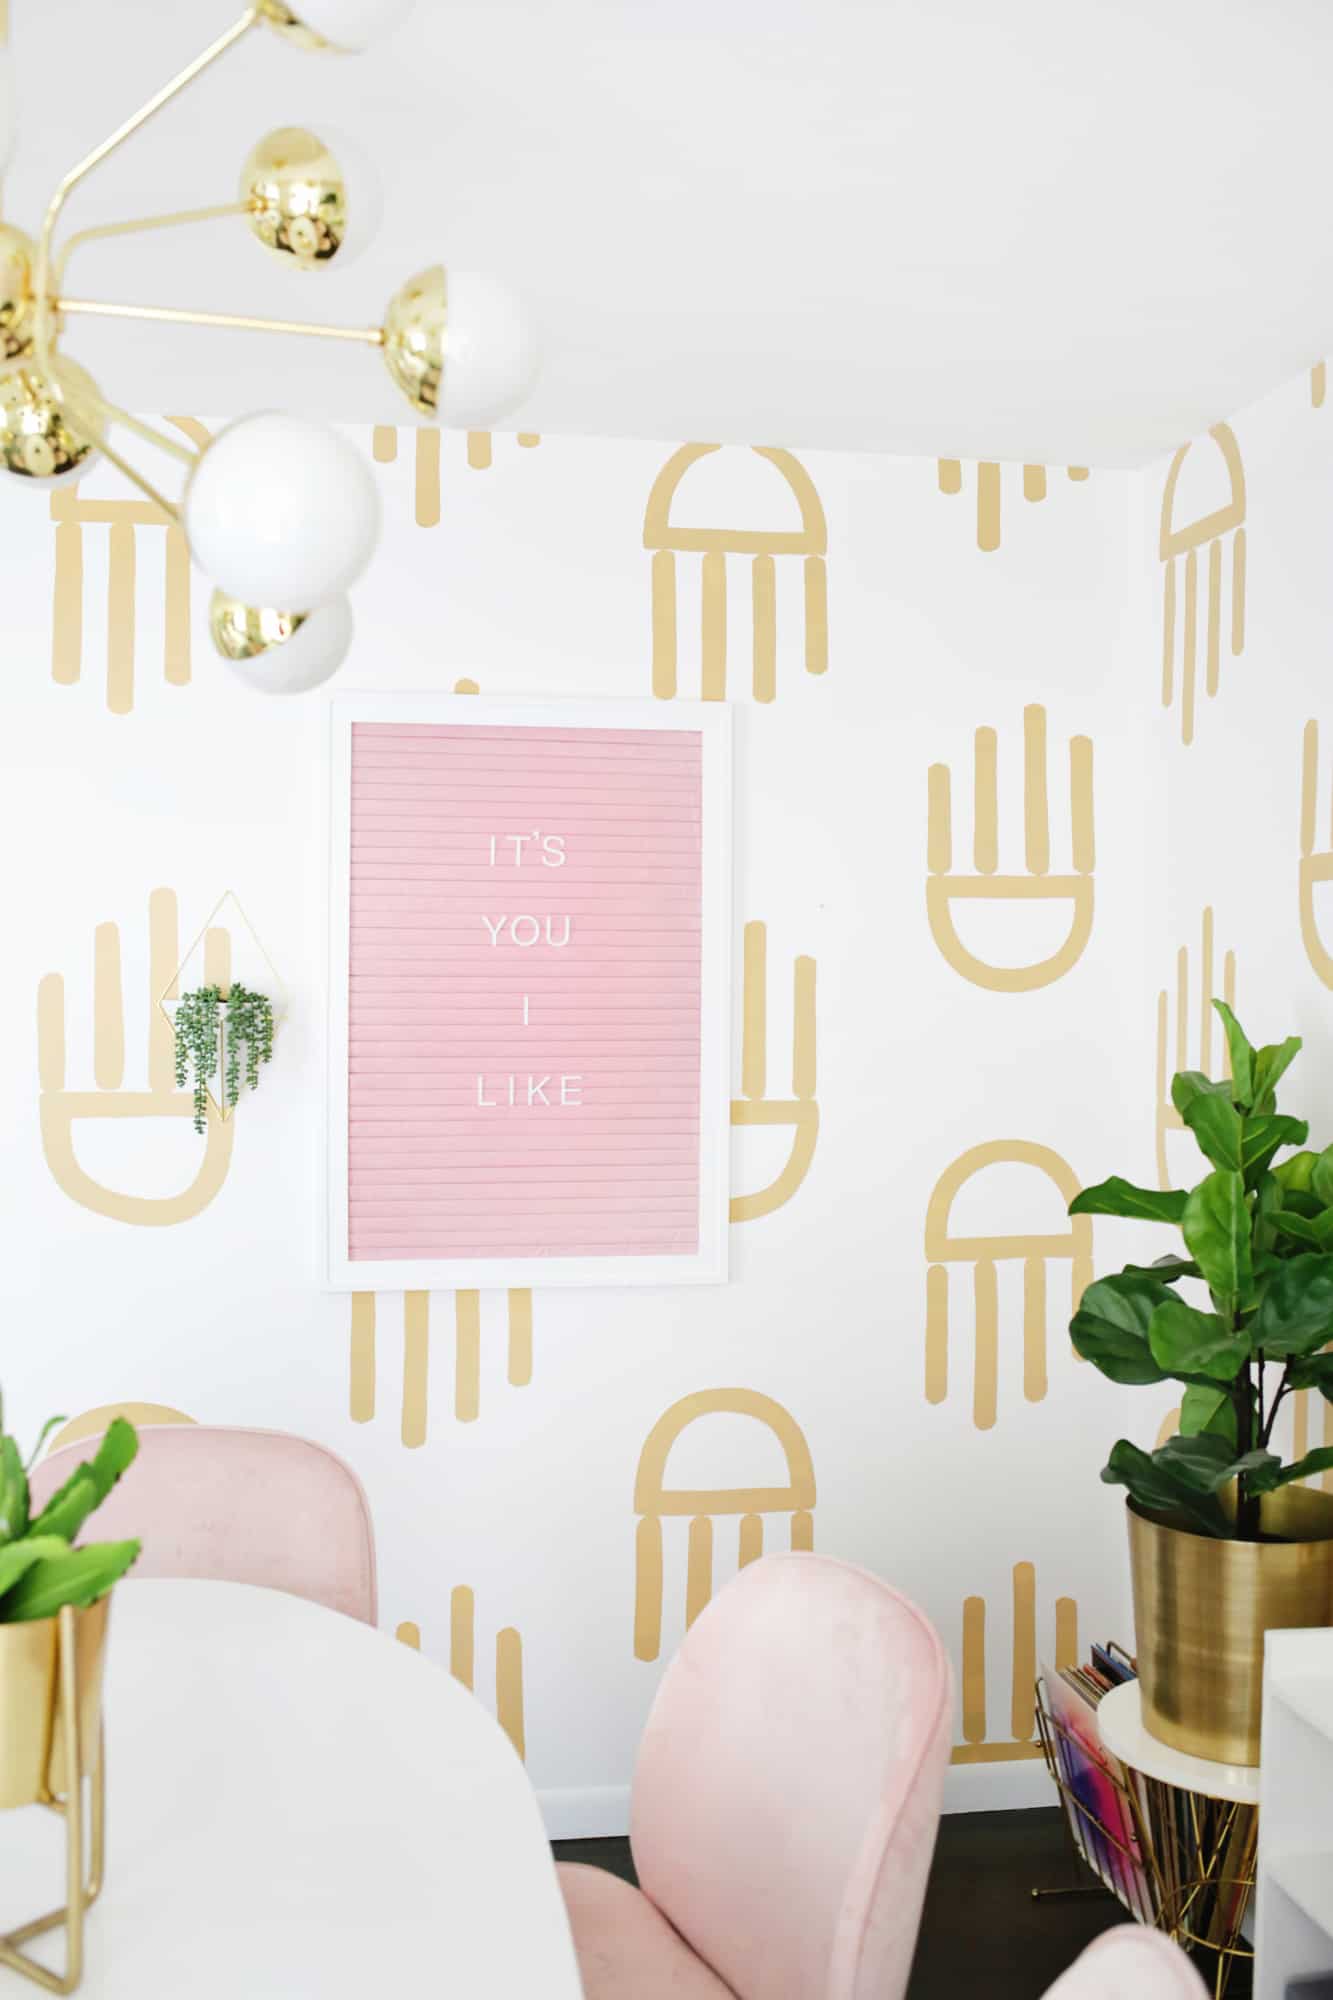
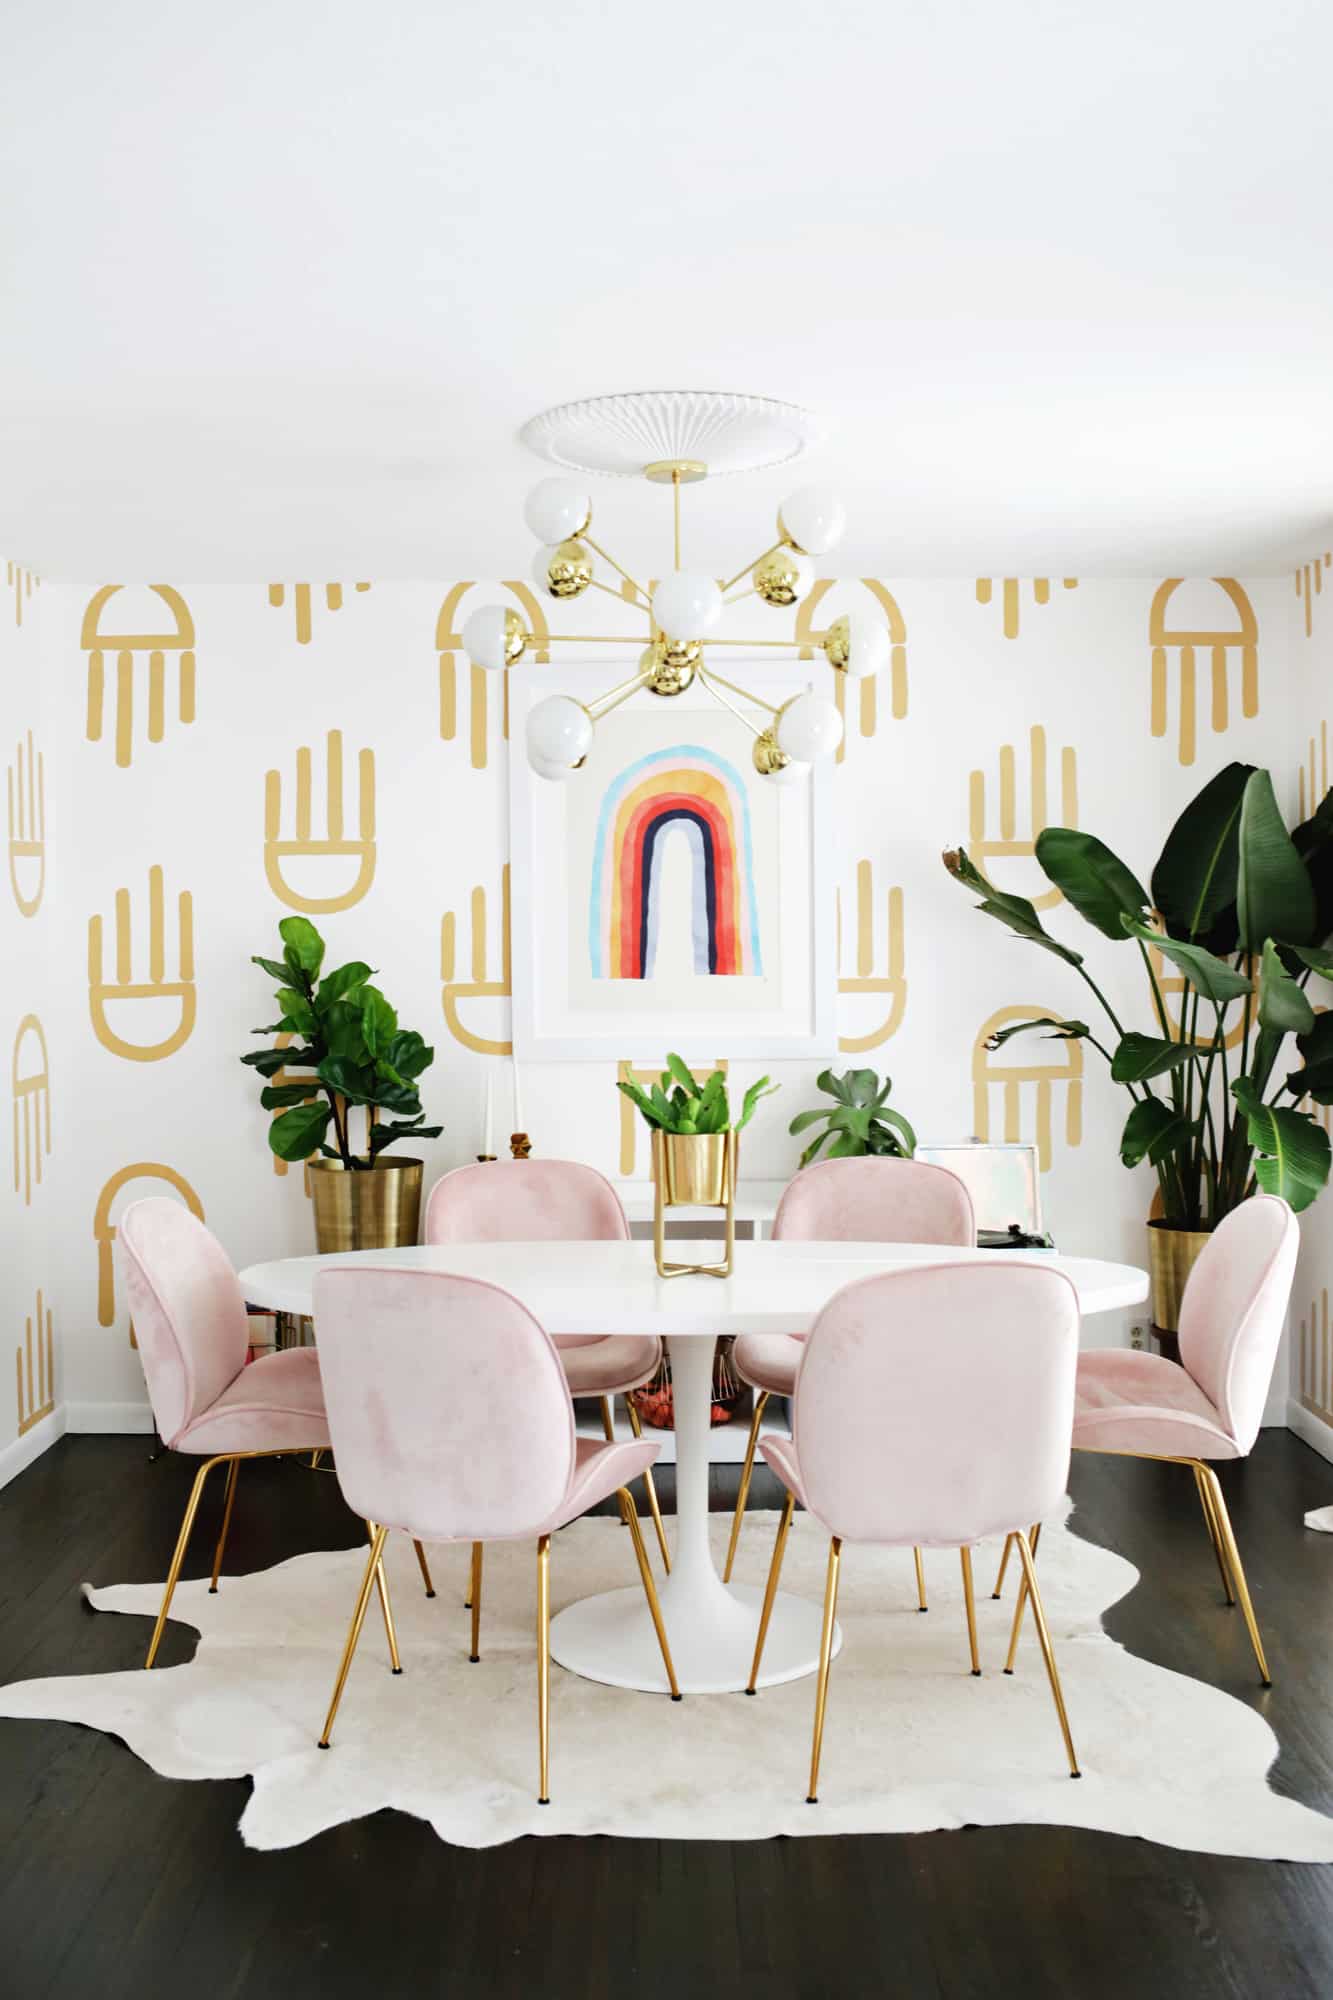
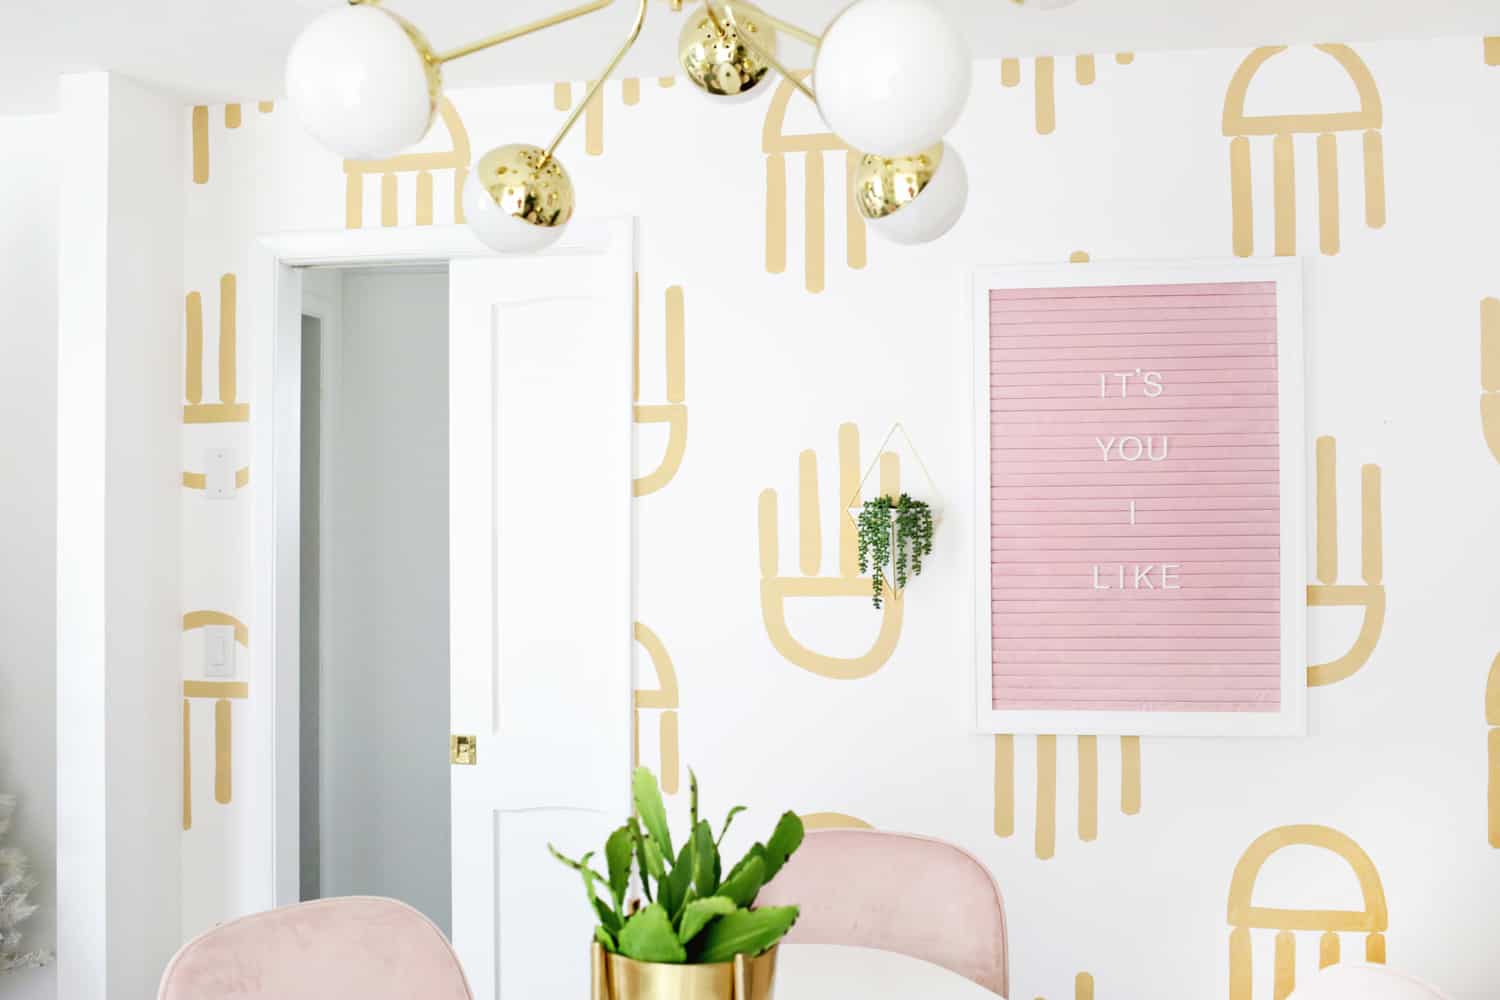
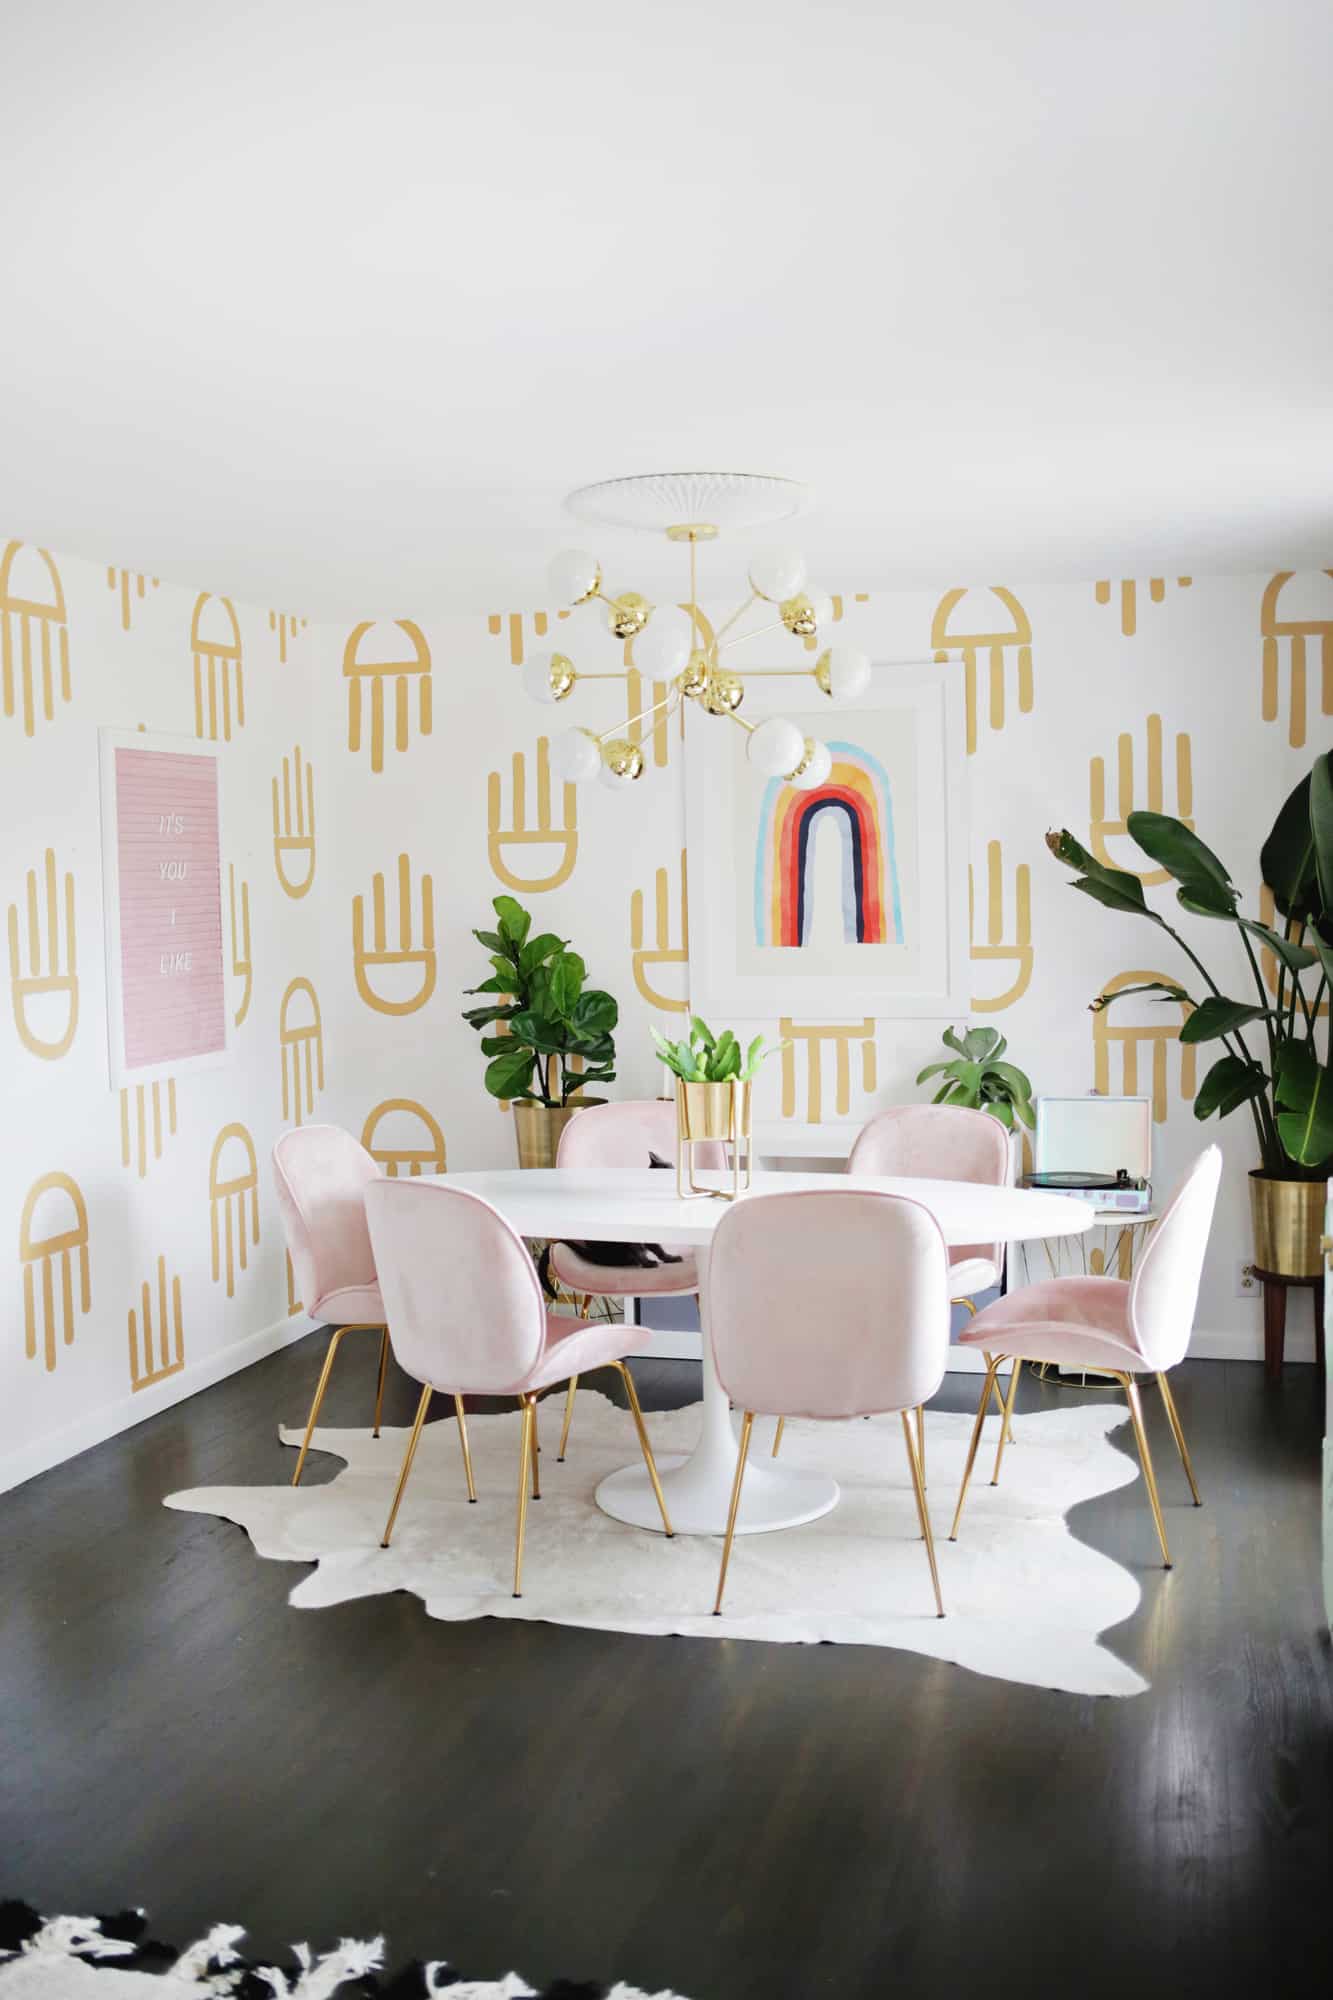
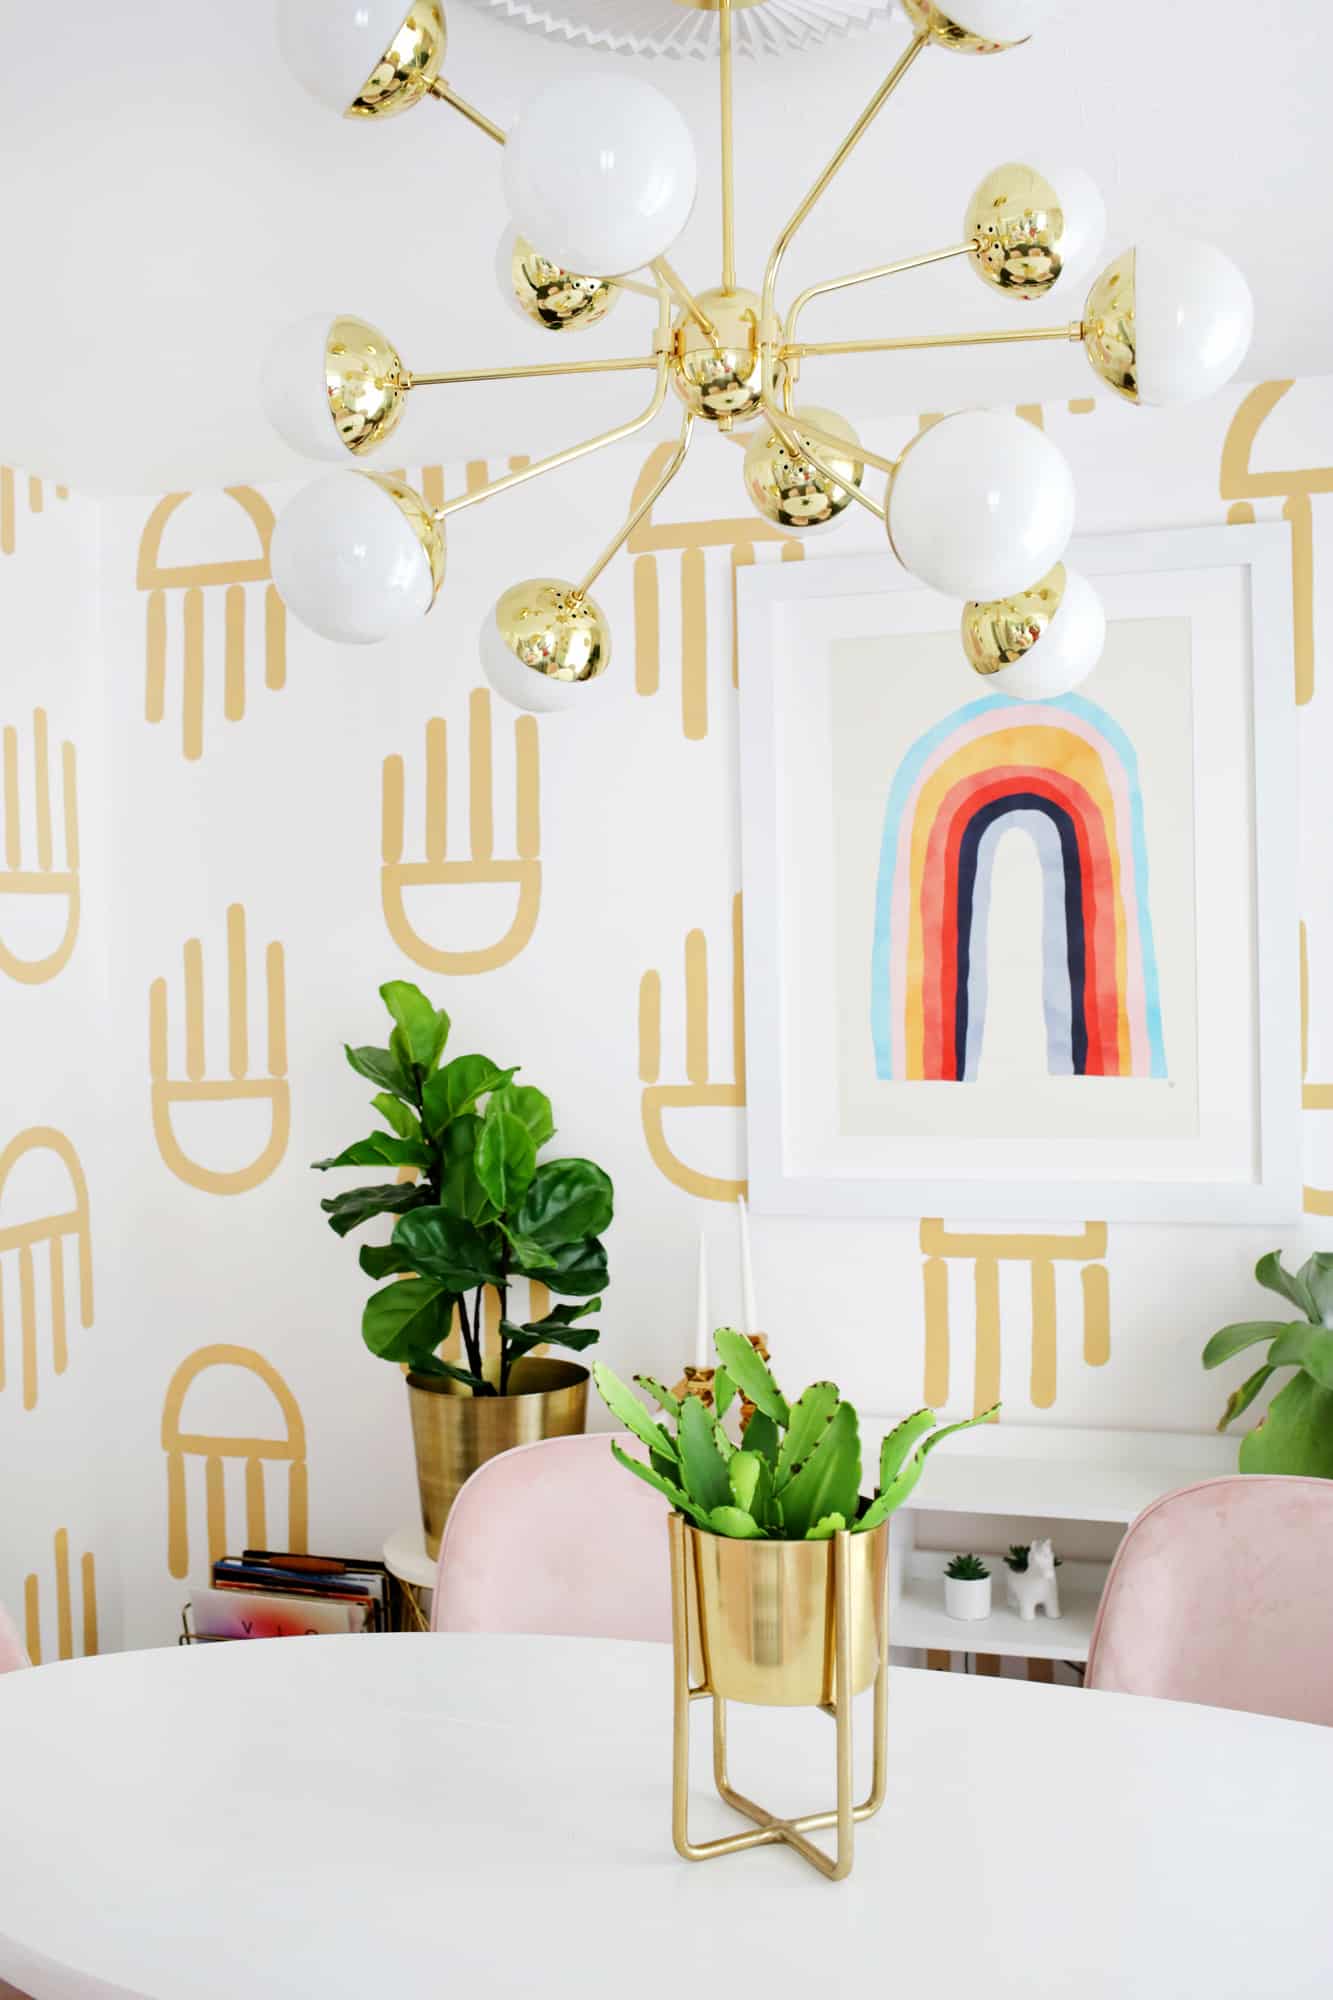
I love how it looks with our new chandelier fixture and ceiling medallion that we got just for this space (Lucent Lightshop is my fave light store of all time!) and I think my oversized pink letter board looks really fun in the space as well (and that rainbow print is juuuuust amazing).
Anyway, it was kind of a shock for me to walk into a room of pattern instead of solid color for the first few days, but I’m really glad I took the leap to make something fun. xo. Laura
P.S. Love this post? Learn How to Paint a Colorful Wall Mural here!


