

 I really loved these acrylic glitter coasters that Laura made some months back. So cute, right? She made the project look so easy and fun I was itching to try something along those lines.
I had also wanted to play around with alcohol ink, as I loved a few projects Kara shared in the past using this supply, including these alcohol ink pumpkins and alcohol ink holiday ornaments.
Looks messy and fun! So that was really the inspiration behind these DIY alcohol ink resin coasters.
Related: Gilded Crystal Coaster DIY and Resin Art – Beginner’s Guide
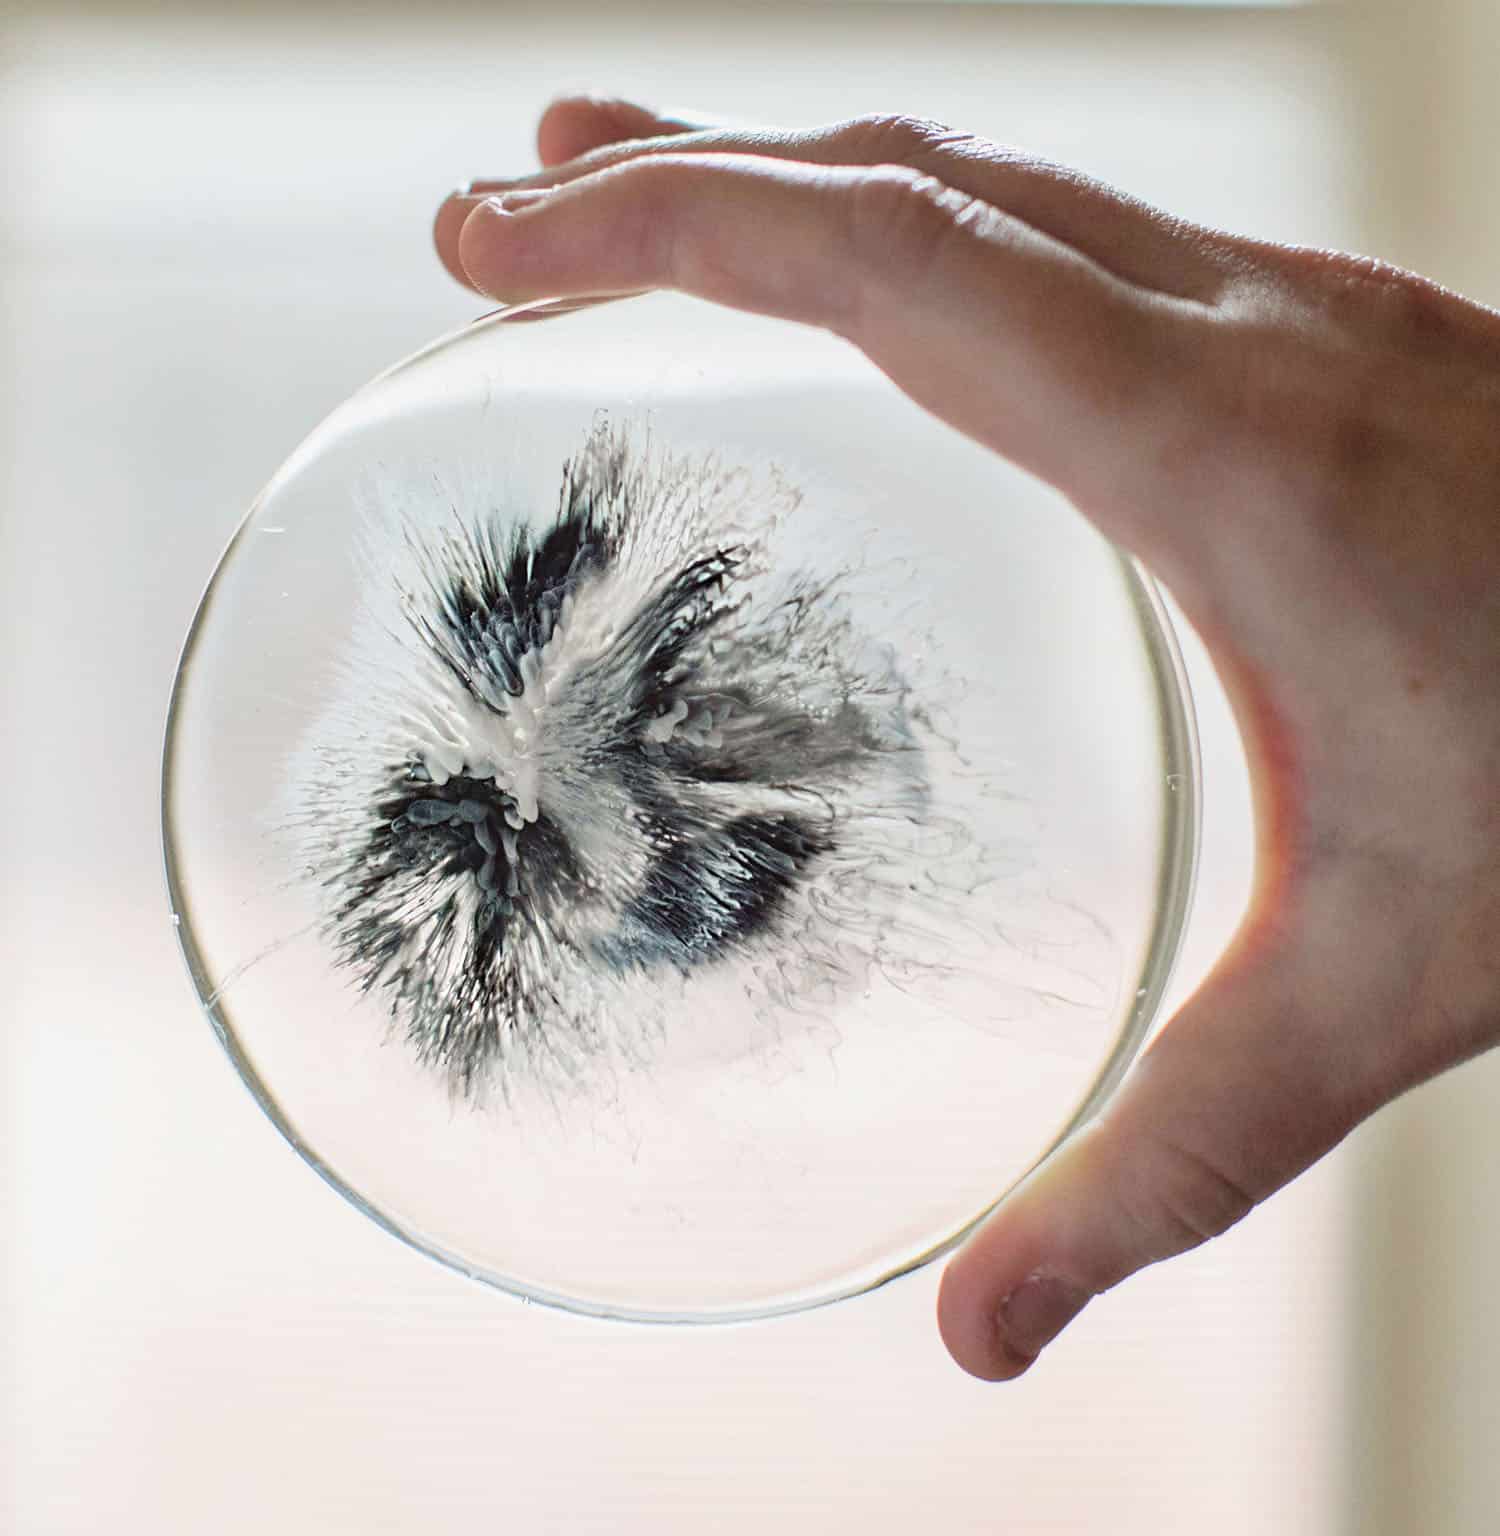
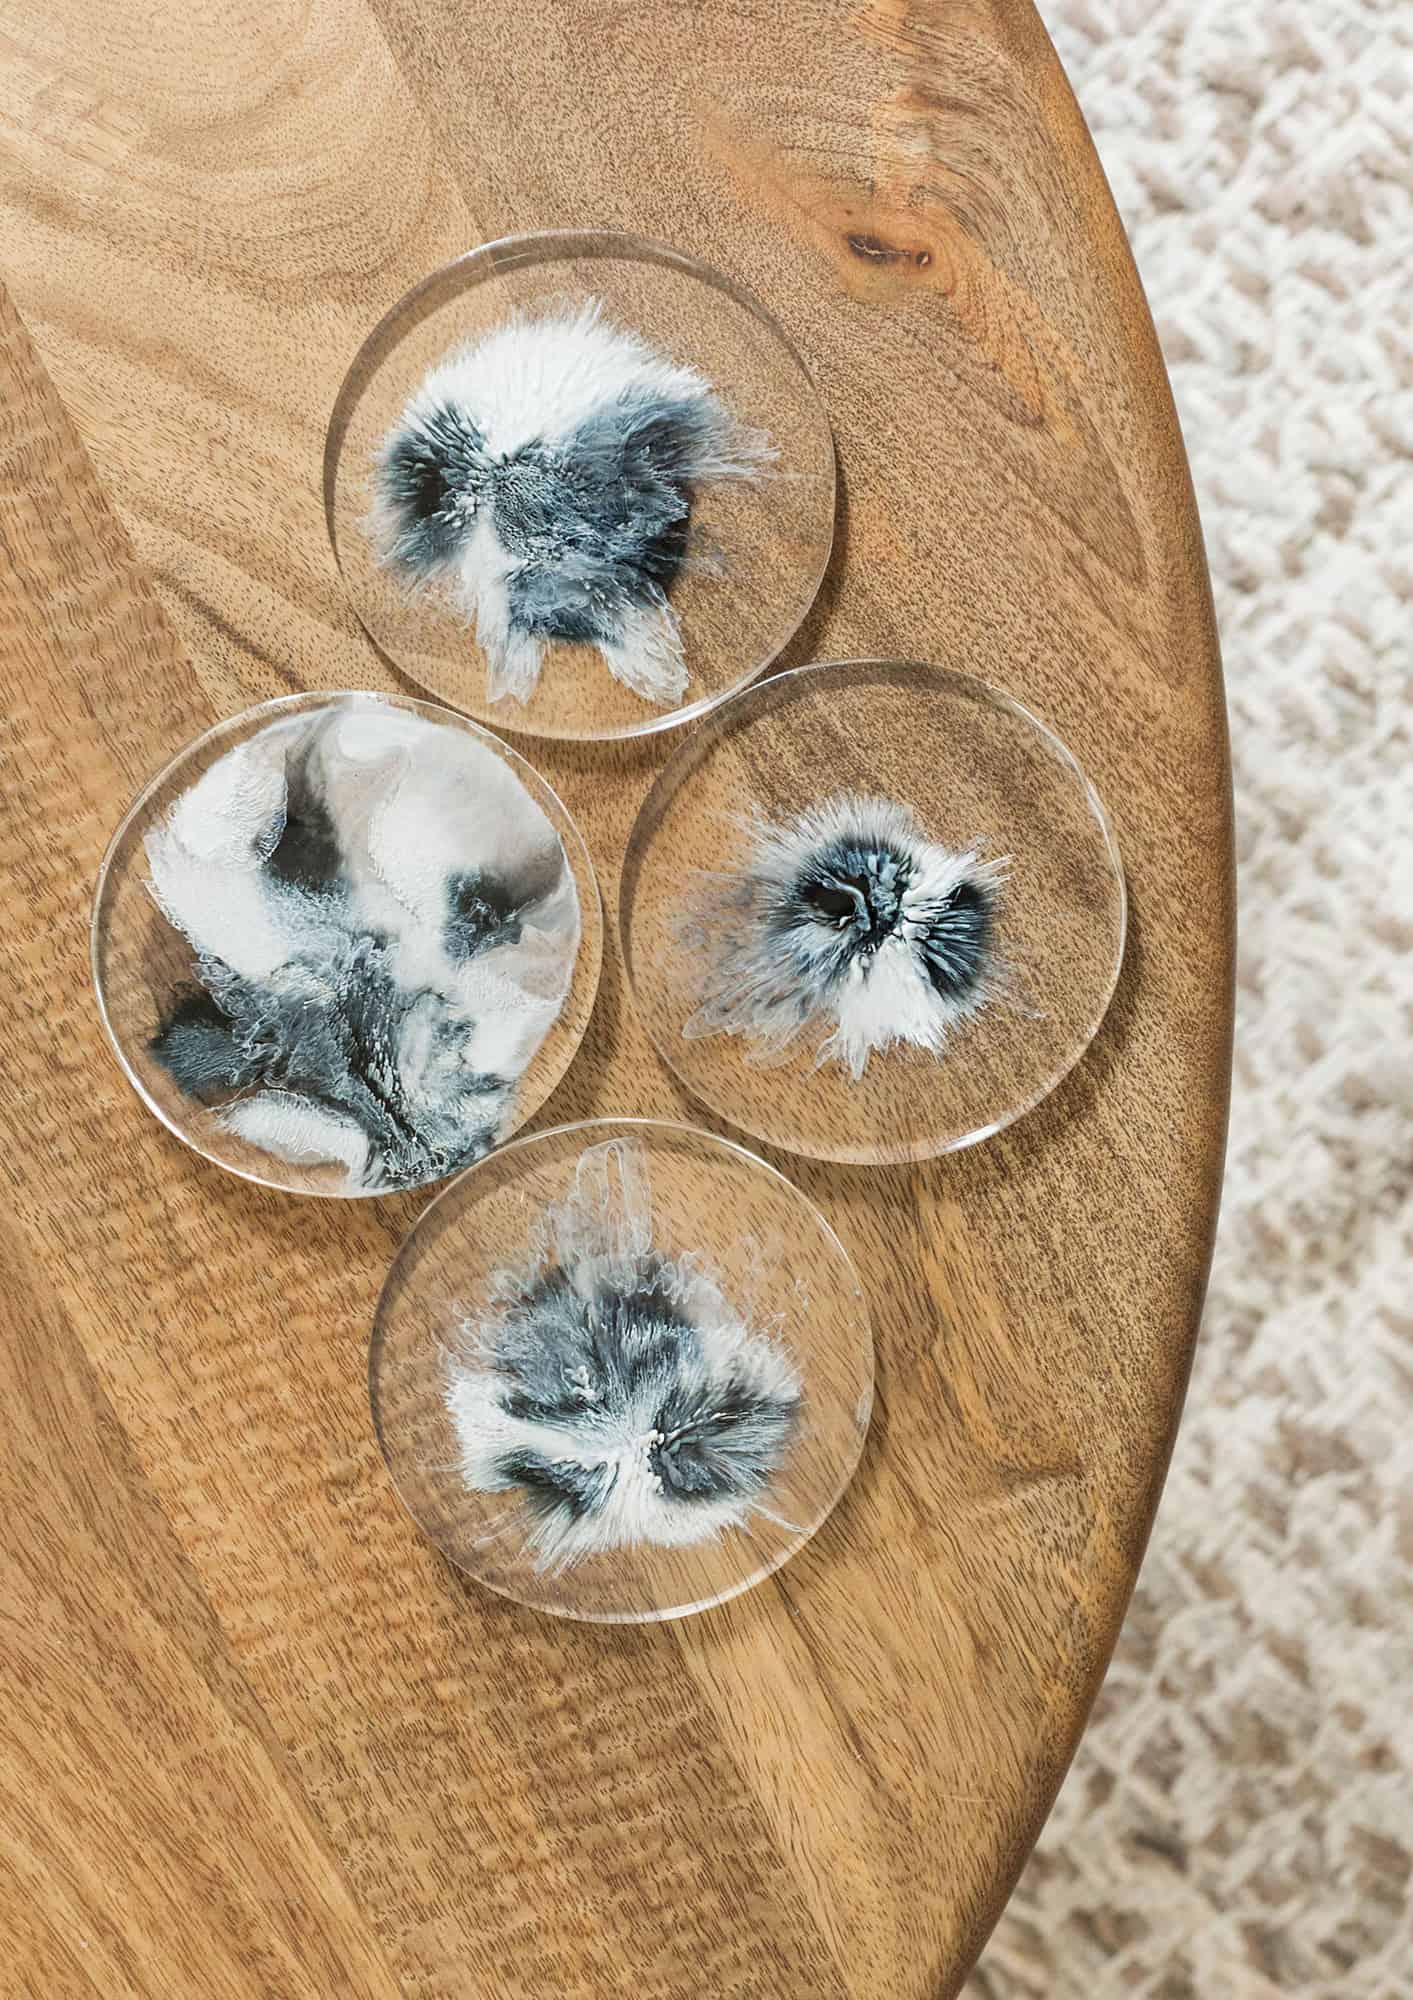
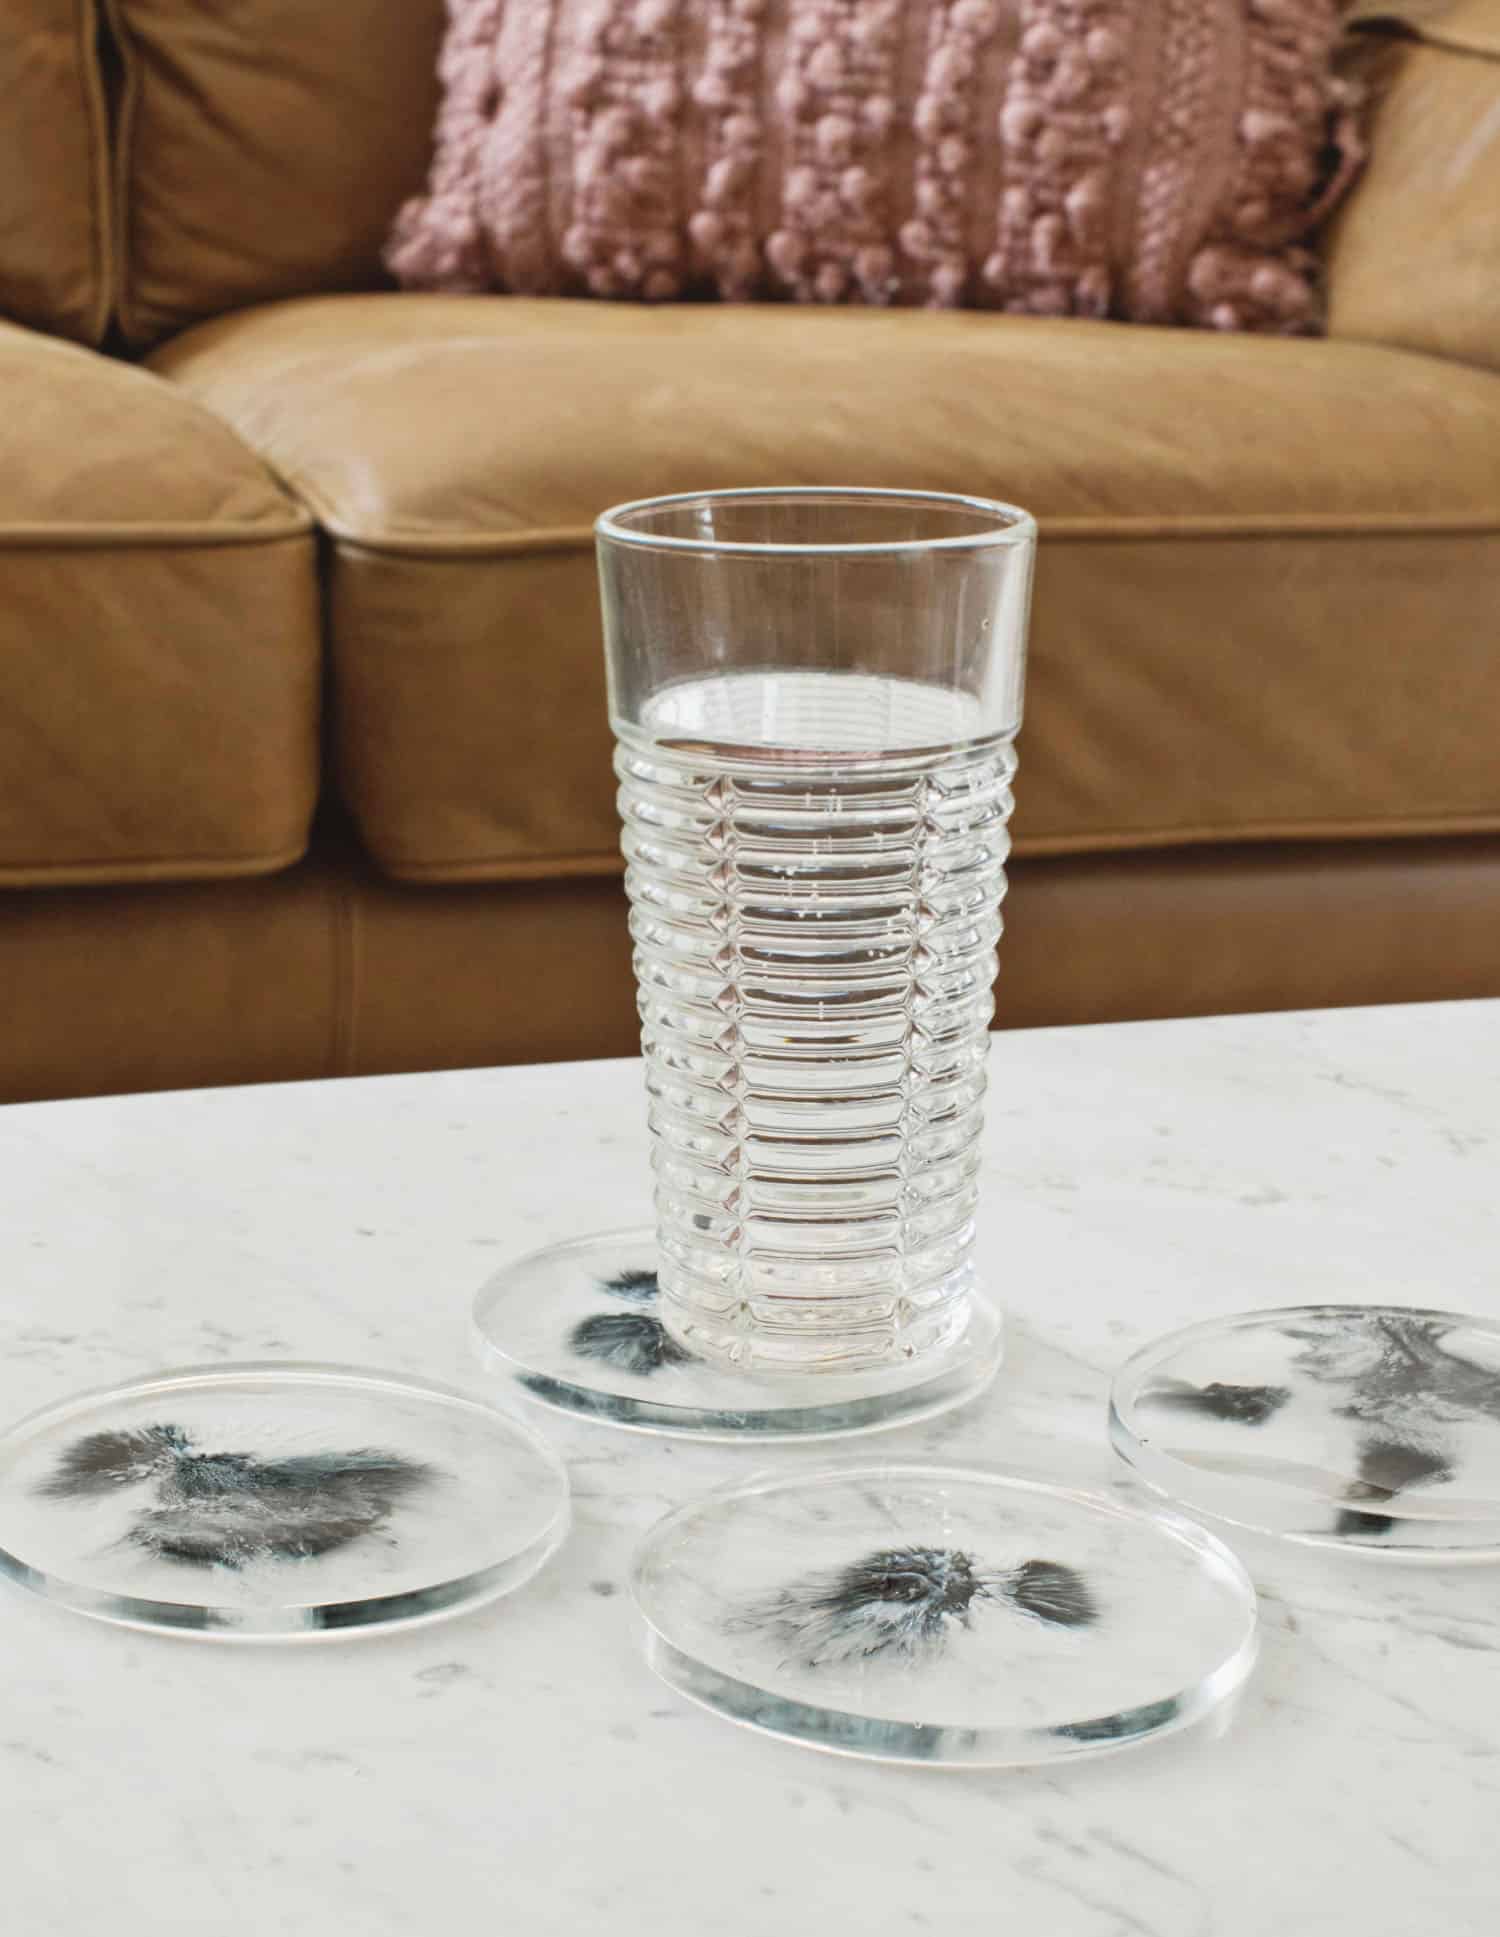
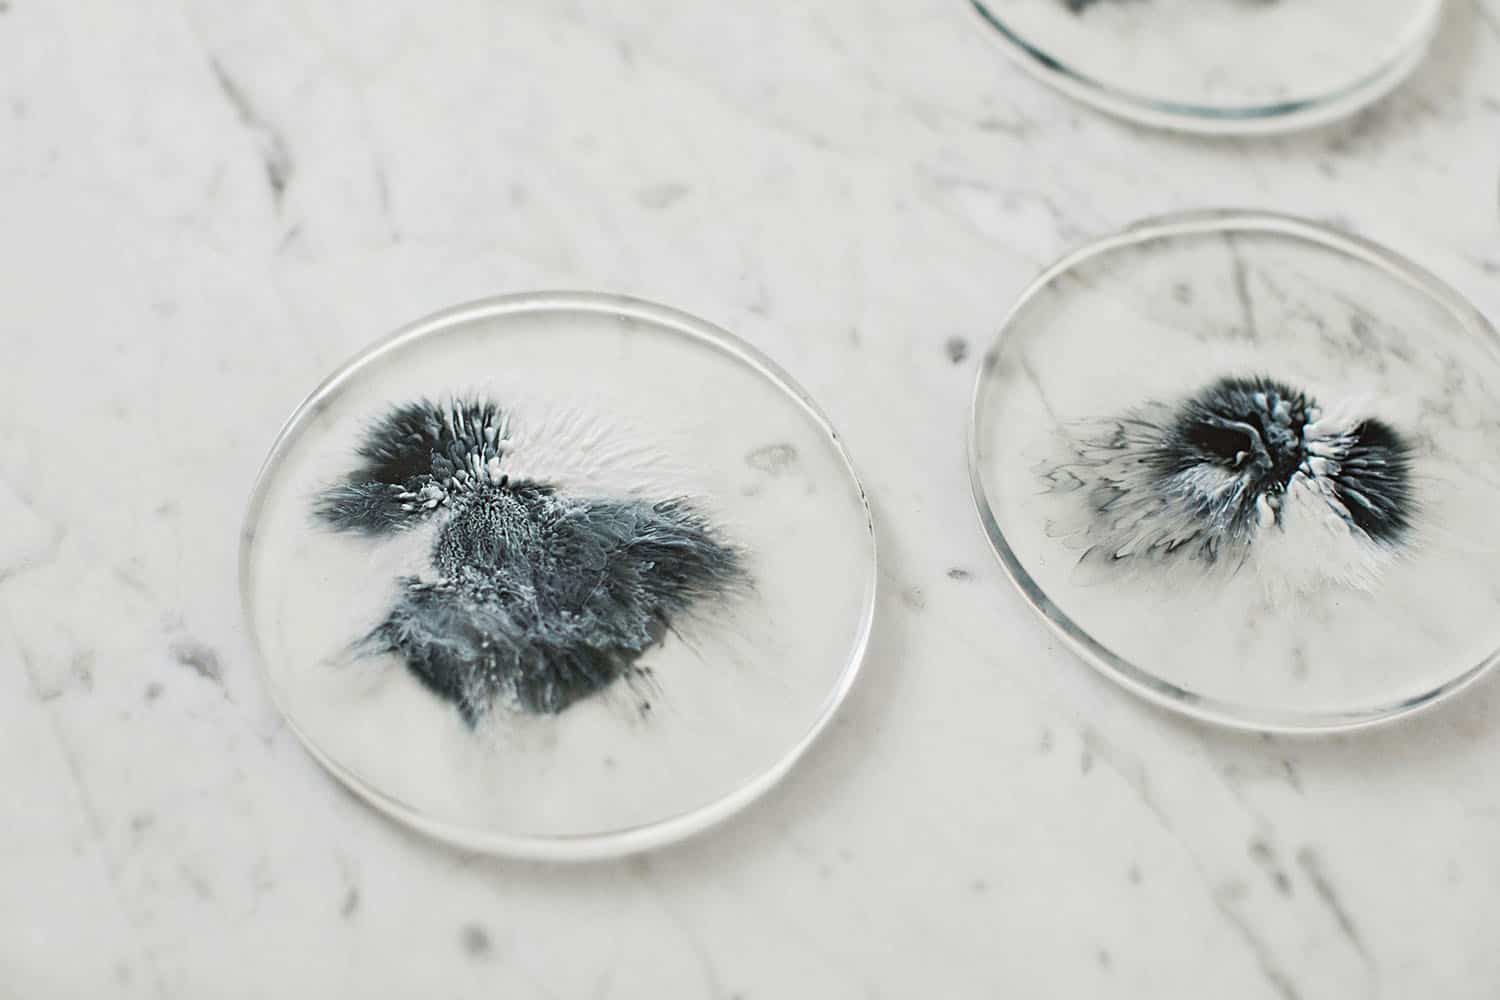 The results are really fun and totally unpredictable! I choose to keep my color scheme to black and white for the drama. 🙂 The results make me think of an Obscurus from Fantastic Beasts and Where to Find Them. It’s almost a kind of smoky, inky look trapped inside the epoxy resin.
These are very easy to make and could be customized with ALL sorts of different color combinations.
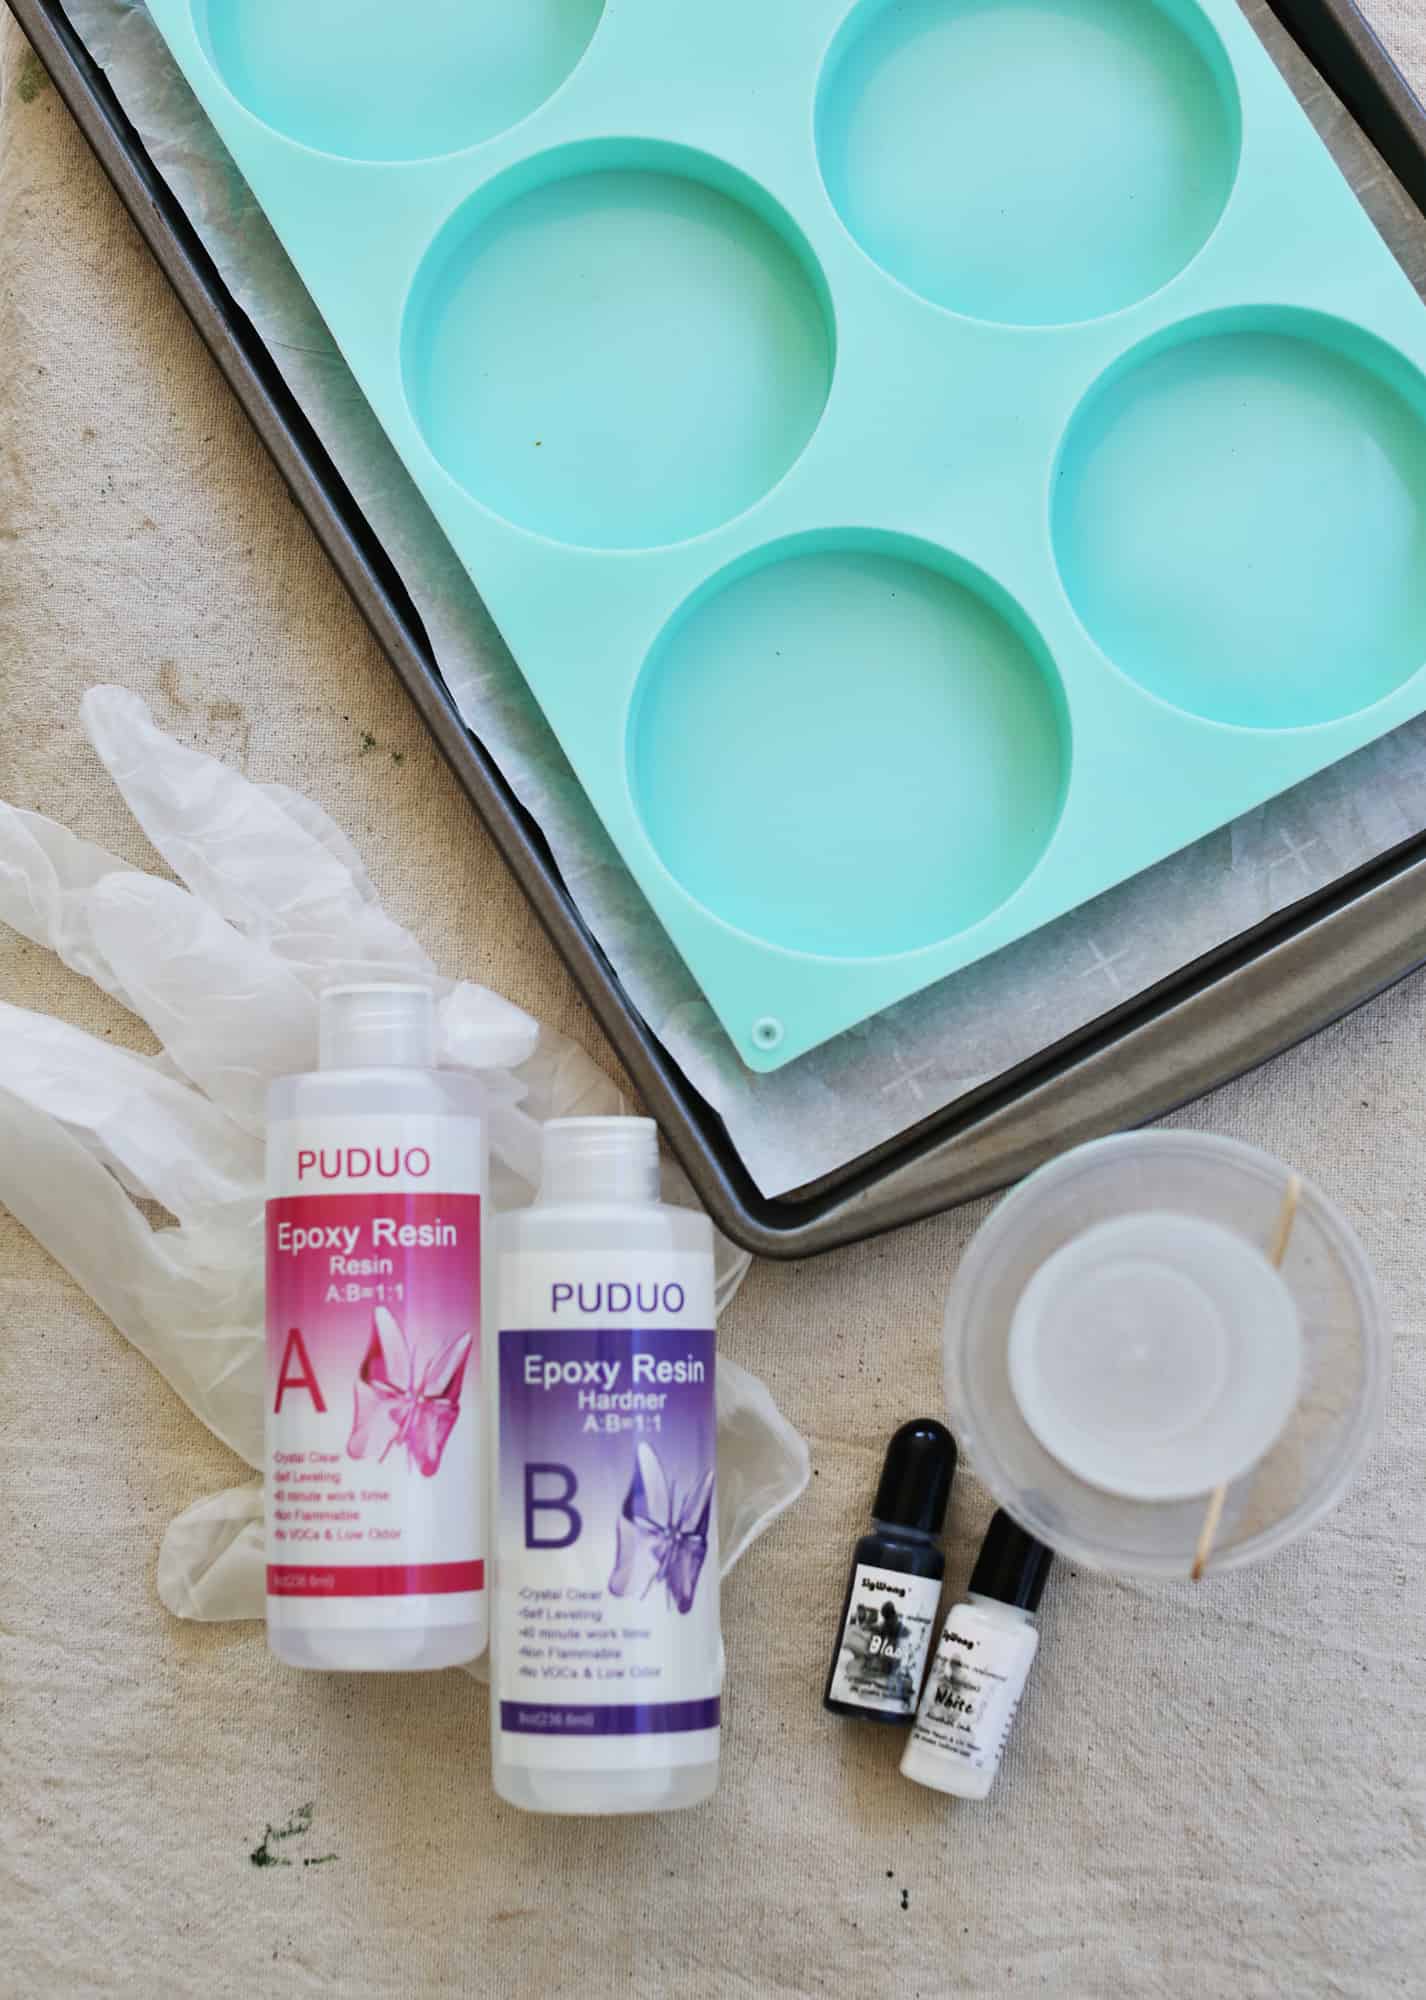 Supplies:
–silicone coaster mold
–epoxy resin kit (which should come with everything you need, including gloves)
–alcohol ink
-drop cloth or parchment paper (or both)
Depending where you work, you may also want an empty box to cover your project while it cures (if you are working outside and are worried about leaves or debris blowing into the resin before it’s dry).
Before we get started, I want to note that epoxy resin gives off fumes/an odor when working with it. You need to take care and work in a very well ventilated area when working with this craft supply. I choose to work outside—it was a nice day and this offered plenty of fresh air.
But if you are working inside, be sure to be in a space where you can open windows or otherwise make sure the space is ventilated.
You should also wear gloves when you work (the kit I’ve linked above comes with gloves) and I would also consider wearing eye protection if you don’t already wear eyeglasses. And take care to cover your working spaces to project any furniture or flooring.
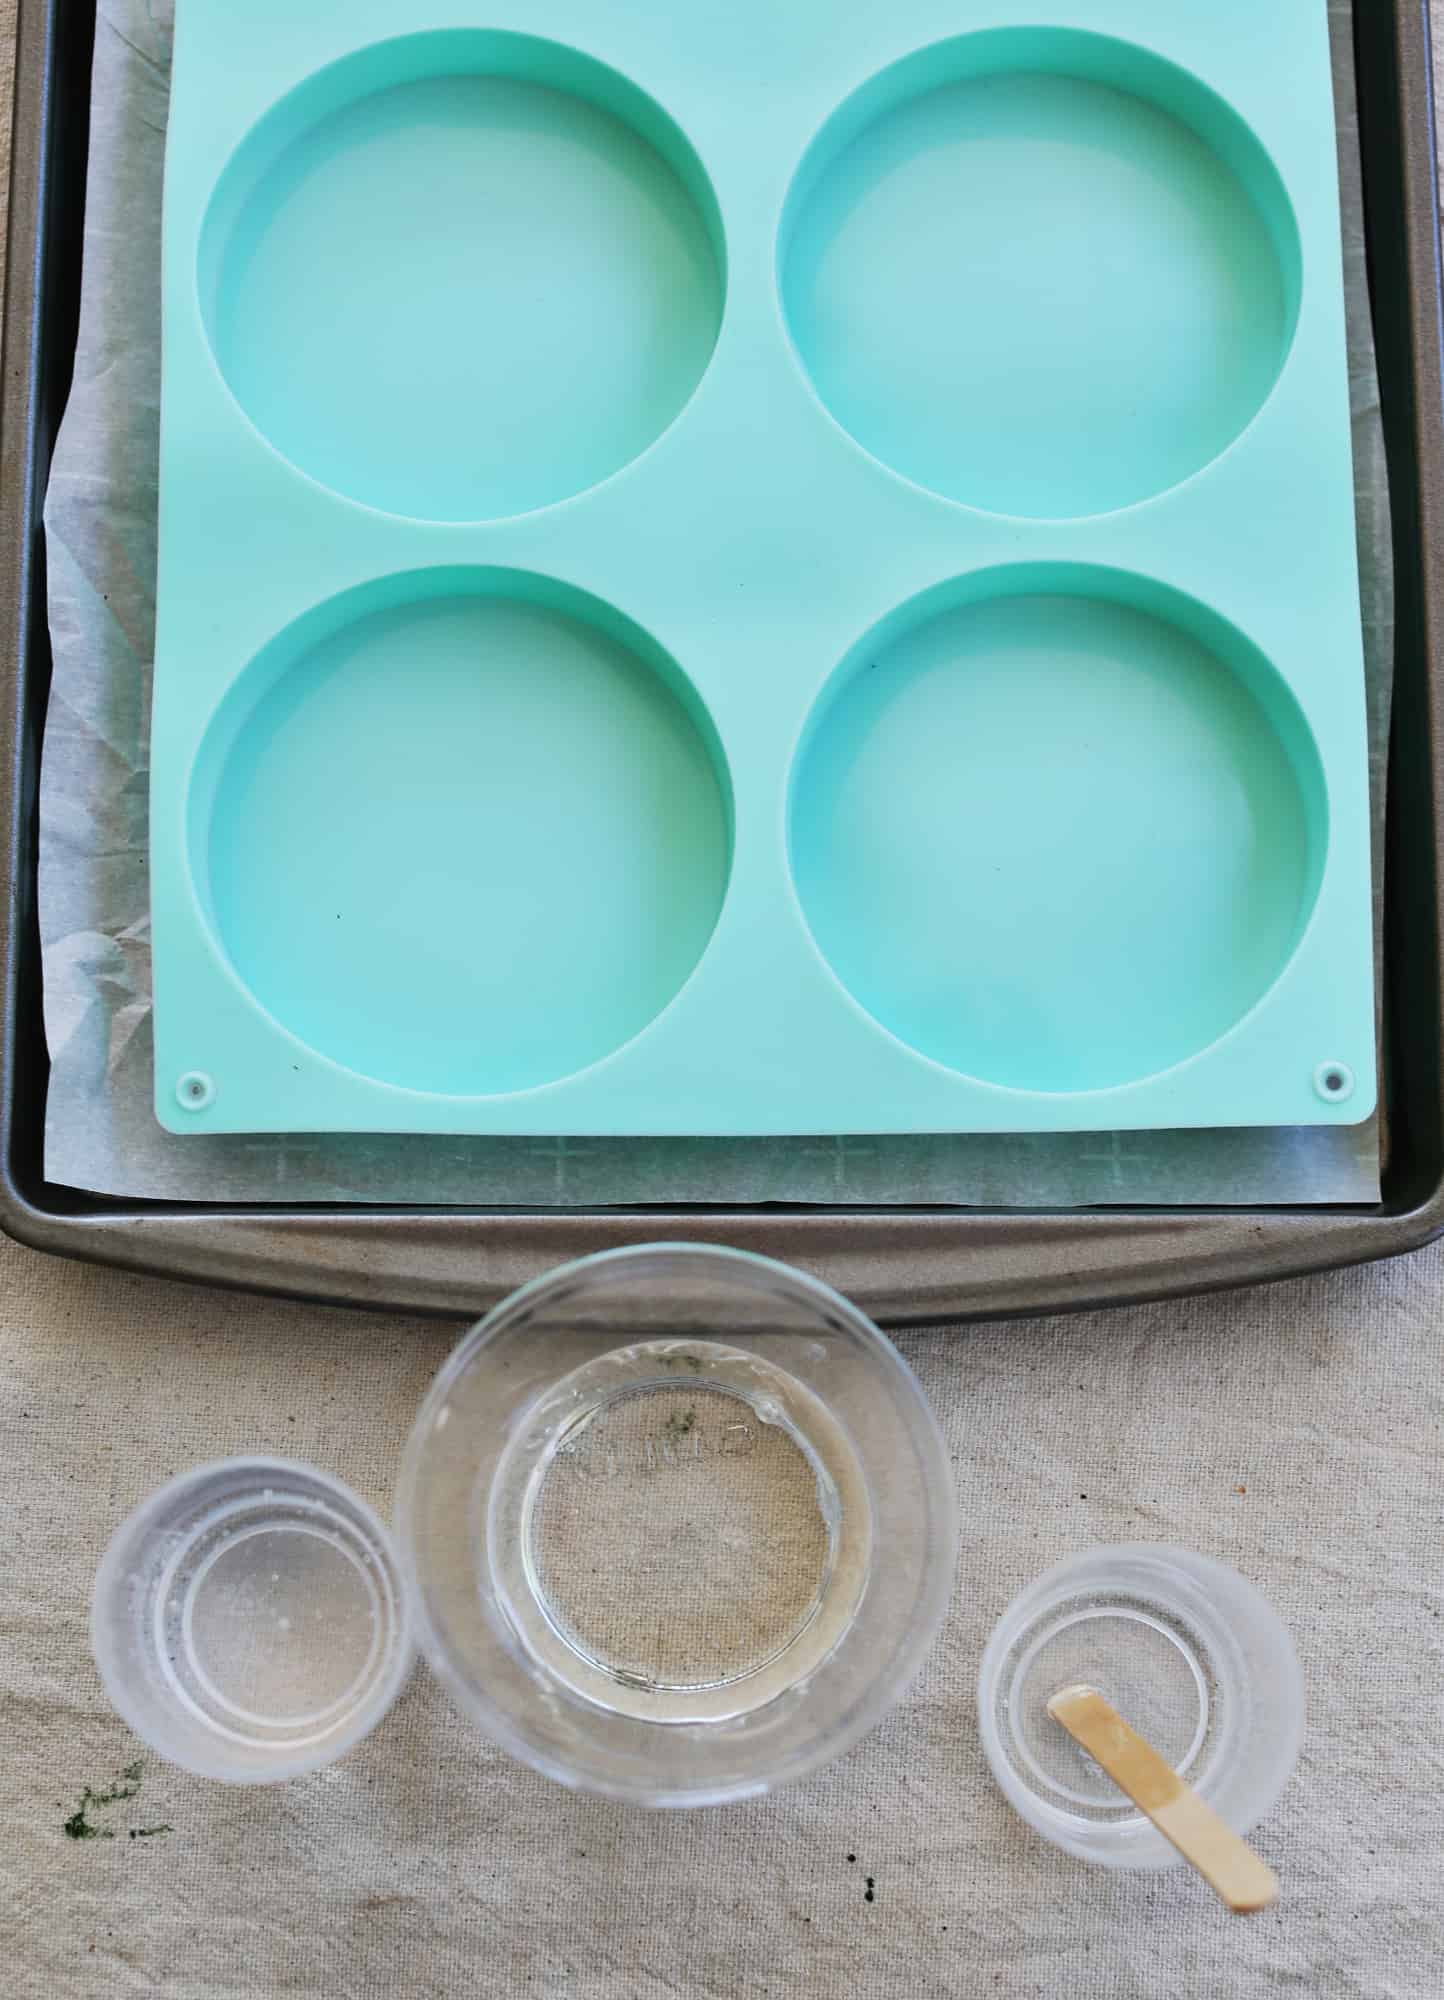 Step One: Mix the epoxy resin according to the package directions and fill the cavities of the molds.
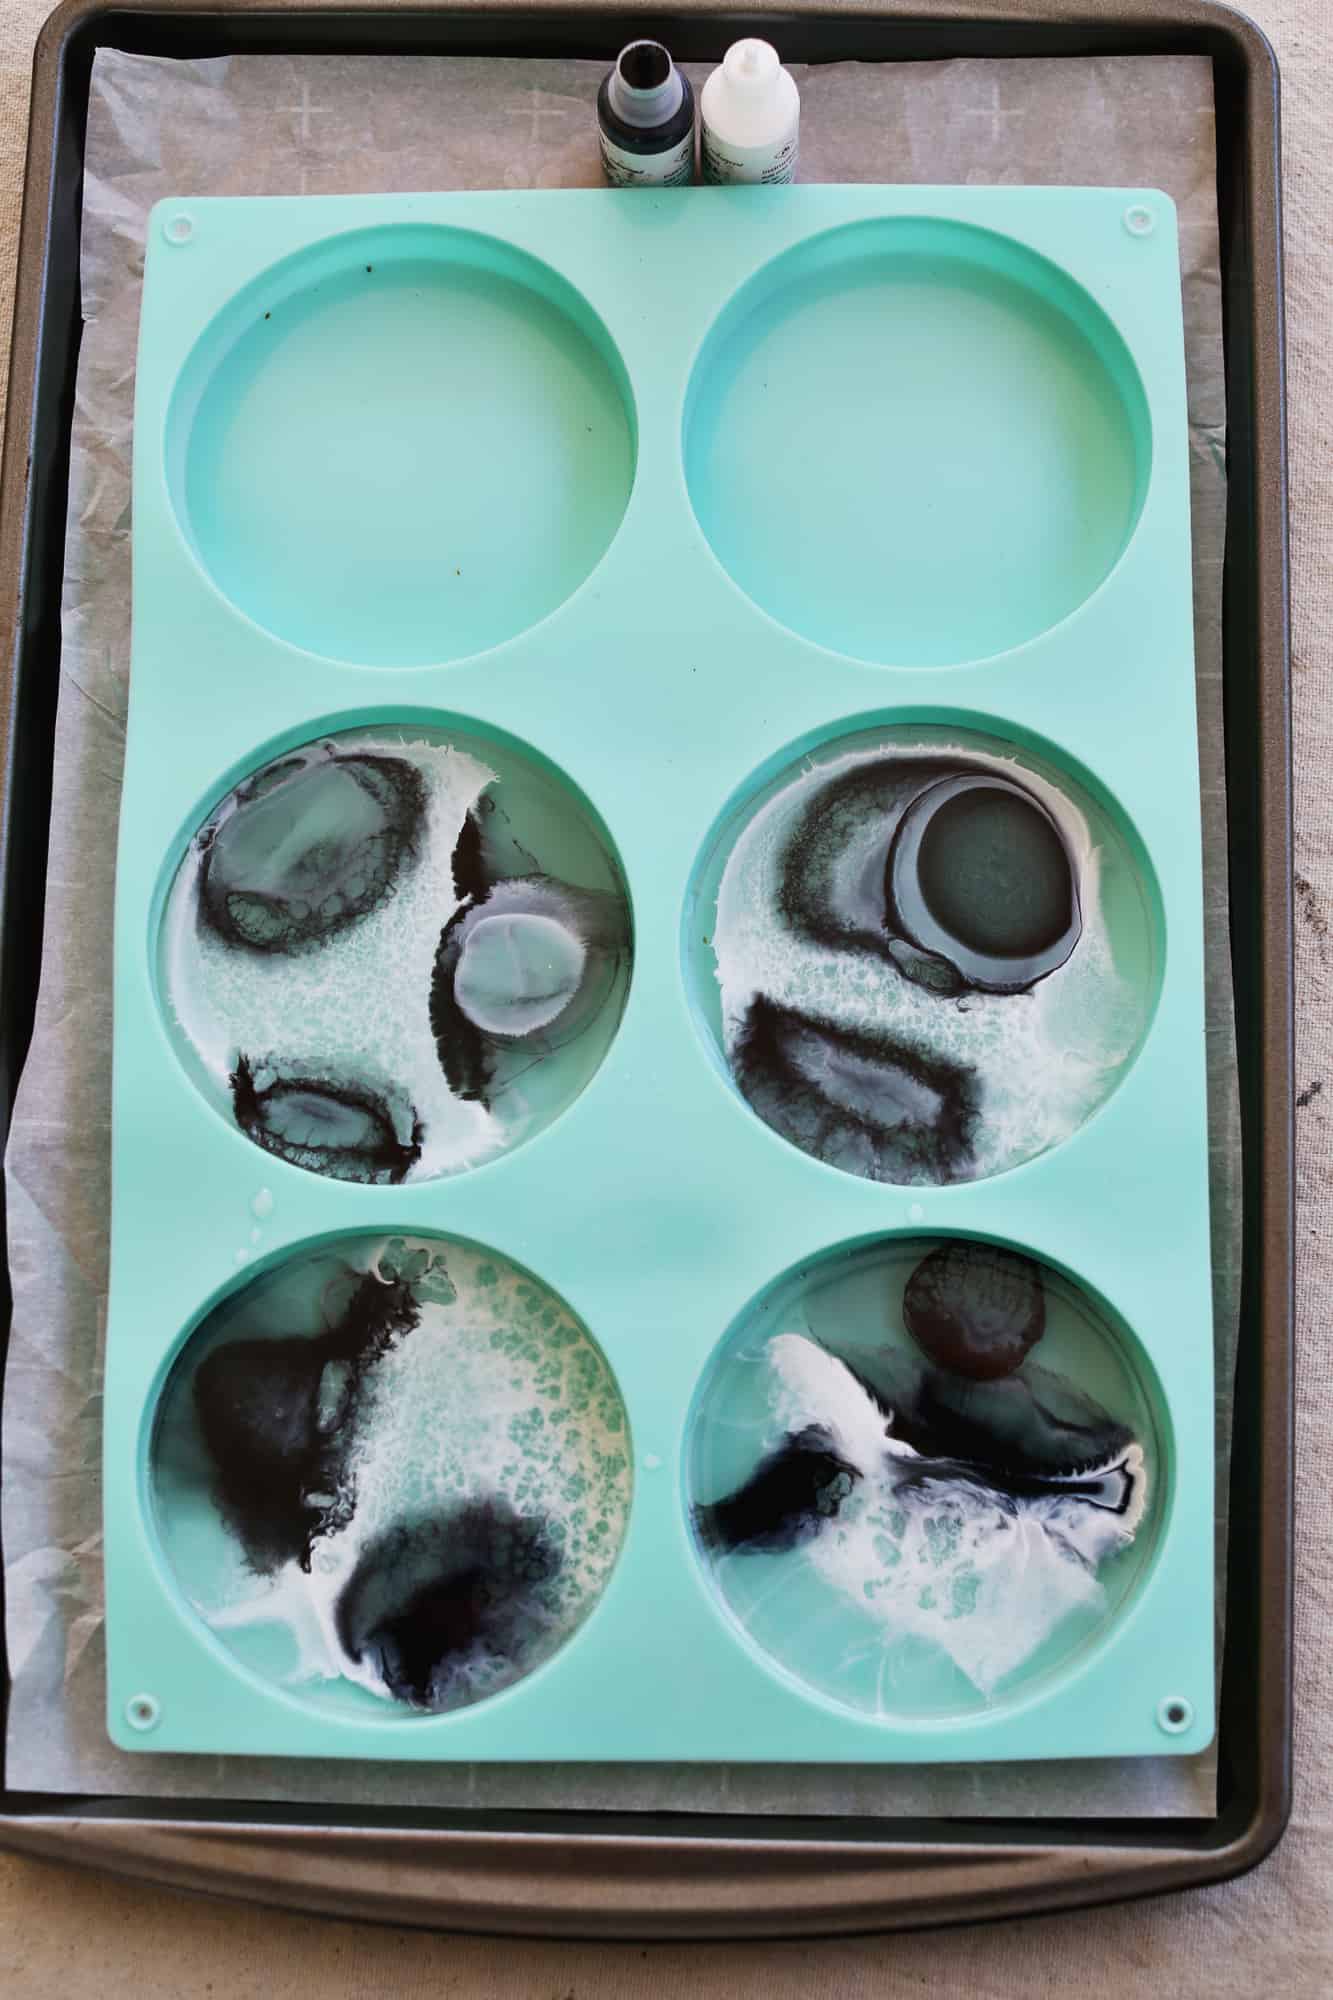 Step Two: Drip the alcohol ink into the wet resin. This is where you can experiment and play! The results will likely vary a great deal depending on the colors you use and how set the resin is before you begin adding the ink.
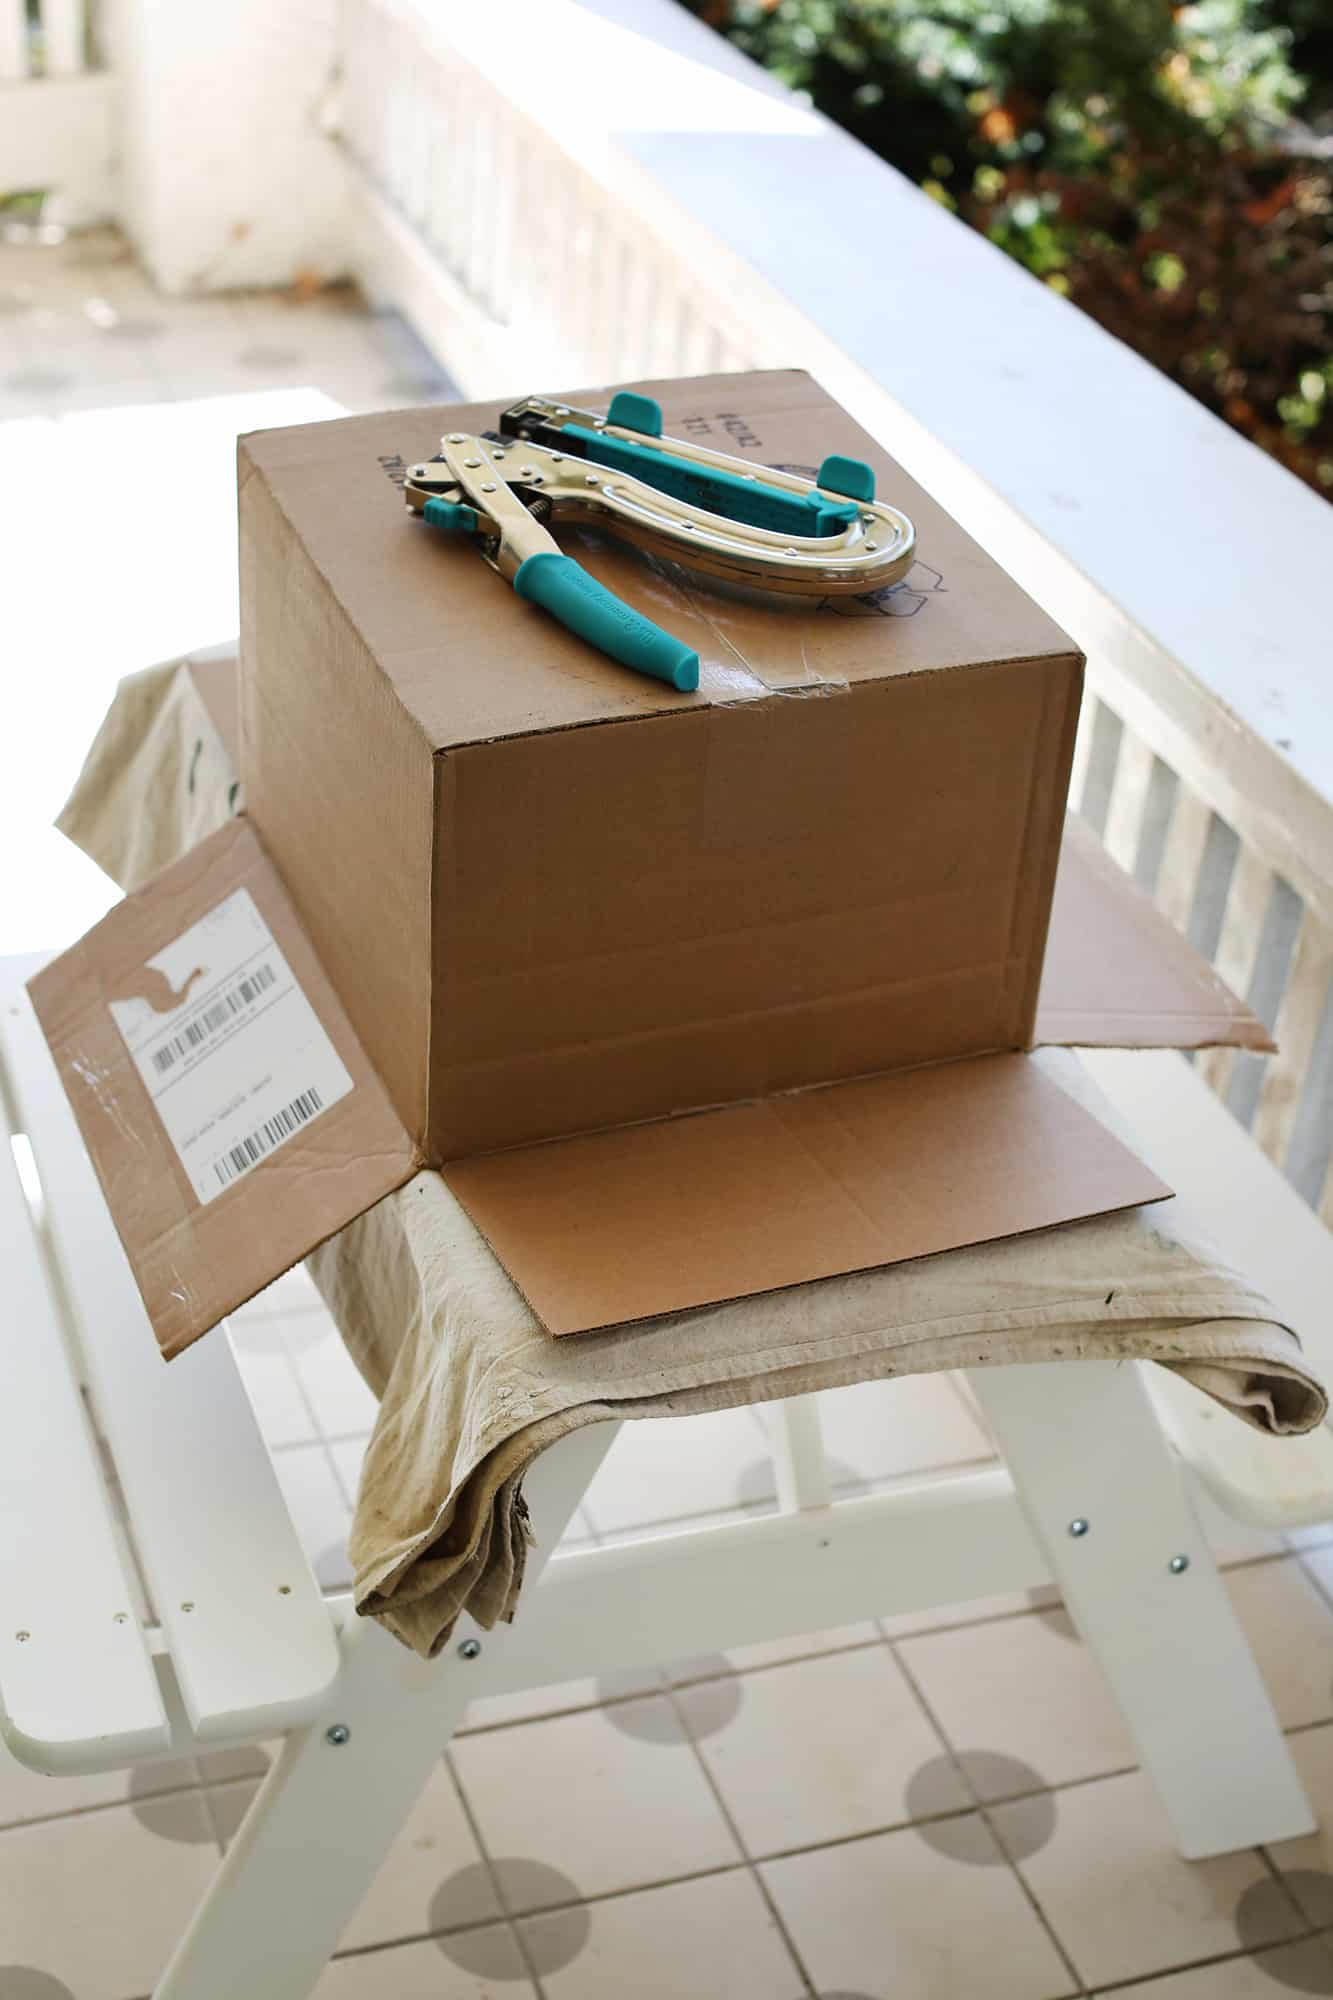 Step Three: If needed, cover your coasters until the resin cures. Check the package instructions but this will likely take 10+ hours (I left mine overnight). Once cured, you can remove them from the molds.
 The one mistake I made is I did not check if the table I was working on was level! This could have easily been fixed if I had just checked it with a level and then adjusted it with a couple coins or a piece of cardboard.
Since my table was slightly off-level my coasters are a little bit less than level as well. Ha. They still work great, so it’s not a major deal. But I wanted to share this mistake so you can avoid it.
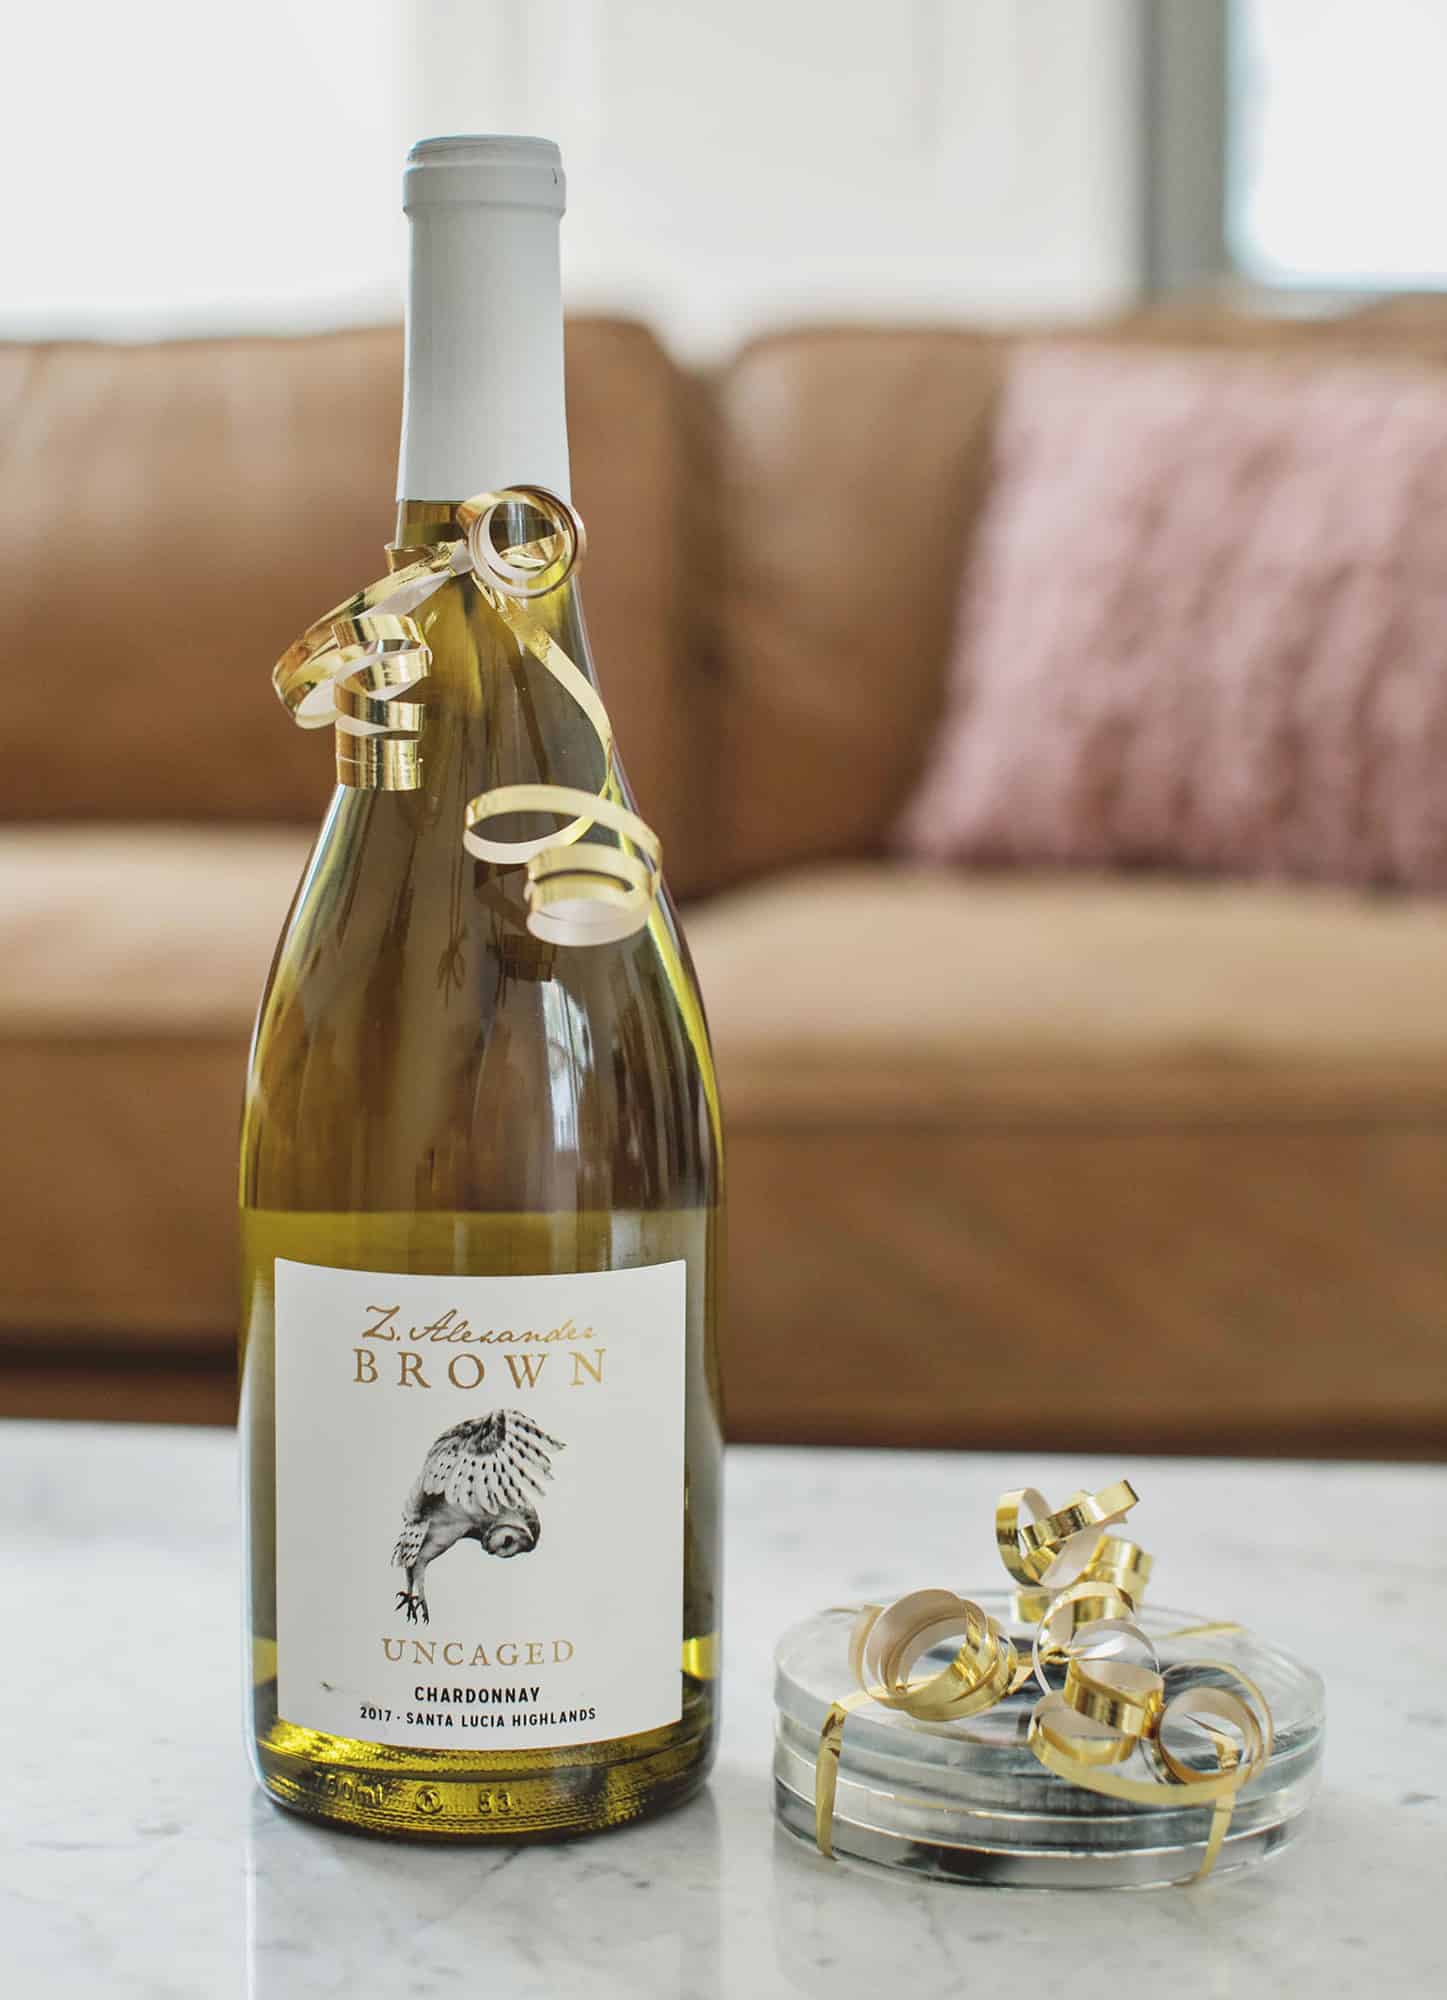 Not sure what everyone is doing this Thanksgiving/holiday season, but if you are in need of a hostess gift these coasters are very fun to make, and would be cute alongside a bottle of wine or a fancy chocolate bar. Thanks for letting me share! xo. Emma
Love this post? Sign up for our newsletter for more ideas!
Join Now

Get creative ideas for recipes, crafts, decor, and more in your inbox!
 Get the How-To
Supplies
- silicone coaster mold
- epoxy resin kit
- alcohol ink
- drop cloth or parchment paper
Instructions
-
Mix the epoxy resin according to the package directions and fill the cavities of the molds.
-
Drip the alcohol ink into the wet resin. This is where you can experiment and play! The results will likely vary a great deal depending on the colors you use and how set the resin is before you begin adding the ink.
-
If needed, cover your coasters until the resin cures. Check the package instructions but this will likely take 10+ hours (I left mine overnight). Once cured, you can remove them from the molds.